In this guide, you’ll learn how shot size, framing, angle, and movement work together like a visual language. We’ll explore everything from establishing wide shots to dramatic aerial cinematography, with practical examples from iconic films. By the end of this article, you’ll not only recognize cinematic beauty - you’ll know how to create it. Let’s dive into mastering camera shots and angles to tell your story like a pro filmmaker.
Table of Contents
Why Camera Shots & Angles Matter in Filmmaking
Understanding Camera Shot Sizes
The Director’s Guide to Camera Angles
Mastering Framing & Composition Essentials
Why Camera Shots & Angles Matter in Filmmaking
Camera shots and angles aren't just tools - they’re the lens through which your audience feels. The way you frame a subject, the angle from which you view them, or the distance you place the camera all affect how a scene is perceived emotionally and psychologically. Close-ups help us understand characters’ inner worlds. Wide shots place them in context. Low-angle shot can make someone seem powerful, while a high-angle shot makes them appear vulnerable. These aren’t just stylistic decisions, they're emotional signals.
Understanding Camera Shot Sizes
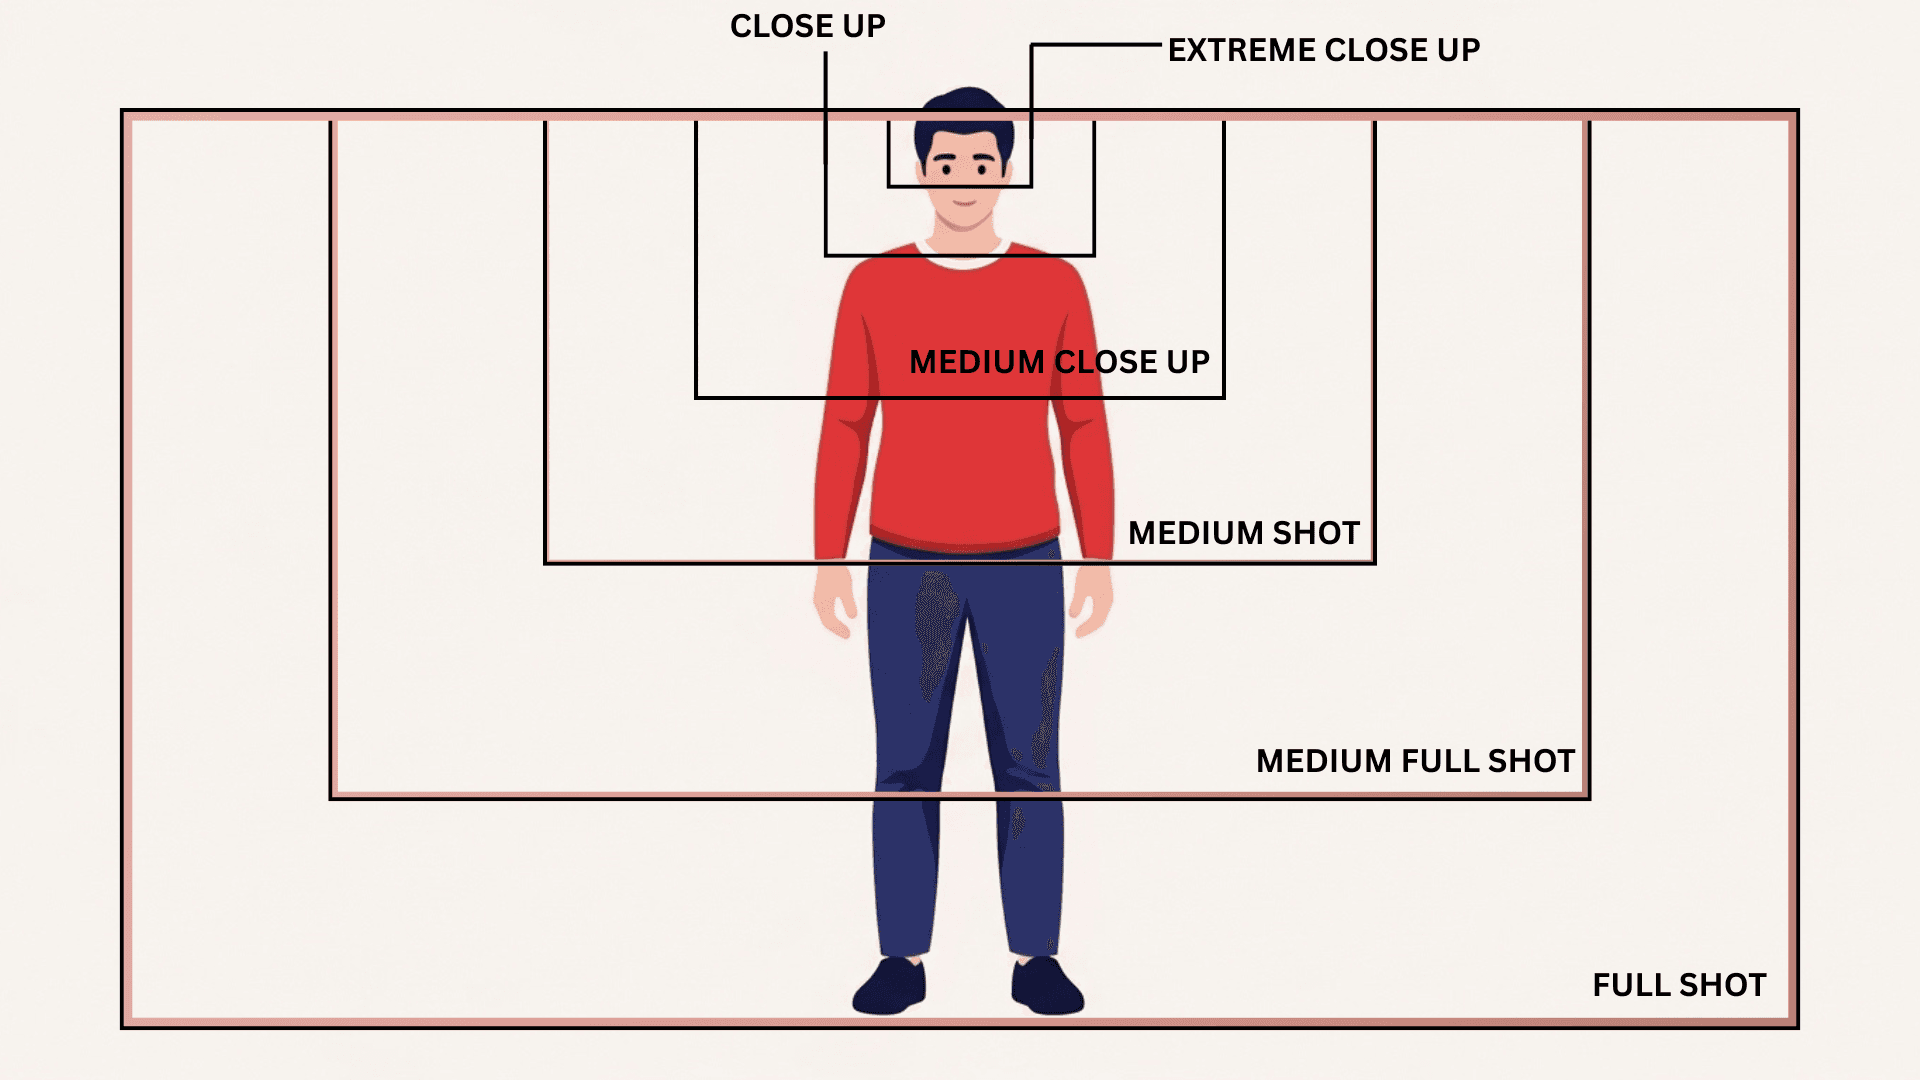
One of the first choices a filmmaker makes when designing a scene is the shot size—how much of the subject and surroundings will be visible in the frame. Shot size directly affects the audience’s emotional connection, sense of scale, and narrative clarity. Let’s break down the most common types and when to use them for maximum cinematic impact.
Extreme Wide / Establishing Shot
The Extreme Wide Shot (EWS), also called an Establishing Shot, frames the subject from a great distance often so far that the character is dwarfed by the environment or even not visible at all.
Purpose: Establishes geography, time, scale, and atmosphere.
Common Use: Opening shots, transitions, epic scenes, or moments of isolation.

Pro Tip: Use EWS to create contrast. Following it with a close-up creates a dynamic emotional shift.
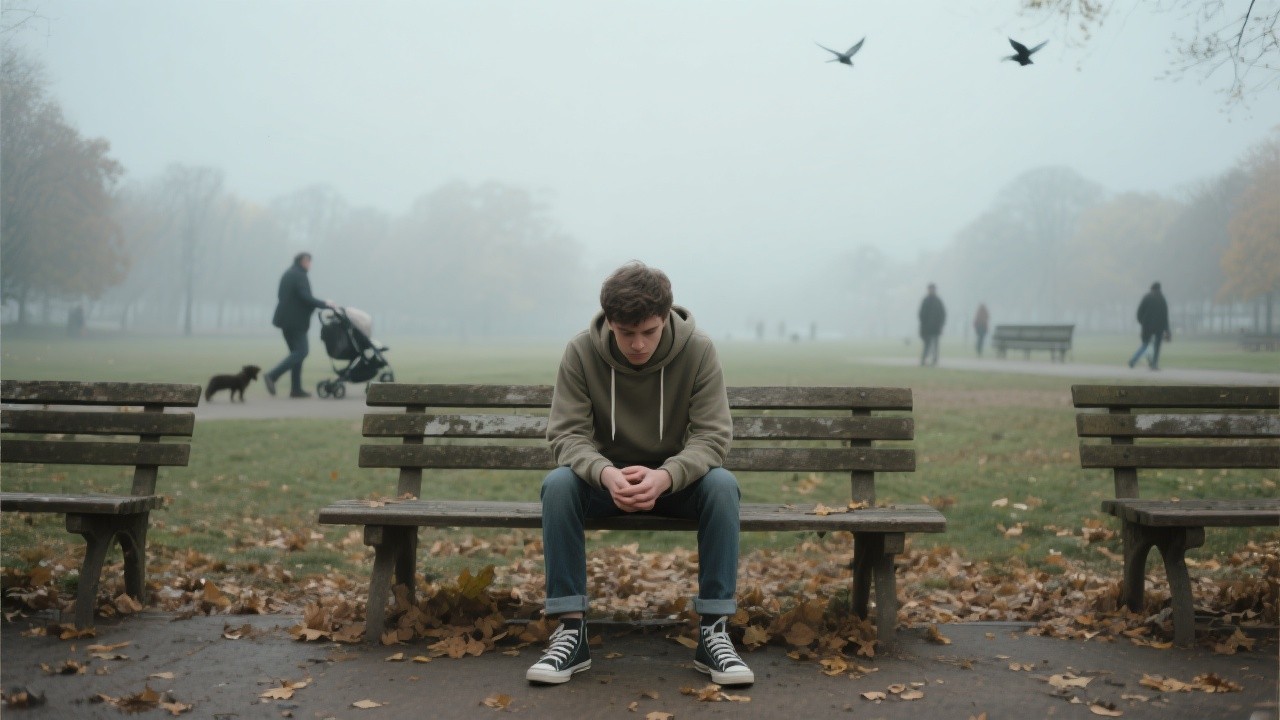
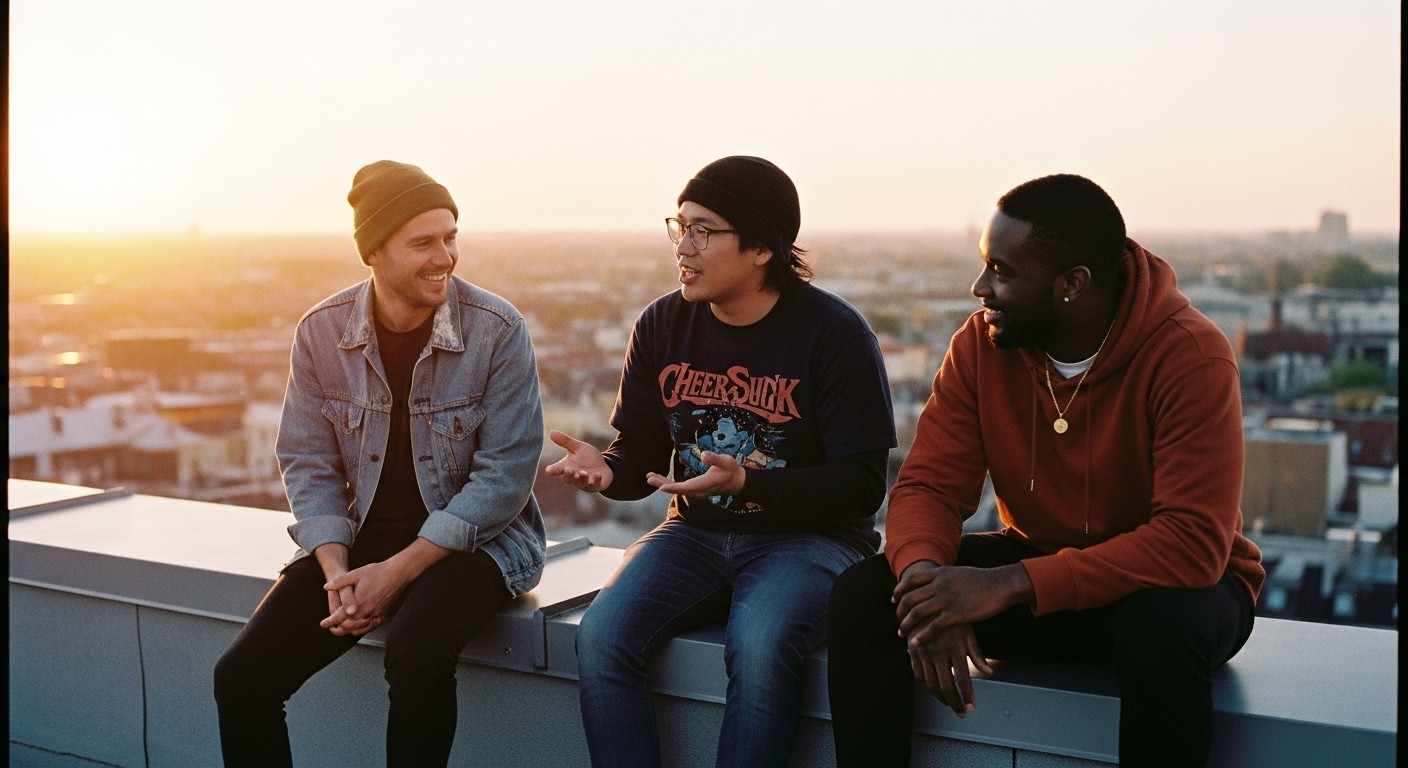
Wide / Long Shot
A Wide Shot frames the subject’s entire body from head to toe while still revealing their surroundings.
Purpose: Introduces characters in a setting while allowing for movement and blocking.
Genre Use: Frequently used in action, drama, and westerns.
Unique Insight: For scenes with ensemble characters, wide shots allow the audience to observe spatial relationships and power dynamics.
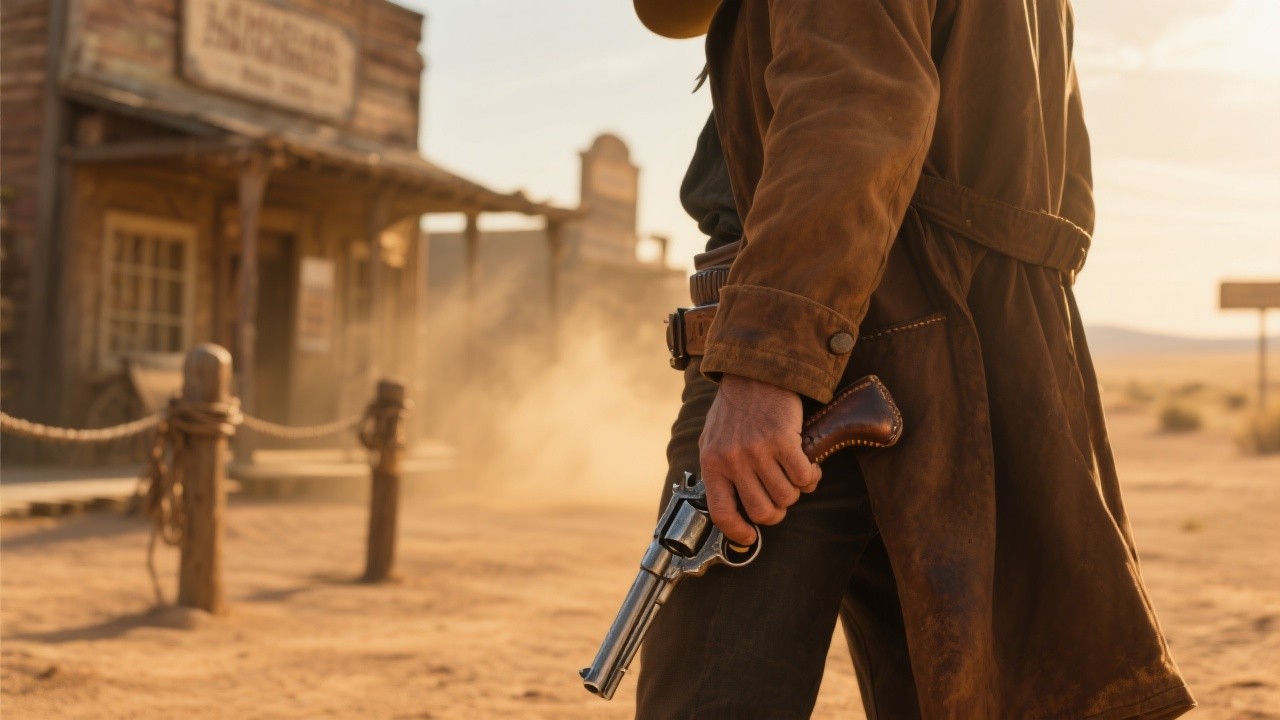
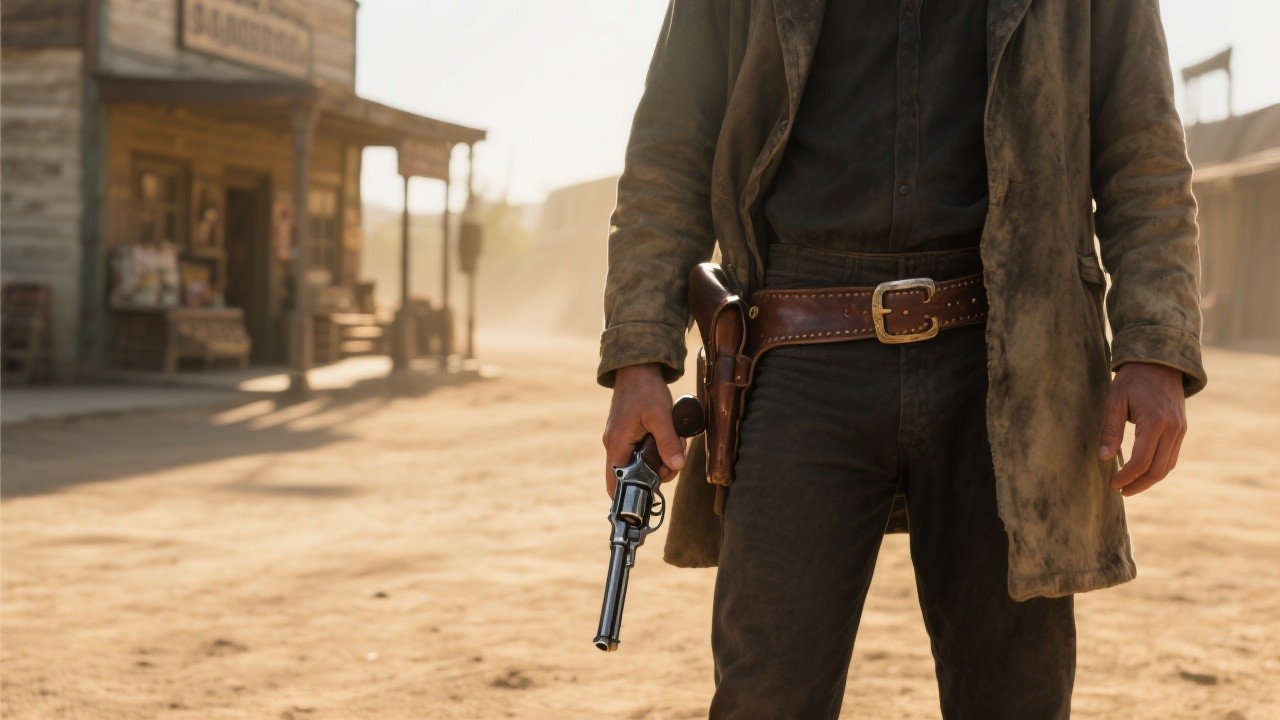
Medium Wide / Cowboy Shot
Frames from mid-thigh up; popular in Westerns to show holsters and quick-draw hands. This shot type effectively introduces characters physically, highlights expressive body language, and builds tension in standoff scenes by emphasizing stance and readiness.

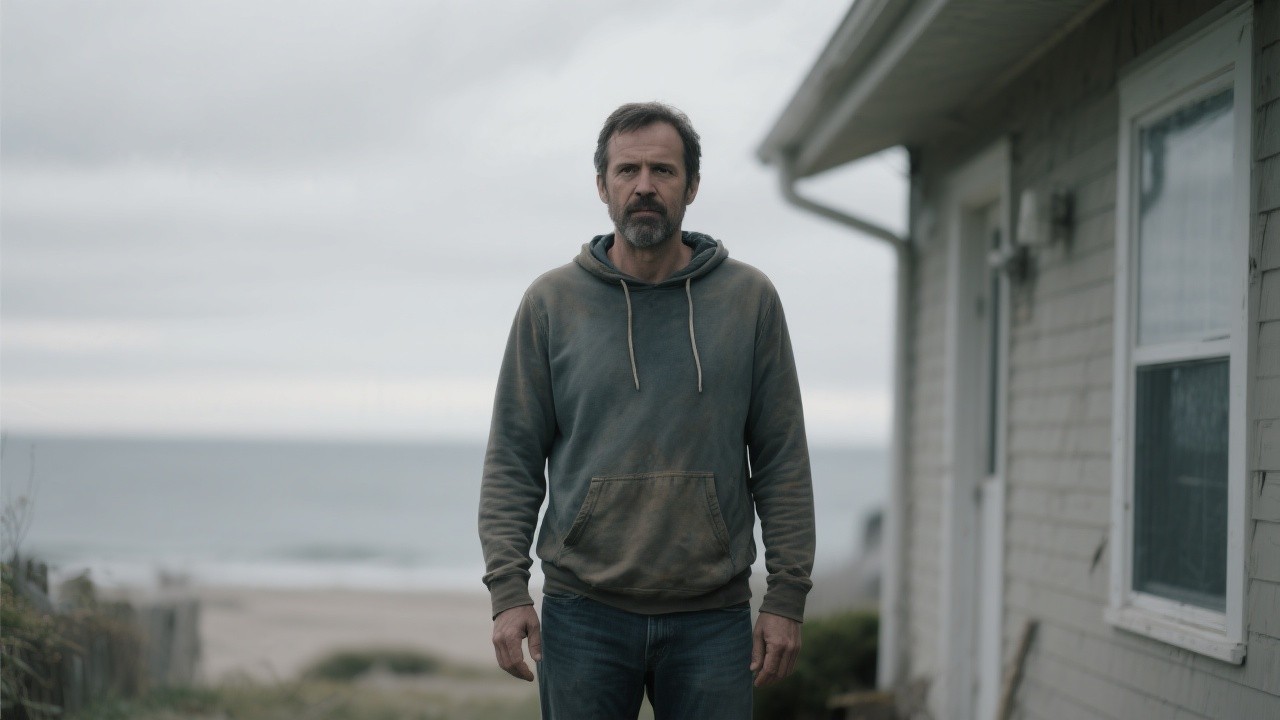
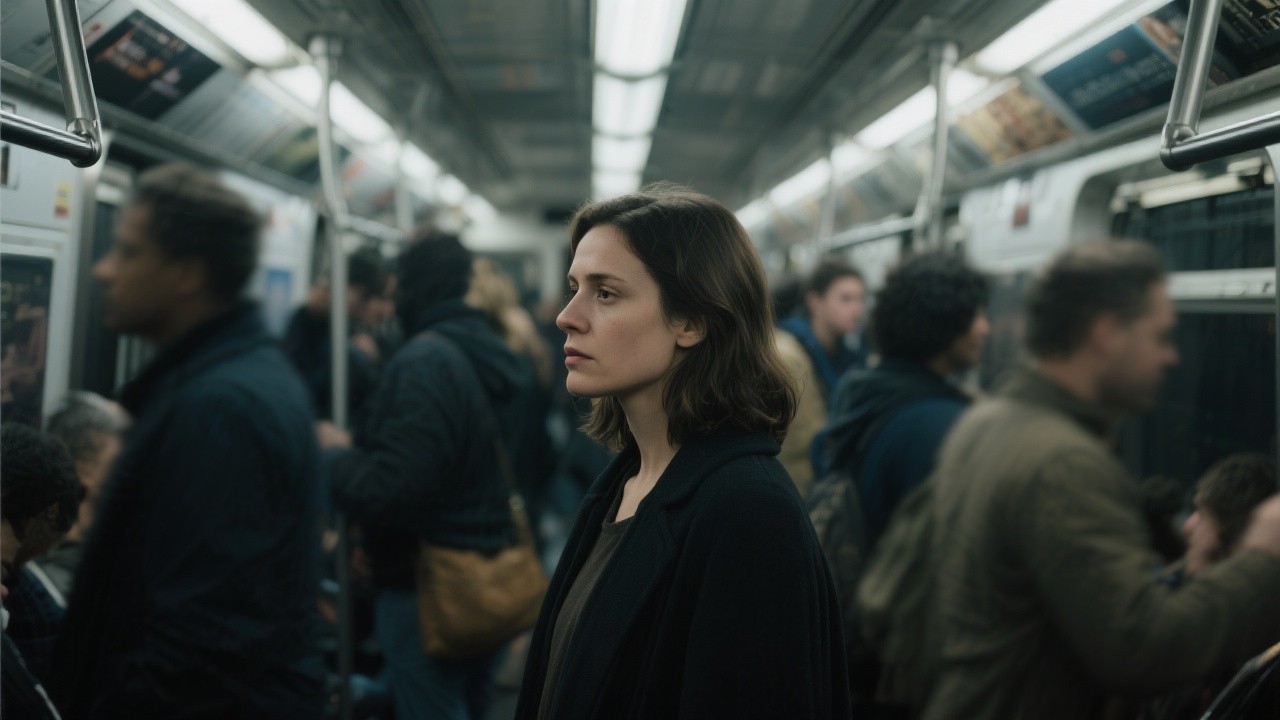
Medium & Medium Close-Up
This shot emphasizes dialogue, emotion, and facial cues while keeping the background visible without distracting from the subject.
Medium Shot: Frames the subject from the waist up—ideal for conversations.
Medium Close-Up: From the chest or shoulders up—more intimate but still contextual.
Example: Most scenes in The Social Network use Medium Close-Ups to highlight emotional shifts during intense dialogue, like Zuckerberg’s depositions.
Unique Insight: These shots are great for balancing focus between the subject and their environment—ideal for two-shots
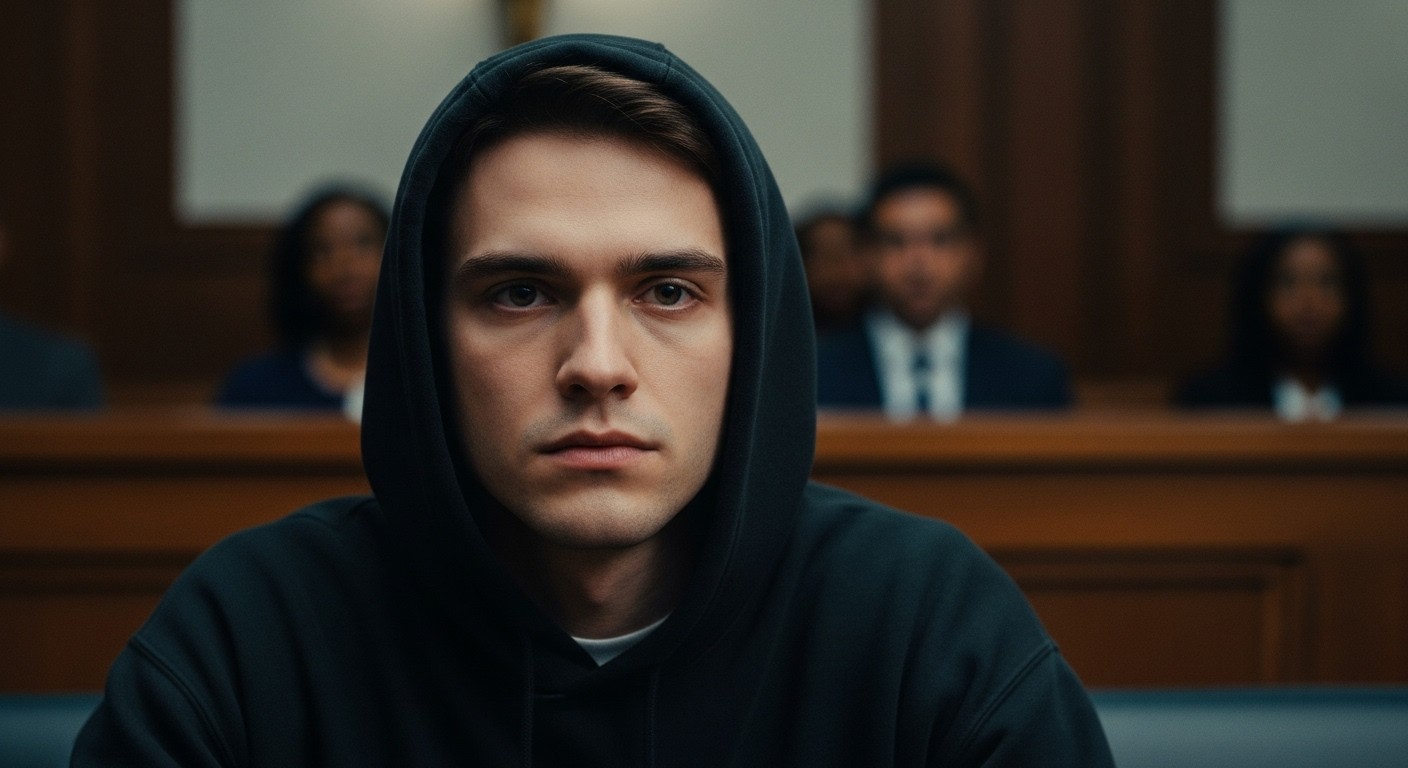
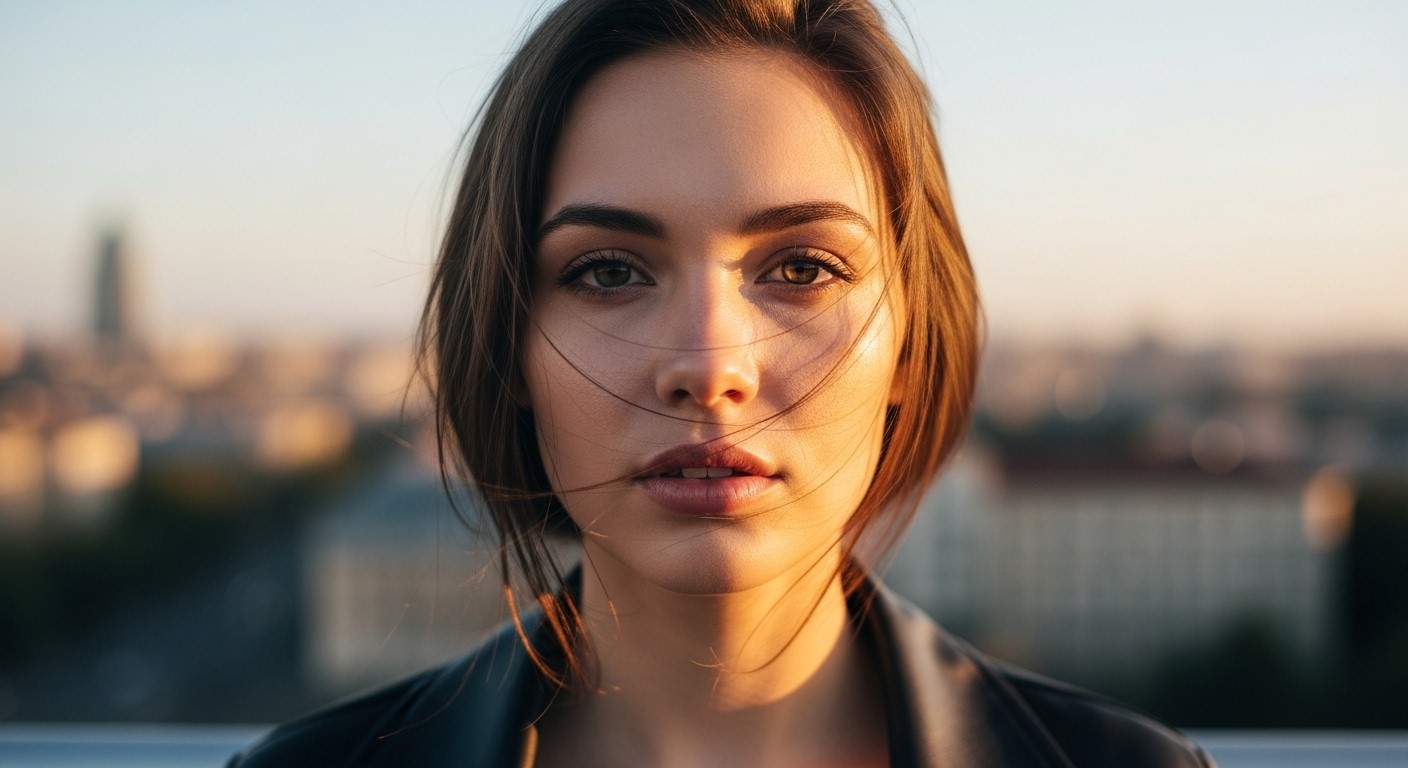
Close-Up (CU)/Extreme Close-Up (ECU) :
Shows only the subject’s face or a specific object to capture clear detail and emotion.
Focuses tightly on a single feature—such as the eyes, mouth, or an isolated object detail.
Purpose: Captures emotional nuance, builds tension, or reveals critical narrative information.
Common Use: Intimate moments, high-stakes scenes, character realizations, or key detail reveals.

For example, in Requiem for a Dream, extreme close-ups of dilated pupils and drug paraphernalia amplify sensory immersion.
Pro Tip: Use ECUs sparingly. Their emotional impact is strongest when built up through narrative tension.
Final Thought on Shot Sizes:
Choosing the right shot size is about intention. What should your audience feel in this moment? Start with that question and build your framing around it.
The Director’s Guide to Camera Angles
Eye-Level
The most neutral, natural angle. Positioned at the subject’s eye line, it presents characters as equals to the viewer.
Use it to: Maintain realism, avoid stylistic distraction.
Insight: Eye-level shots are invisible when used correctly, which makes them powerful for authenticity.
Low Angle
The camera is positioned below the subject, looking up. It makes the subject appear dominant, powerful, heroic, or even intimidating.

Pro Tip: Use subtle upward tilts for psychological dominance without being too obvious—especially effective in dialogue scenes.
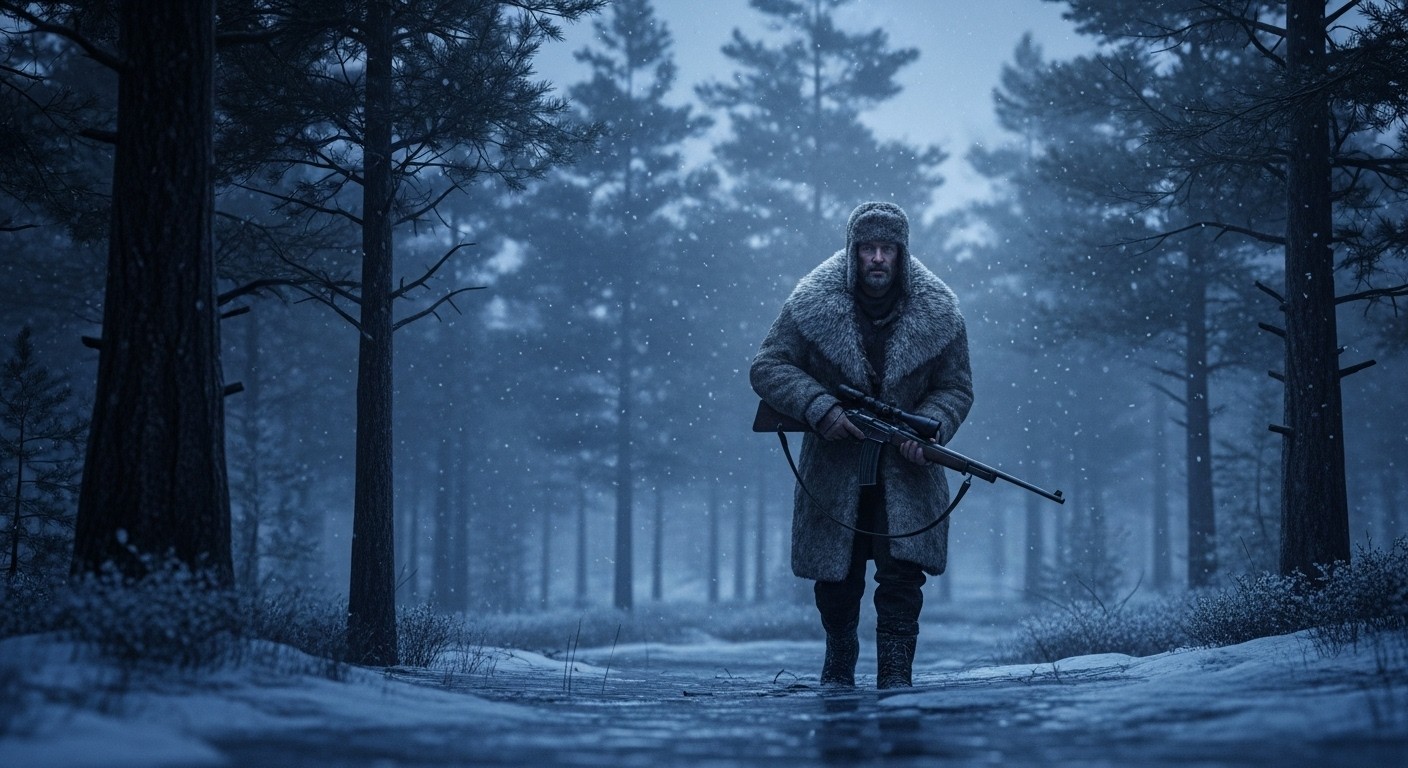
High Angle
The camera is positioned above the subject, looking down for vulnerability, inferiority, fear, or emotional isolation. Common uses are Characters experiencing defeat, children from an adult’s POV, or to evoke sympathy.
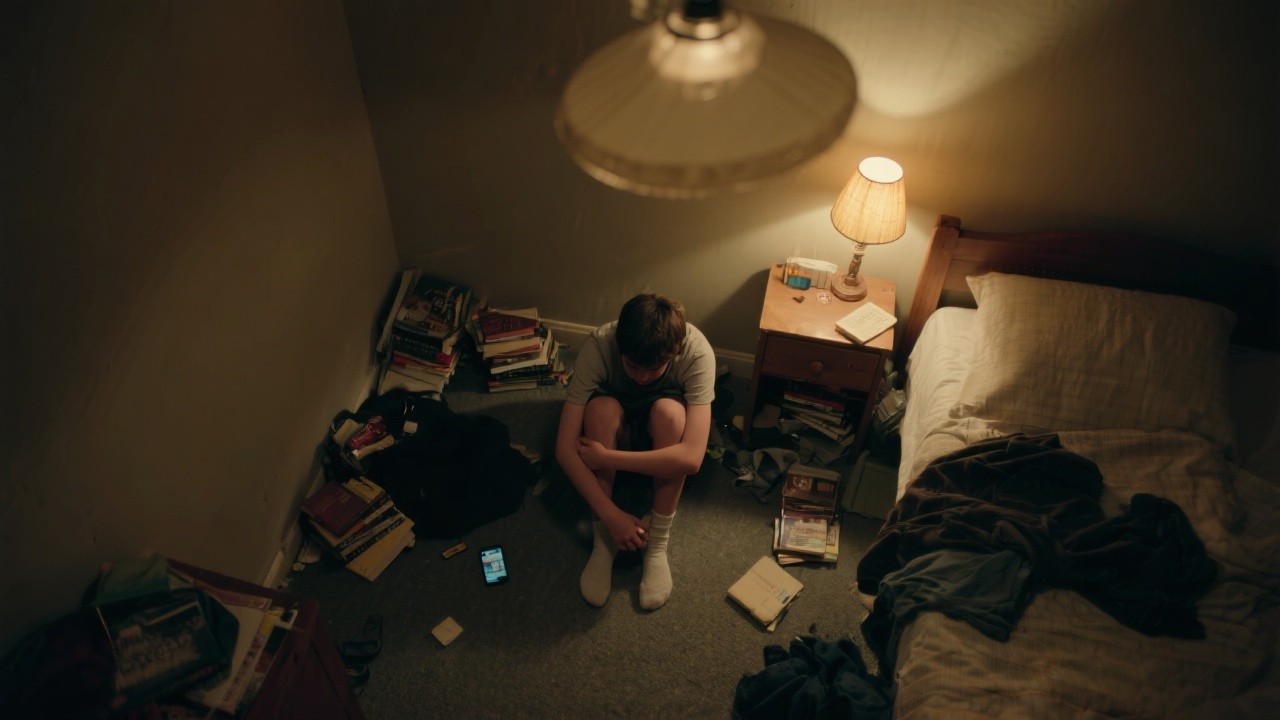
Pro Tip: Combine with wide lenses to exaggerate helplessness or disorientation, especially during key emotional turns.
Hip, Knee, Ground & shoulder Shot
Hip/Knee Shots: Dynamic choices for action or stylized moments—especially in Westerns and samurai films.
Pro Tip: Great for showing physical readiness without revealing facial expression - use it to build suspense.
Ground-Level Shot: Camera is literally on the ground - shows dirt, debris, or emotional rock bottom.
Use Case: Emphasizes vulnerability, crawling movement, or desperation.

Pro Tip: Pair with handheld motion to increase realism and physical tension.
Shoulder-Level Shot: Camera is aligned with a standing subject’s shoulder - slightly lower than eye-level.
Use Case: Makes the shot feel subtly grounded and intimate, while avoiding forced symmetry.
Insight: Shoulder level adds realism without calling attention to itself - especially useful in handheld and docu-style storytelling
Dutch Tilt / Canted Angle
This off-axis tilt adds unease, disorientation, or chaos. It uses to visually convey psychological imbalance.

Pro Tip: Use sparingly - too many Dutch angles can feel gimmicky unless justified by the story.
Aerial and Drone Shots
Once reserved for helicopters, aerial shots are now accessible via drones. These establish scope, geography, or epic scale.

Insight: Combine aerial shots with ambient soundscapes to deepen immersion.
Mastering Framing & Composition Essentials
If shot size determines how much we see, framing decides what we focus on and how we feel about it. Proper framing guides the viewer’s eye, communicates relationships, and can even manipulate subconscious emotion. Mastering framing and composition is what separates amateur-looking footage from truly cinematic visuals.
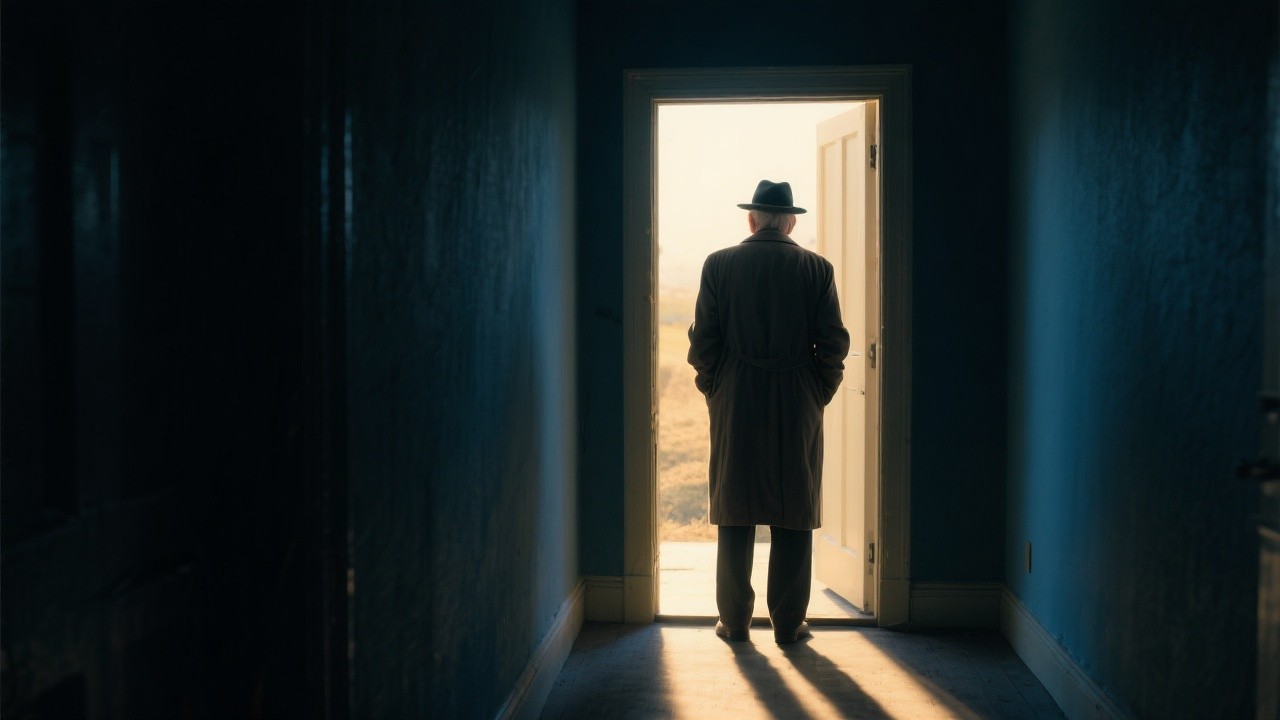
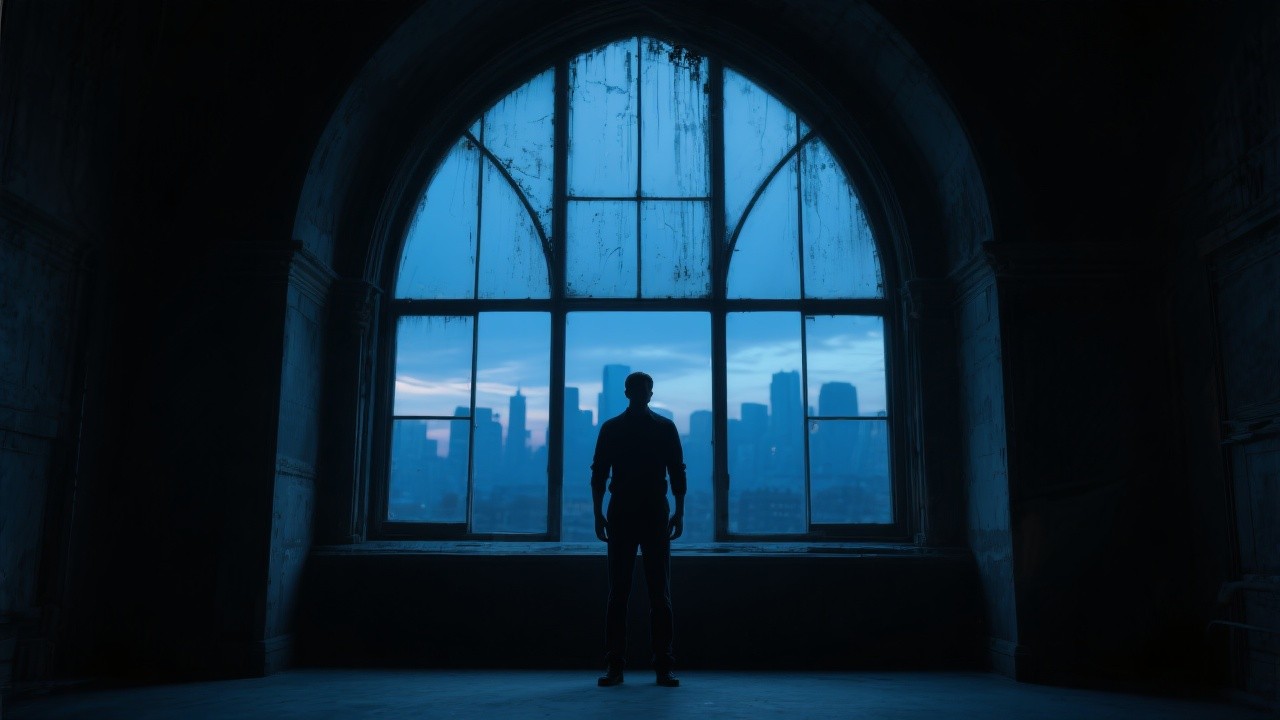
Single Shot
Frames one subject. The most common setup for character-driven storytelling. It uses for to highlight a character’s isolation, focus on their emotional arc, or control pacing.
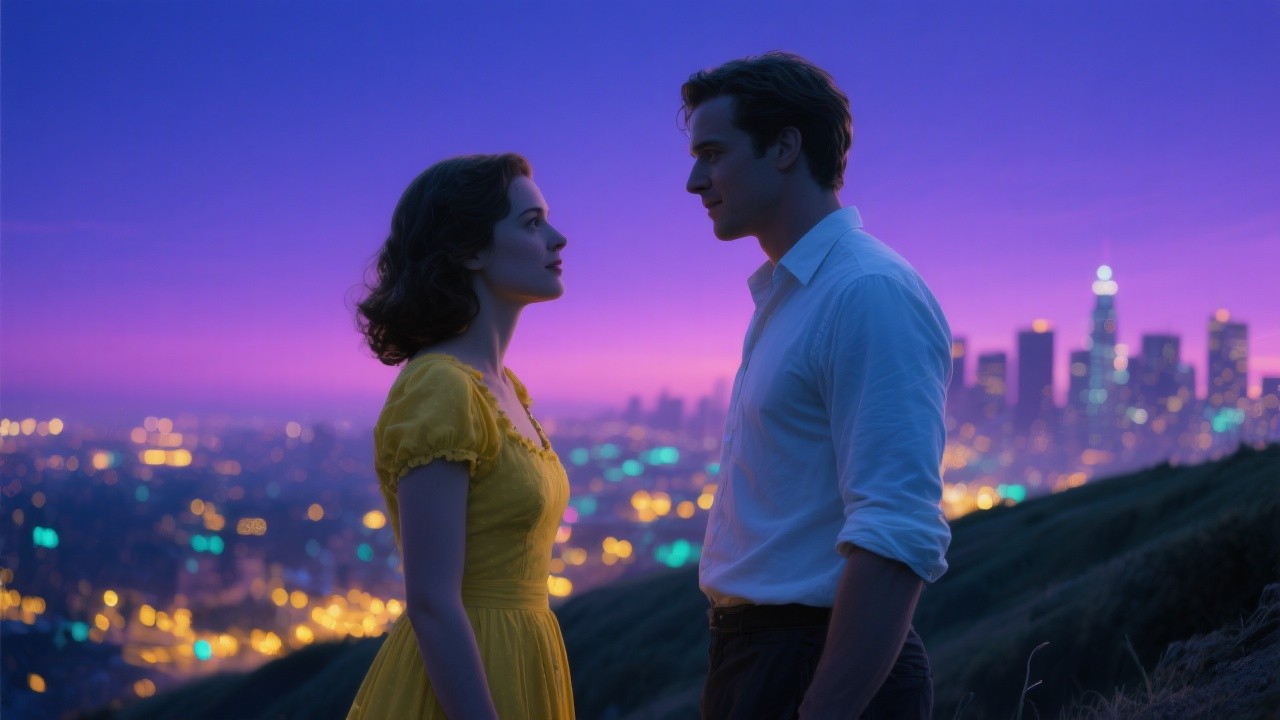
Two-Shot
Includes two characters in the same frame. Great for showcasing chemistry, conflict, or intimacy. It can be side-by-side, facing each other, or over-the-shoulder, depending on the blocking.
Three-Shot
Includes three characters useful for group dynamics or shared reactions.The setup can be linear, triangular, or staggered depending on the staging.
Unique Insight: Don’t feel locked into these numbers—movement can transition a single into a two-shot dynamically. This adds life to your compositions.
Over-the-Shoulder (OTS)
The Over-the-Shoulder shot frames one character from behind the shoulder of another. It’s a cinematic staple in dialogue scenes and adds a layer of intimacy and perspective. Place the viewer into a conversation, create tension or empathy.

Pro Tip: Be aware of eyeline matches. OTS shots demand careful continuity to keep characters looking in believable directions.
Point-of-View (POV)
POV shots replicate what a character sees, placing the viewer in their literal perspective. It uses for to heighten immersion, create empathy, or enhance horror/suspense.

Unique Insight: Use subtle camera shake, slight breathing sounds, or audio cues to deepen the realism of POV shots.
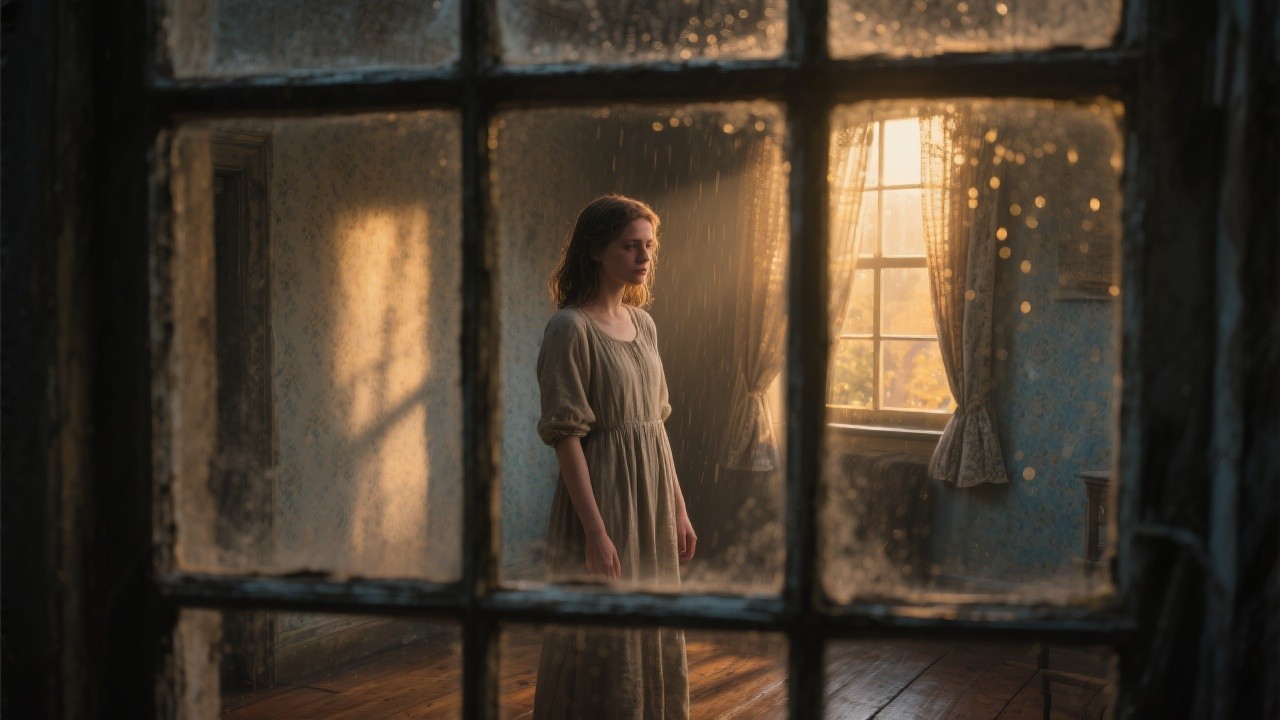
Framing with Foreground Objects
Using elements in the foreground— ike windows, doorways, foliage, or furniture—can create depth, draw focus to the subject, and add visual interest. It subtly guides the viewer’s eye while enhancing the realism or mood of a scene. This technique also helps place characters within a setting, making the frame feel more immersive and cinematic.
🎬 Final Takeaway on Framing
Framing is psychology. It quietly influences emotion, attention, and meaning. When used with purpose, even the simplest setups can feel intentional and cinematic.
Composing Cinematic Frames with AtlabsAI’s Visual Precision
When it's time to bring your visual storyboards to life, AtlabsAI offers intuitive, AI-driven tools to help you craft cinematic shots with remarkable precision. From framing emotion-rich close-ups to planning wide establishing shots, AtlabsAI empowers creators to visualize and refine every frame before production. Explore how AtlabsAI can elevate your compositions—frame by frame. Try it today and see your story take shape visually.