You have a full idea sitting in your head. A scene, a mood, maybe a character who has been living in your notes app for weeks. The problem has never been the idea. It has been the distance between that idea and an actual video, with a consistent-looking character, a voice, motion, lip sync, music, and captions, all pulled from a dozen different tools that don't talk to each other. Atlabs' Create a Blank Story workflow is built to close that distance in one place, starting from a completely empty canvas.
Most AI video tools assume you already have a script, a template, or a product photo to work from. That works fine when the video is short-form and templated, but it breaks down the moment your idea is genuinely original. You need a place to write the story, define what the characters look like once and have them stay consistent across every scene, generate the visuals, animate them, sync a voice to the lips, and layer in music, without exporting files between five different apps. That is what the blank story flow is for.
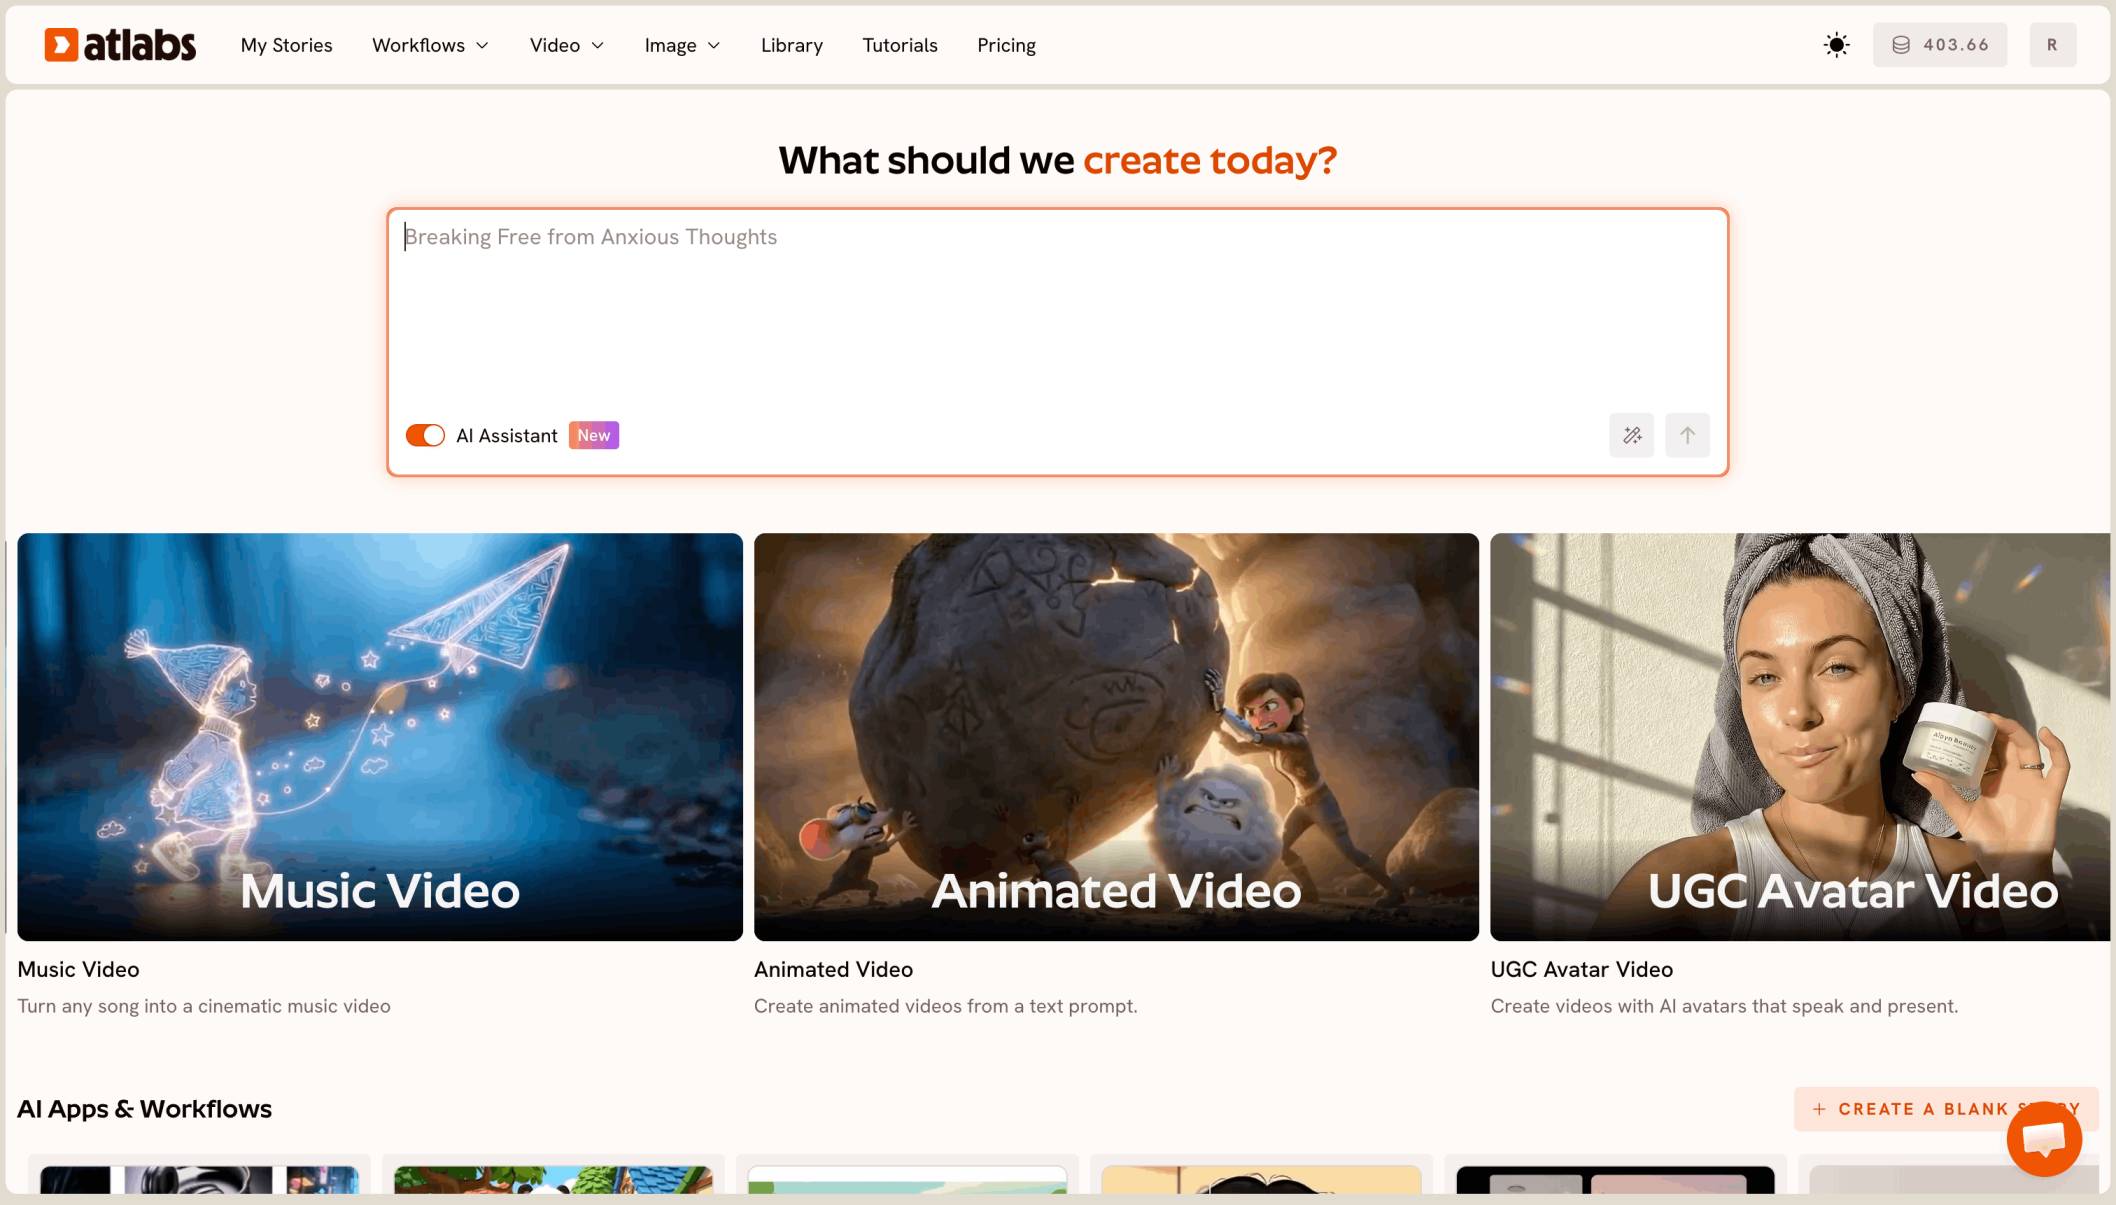
Inside Atlabs, this workflow lives under Workflows in the top bar of the dashboard. After logging in, the hero section on the dashboard surfaces the full set of workflows, but for a project with no script and no existing assets, you want the Create a Blank Story option specifically. Selecting it opens a setup screen where you choose the language you want to write the story in and the visual style for the whole video, options like 3D Cartoon, Anime, Realistic, or Storybook among others. Clicking Create Story takes you into the actual story editor, which is where the rest of the work happens.

Step-by-step walkthrough
Inside the story editor, you can add new scenes, edit any existing scene, and change the aspect ratio for the project. This is also where you build your cast. Click to add a character and you'll get three options: select one from the built-in library, upload your own reference image, or create a character from scratch. For a fully custom character, you fill in a name, age, gender, and physical description (hair, eyes, build), then describe the clothing separately, for example a blue dress with white lace sneakers. You can also select a voice for the character and preview it before confirming.


Once your characters exist, write the scene description in plain language and tag each character with @ so the system locks in their appearance. This is the detail that matters most for anything narrative: if you tag a character, their clothing and look stay consistent across every image and scene you generate afterward. Anything you deliberately leave untagged, like a background extra, is free to vary. Click Generate Image once the scene description is ready.

If the generated image is almost right but one detail is off, you don't need to start over. Click Edit Image, attach the image (or tag the @character directly), and describe just the change you want, for instance switching a red dress to a different color. The rest of the scene stays untouched. A history panel keeps the previous version and the edited version side by side, so you can compare and roll back if the edit didn't land the way you wanted.
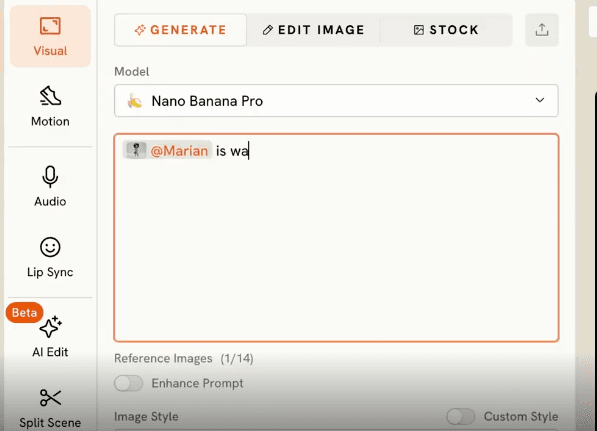
With the visual locked, the next step is generating motion. Select a model from the dropdown for this step, and if you're not sure how to phrase the motion prompt, the Magic option can help fill it in. From here you set the clip's duration, resolution, and whether the generation should include sound.

Once you have a moving clip, you can layer in lip sync. Select a lip sync model from the dropdown, for example Omnihuman, and check whether that model works on video or on still images, since not every lip sync model supports both. The input media type has to match what the model expects. You can also tag @ to add pauses and emotional beats to the delivery, and once the lip sync generates, you can drag the clip along the scene timeline to adjust its exact placement and duration.

Repeat scene by scene: write, tag characters, generate the image, generate motion, apply lip sync where the scene needs dialogue. When your scenes are built out, you can add music from the built-in music library and turn on captions for the finished video.
Why this workflow holds up over a full project
The part that actually saves time here isn't any single generation step, it's that tagging a character with @ keeps their appearance consistent without you having to re-describe them in every scene. That single habit is what makes a multi-scene story hold together visually instead of drifting the way a lot of AI-generated sequences do. The Edit Image step matters for the same reason: when a generation is 90 percent right, you can fix the 10 percent without regenerating the whole shot and risking a different result. And because motion and lip sync each let you pick a model from a dropdown, you're not locked into one engine's particular strengths for the entire project, you can match the model to what each individual clip needs.
Example prompts
"Marion is walking through a quiet forest with her best friend, a purple panther, weaving between tall pine trees. Late afternoon light filters through the canopy in warm gold shafts. Camera tracks alongside them at eye level, slow and steady. Mood is calm and a little wistful." Try this prompt in the Create a Blank Story workflow.
"Marion stands near a still forest pond at dusk, her purple panther friend sitting beside her. Reflections of the trees ripple faintly on the water's surface. Wide shot, static camera, soft blue and orange lighting. Mood is quiet and reflective." Try this prompt in the Create a Blank Story workflow.
"Two children run laughing through a sunlit meadow, chasing a small kite. Handheld camera following behind them, slightly bouncy. Bright midday light, saturated colors, playful energy." Try this prompt in the Create a Blank Story workflow.
"Marion sits cross-legged in her bedroom at night, telling her panther friend a story by lamplight. Close, intimate framing, warm amber lighting, gentle shadows on the walls." Try this prompt in the Create a Blank Story workflow.
"A market street scene at golden hour, characters weaving between stalls, fabric awnings fluttering in the breeze. Wide establishing shot with a slow push in. Warm, saturated, lively mood." Try this prompt in the Create a Blank Story workflow.
Pro tips
Tag every character you want to stay visually consistent from the very first scene, not partway through. Retrofitting consistency onto scenes you generated before you started tagging usually means regenerating them. When a generation is close but not right, reach for Edit Image before you reach for Generate again, it's the faster path and it protects the parts of the shot that were already working. And before you commit to a lip sync model, check whether it's built for video input or image input, since applying the wrong media type to a model is the most common reason a lip sync generation fails on the first try.
FAQ
Do I need a script before starting a blank story? No. The workflow is built for starting with nothing but an idea, you write and generate scene by scene inside the editor rather than uploading a finished script upfront.
How does character consistency actually work? You tag a character with @ inside a scene description, and the system carries their defined appearance, including clothing, into that generation. Untagged elements are free to vary between scenes.
Can I fix a small detail without regenerating the whole scene? Yes, the Edit Image step is built exactly for that, you describe only the change and the rest of the image stays as it was, with both versions kept in the history panel.
Does every lip sync model work the same way? No, some models are built for still images and others for video input, so it's worth checking which type a given model supports before applying it to your clip.
Can I use different models for different scenes in the same story? Yes, both the motion step and the lip sync step let you pick a model per generation, so you're not locked into one engine for the whole project.
Final verdict
Starting from a blank page is usually where AI video tools ask you to already have most of the work done, a script, a product photo, a template. The Create a Blank Story workflow is built for the opposite case, when all you have is the idea for a character and a story you want to see move. Writing, character creation, image generation, motion, lip sync, music, and captions all live inside the same story timeline, which is what actually makes a multi-scene project holdable without losing consistency along the way. If you have an idea that doesn't fit a template, it's worth building the first scene yourself at atlabs.ai.