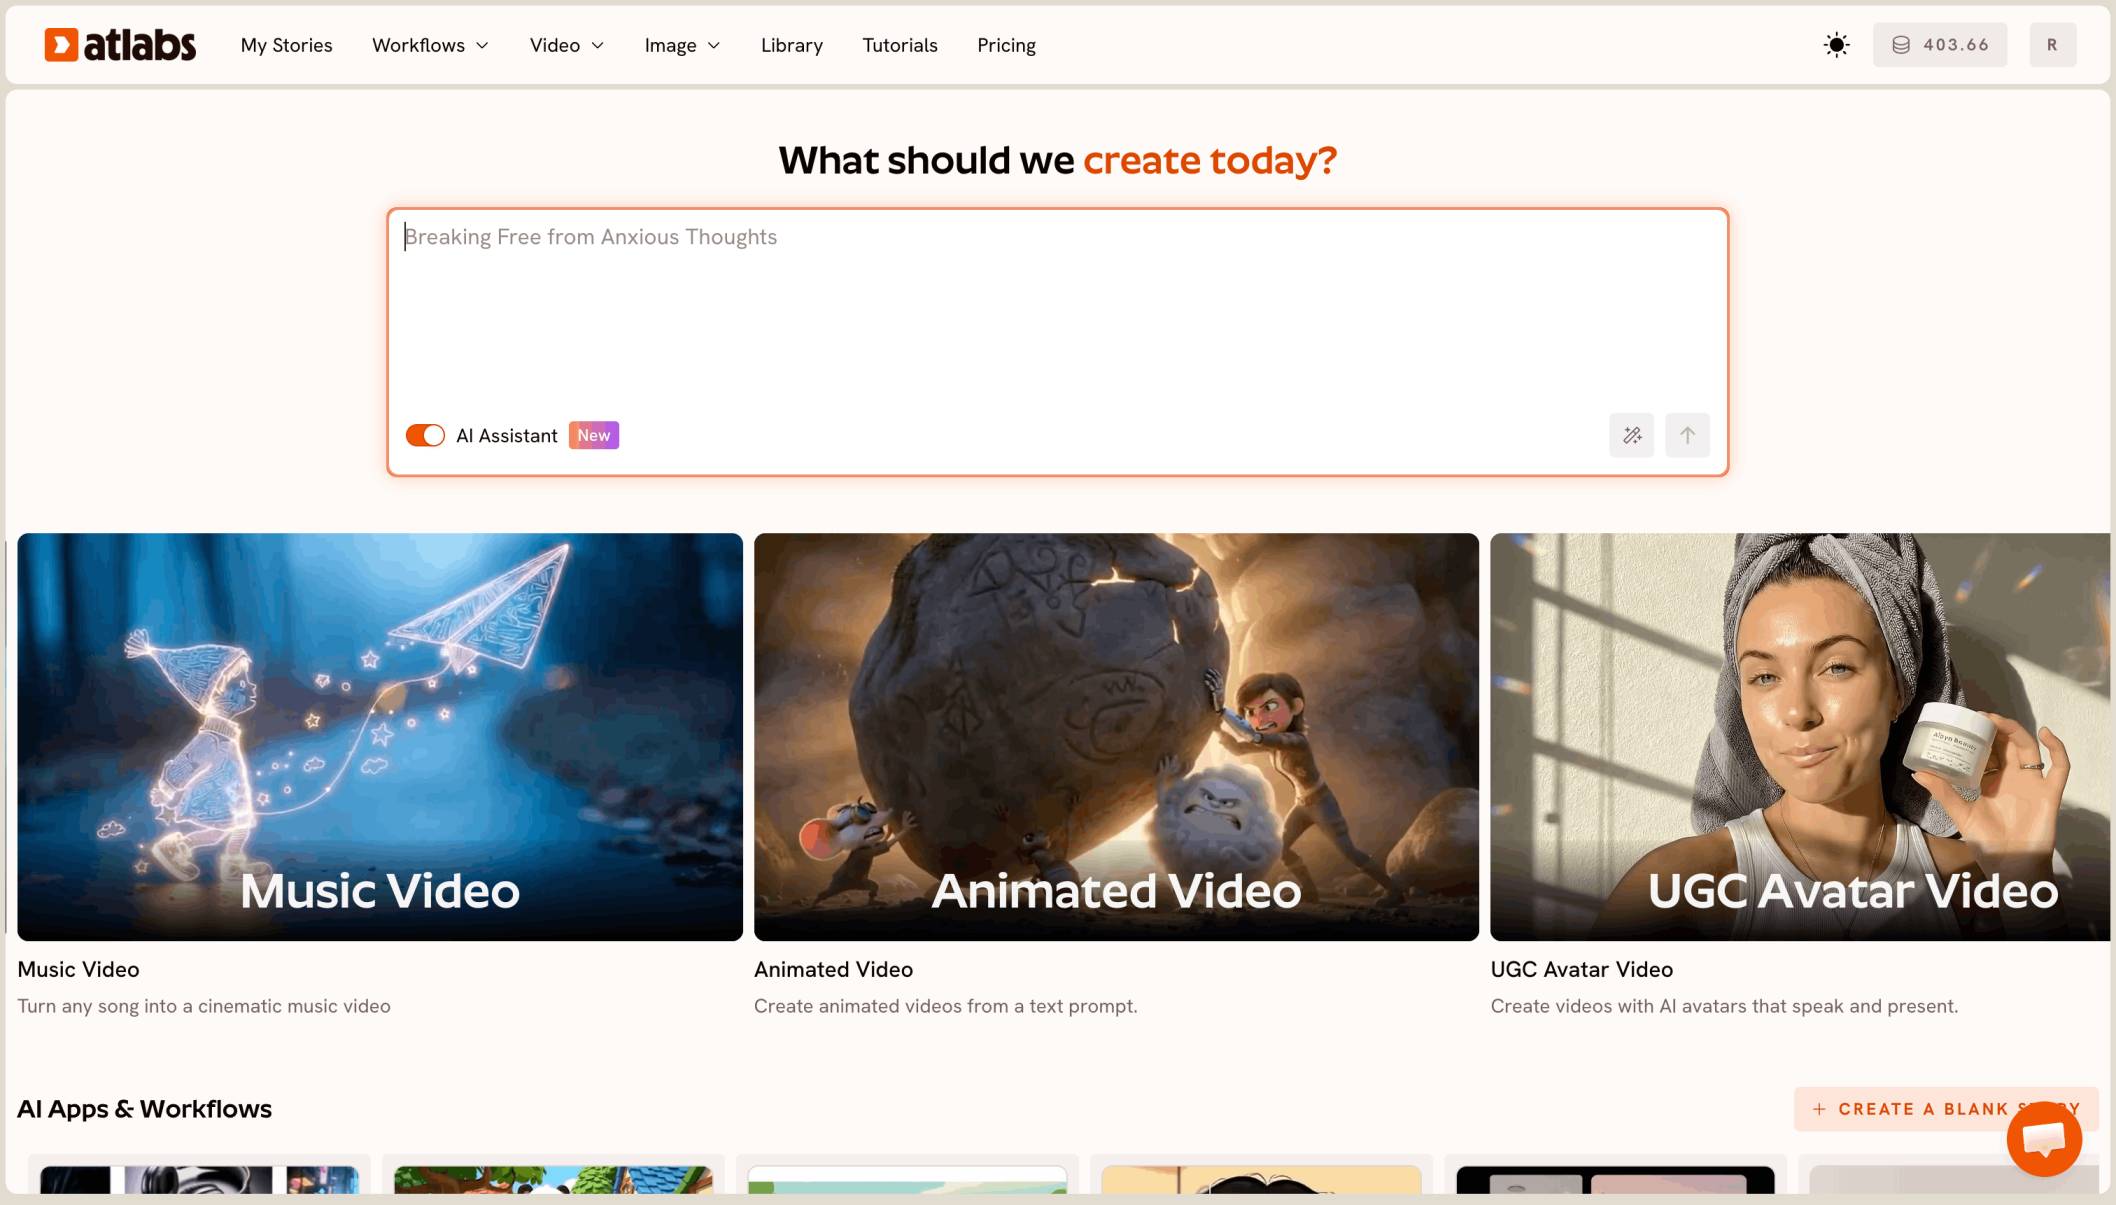
The fastest way to make a dental explainer video in 2026 is a script to video workflow: paste the explanation you already give patients, pick an animation style, cast a narrator, and the platform generates the finished narrated video with cuts, captions and motion graphics already applied. A 90 second video on root canals, implants or clear aligners takes about ten minutes end to end.
Every dentist has an explanation they have given a thousand times. Why the crown and not just a filling. What actually happens during a root canal and why it does not hurt the way people think. Why the deep cleaning is four appointments. That explanation is the single highest value asset in the practice, because a patient who understands the treatment says yes to it, and a patient who does not understands only the number at the bottom of the plan.
This guide covers the five step workflow, the twelve videos worth making first, how to write scripts that actually change case acceptance, and what to keep out of a dental video on privacy and advertising grounds.
The Five Step Workflow at a Glance
You add your script. You set your style. You finalise your cast. You generate, then edit at the scene level. You publish with the Global Release Kit.
Steps one through three take about four minutes once the script exists, and the script is the part you already know by heart because you say it out loud several times a week.
Open the Atlabs Explainer Video Workflow
Why Dental Practices Are Making Their Own Videos in 2026
The old options were a stock video library, where every practice in town runs the same generic animation, or a production company, where a single video costs more than a chair and takes six weeks.
Three things changed. Production cost dropped to the point where a practice can make twelve videos instead of one, which means you can cover every procedure you actually perform rather than only the two the stock library included. Animation quality improved to where a clean vector explainer looks professional on a waiting room screen and on a phone. And the workflow collapsed, so the person making the video is the practice manager on a Tuesday afternoon rather than an agency.
The reason it matters commercially is case acceptance. Treatment plans get declined for two reasons: cost, and not understanding why the treatment is necessary. You cannot do much about the first in a two minute conversation. You can do a great deal about the second with a 90 second video the patient watches in the chair while the room is turned over, and again at home when they tell their partner about it.
What You Need Before You Start
A script and a free account. No camera, no voice talent, no editing.
The script is not a writing job, it is a transcription job. The next time you explain a root canal to a patient, write down what you said afterwards. That is 150 to 220 words and it is better than anything an agency would write, because it is the version that already works on real patients in your chair.
Pricing starts free, with paid plans from $15 per month. Trustpilot rating: 4.5/5. Make one video on the free plan, put it on the waiting room screen for a week, and see whether patients mention it before you spend anything.
Step by Step: Make a Dental Explainer Video in 10 Minutes
Step 1: Add Your Script
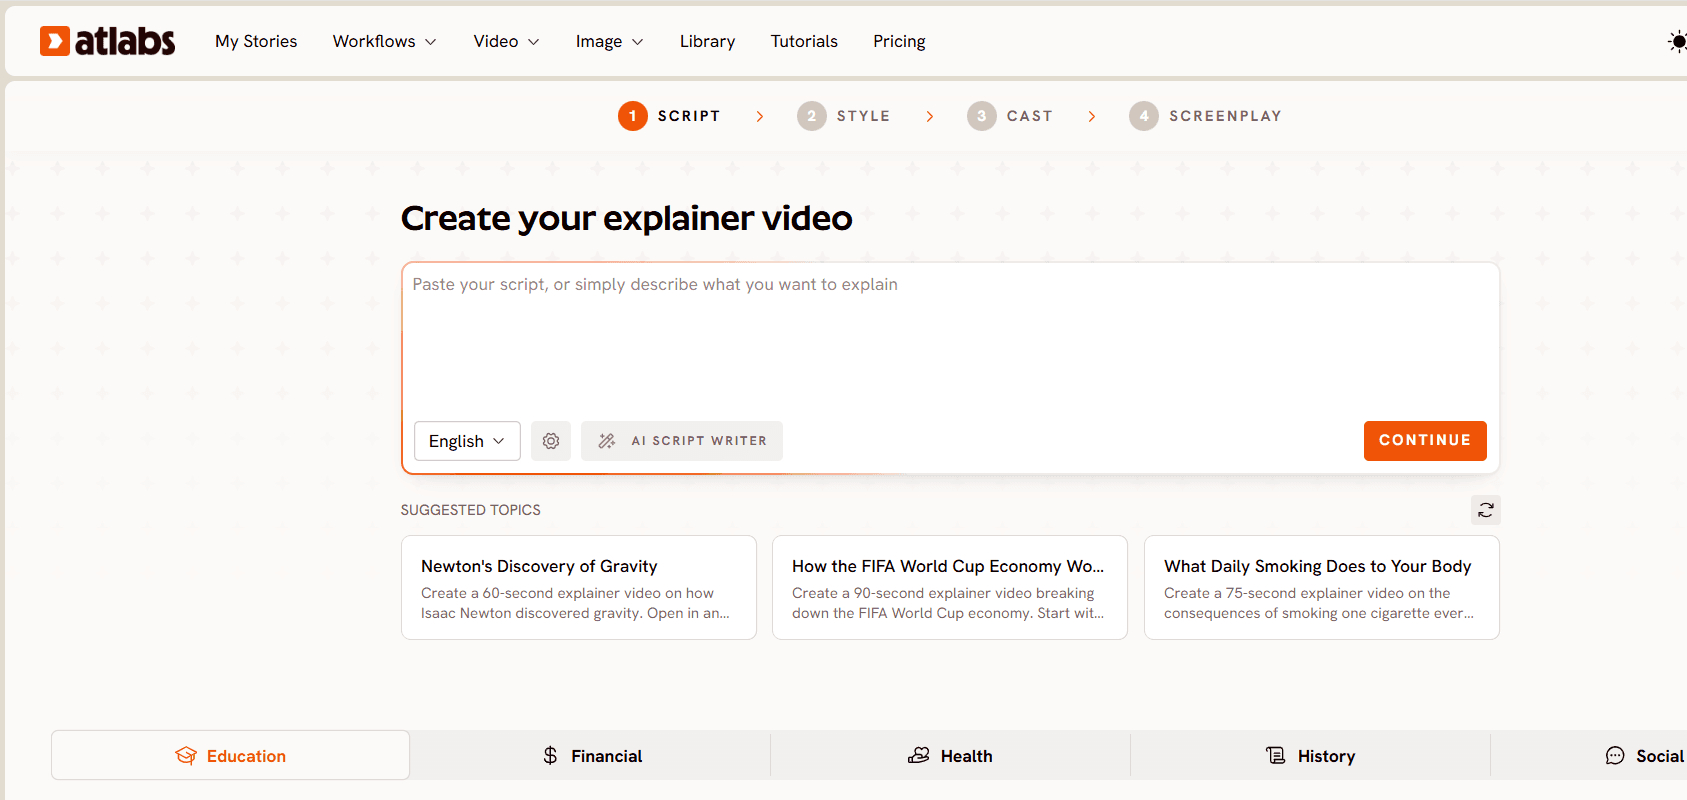
Open the workflow and paste your script. If you would rather start from an outline, the built in AI Script Writer will draft a version you can correct, and a language selector sets the output language. Whatever it drafts, edit it yourself. Clinical accuracy is not something to delegate to a first draft.
Write to the arc that changes minds: here is what is happening in your mouth, here is what we do about it, here is what happens if we wait, here is the next step. That last part matters. A video that explains a crown beautifully and ends without telling the patient to book produces nods, not appointments.
Keep the language at the level you would use with a nervous patient, not the level you would use with a colleague. "The nerve inside the tooth is infected" lands. "Irreversible pulpitis" does not.
Leave specific fees out of the script. Fees change, insurance changes, and a video that quotes a number becomes wrong before it becomes old. Explain what the treatment involves and let the treatment coordinator handle the figure.
Paste Your Script and Generate Free
Step 2: Set Your Style
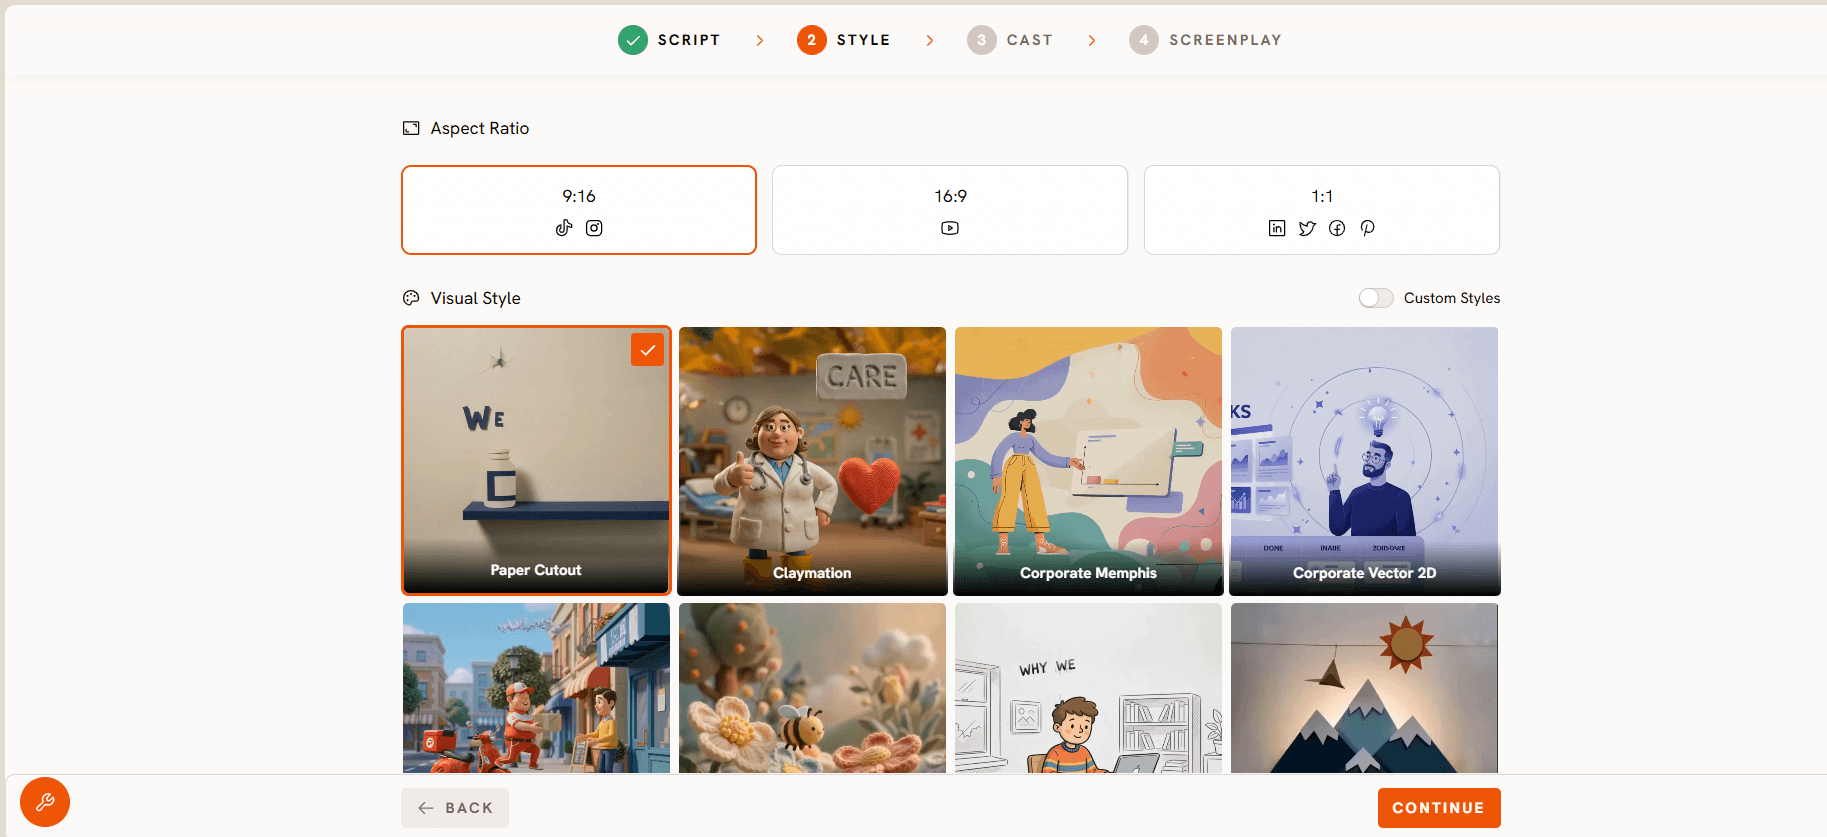
Pick your aspect ratio first. 16:9 for the waiting room screen, the operatory screen and your website. 9:16 if the same content is going to Instagram or TikTok, which for dental it usually should. You can produce both later in step five, so choose your primary now.
Then choose from the library of more than 30 animation styles. For dental, calm and clean beats dramatic every time, because a meaningful share of your audience is anxious about the subject before the video starts. Corporate vector and simple illustrated styles carry clinical explanation without triggering anyone. Whiteboard doodle works well for anything sequential, like the stages of an implant or an aligner timeline.
Pick one style and keep it across every video. Twelve videos in one style read as a practice with a brand. Twelve videos in twelve styles read as a folder.
There is a custom style option if your practice branding is well defined and you want the series to sit inside it.
Step 3: Finalise Your Cast
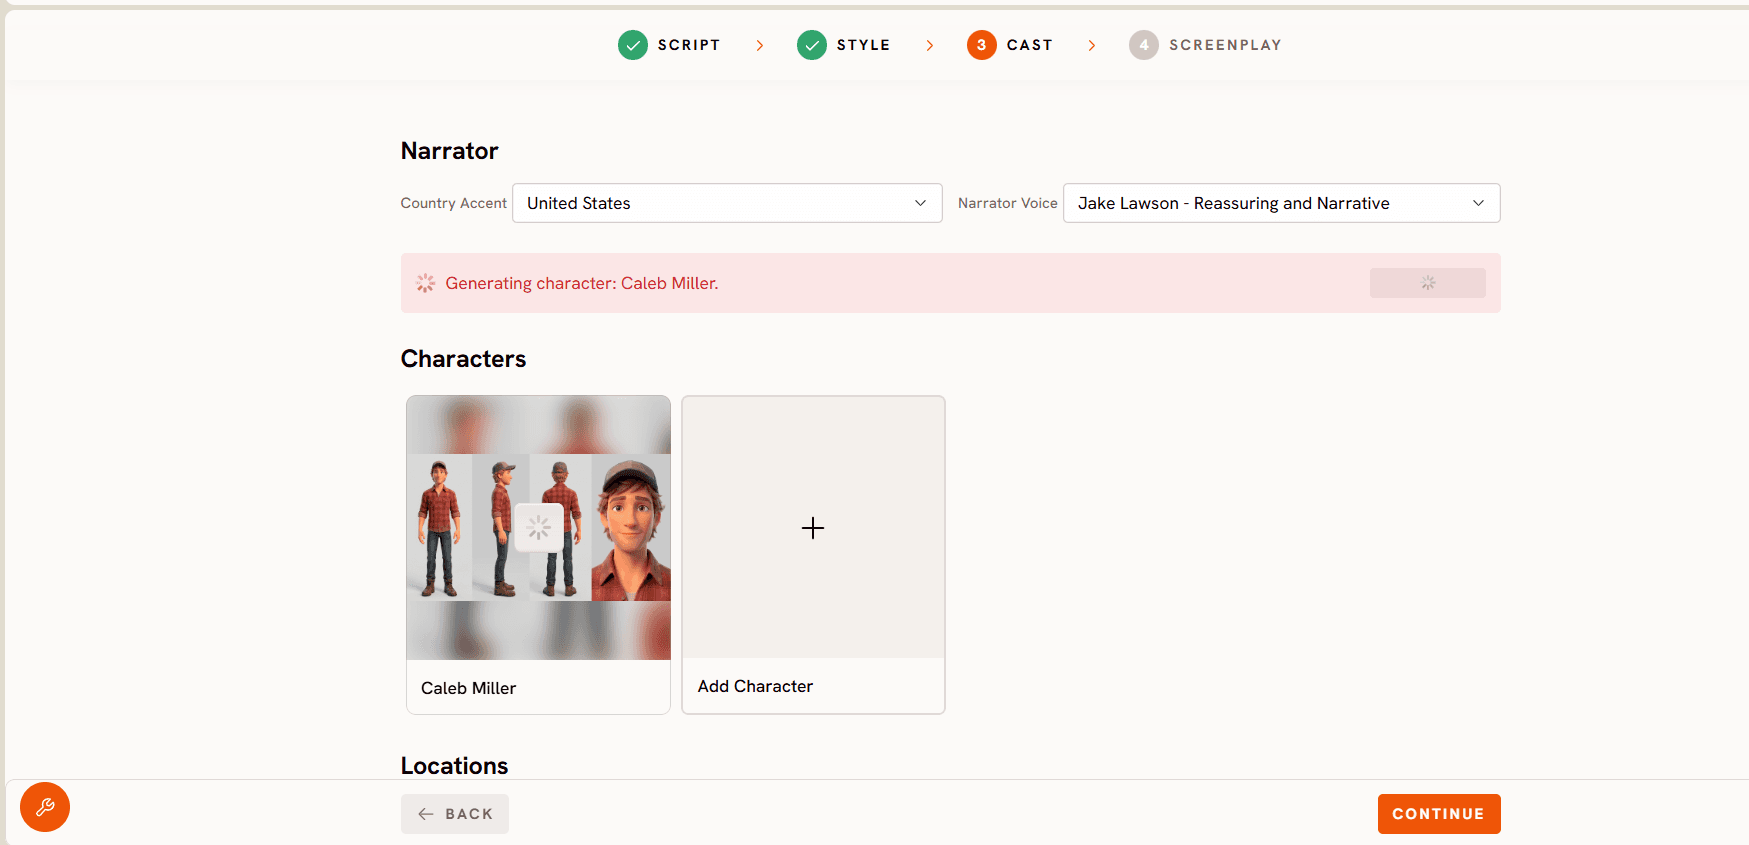
Choose a narrator. Pick an accent that matches your patient base, and pick a calm voice rather than an energetic one. This is dental content. Nobody wants enthusiasm about a root canal.
Add characters. A patient character and a dentist character cover most videos. Keep them generic. Do not build a character designed to resemble you, a named associate or an identifiable patient, for reasons covered below.
Lock your recurring objects, the chair, the tooth model, the aligner tray, so the same visual vocabulary appears across the whole series. The Consistent Cast system holds all of it from video one to video twelve, which is what makes the library feel like it came from your practice rather than from a stock site.
Step 4: Finalise and Edit at the Scene Level
Generate. The video renders in one pass with narration, cuts, captions and motion graphics already applied. Captions matter more here than in most categories, because waiting room screens play silent.
Then review scene by scene. Check the clinical explanation the way you would check a treatment note. If scene three oversimplifies something in a way that could mislead, rewrite scene three and regenerate that scene only. The rest of the video does not move.
Build the habit now, because this is what keeps the library accurate. When you change a protocol, change a material, or update your post-op instructions, you are editing one scene of one video rather than commissioning a replacement.
Try Scene Level Editing on a Free Video
Step 5: Publish Everywhere with the Global Release Kit
Once the video is right, the Global Release Kit translates it into more than 40 languages, reframes it for other platforms and generates a thumbnail in one click.
For dental this is not a nice extra. Most practices serve at least one significant language community that gets a worse explanation than everyone else, usually delivered through a family member translating in the operatory. Producing the same video in the two or three languages your patients actually speak takes one extra step here and changes how well those patients understand what you are recommending.
Then put the files where patients are: the waiting room loop, the operatory screen, your website's treatment pages, your Google Business profile, the automated email that goes out when a treatment plan is presented, and social.
Watch the Full Atlabs Explainer Video Tutorial
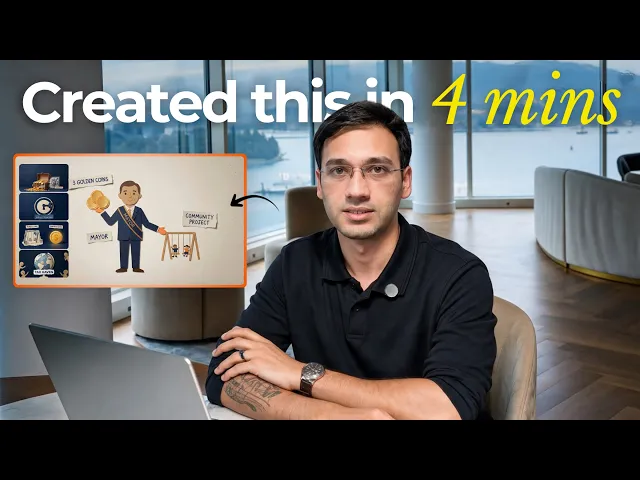
If you want to watch the workflow before trying it, the full Atlabs tutorial covers pasting the script, choosing the style, casting the narrator, generating and editing at the scene level.
The demo uses a general script, but every step maps onto a dental one. Swap in your root canal explanation and the process is identical.
Watch the Tutorial, Then Build Yours Free
The Twelve Videos to Make First
Start with the treatment plan drivers, because these pay for themselves fastest. Root canal, what it is and why it saves the tooth. Crown versus filling, and why the crown is being recommended. Dental implant, the full timeline from extraction to final restoration. Deep cleaning and periodontal disease, which is the most declined and least understood plan in most practices. Clear aligners, what the process actually involves week to week.
Then the anxiety reducers. What happens at your first visit, aimed at new patients. Sedation options, explained calmly. Why we take X-rays and how often.
Then the operational ones that save staff time every single day. Post-operative instructions after an extraction. How to care for a new crown or implant. Understanding your insurance and what a benefit maximum actually means. How to brush and floss properly, which every hygienist explains twenty times a week.
Twelve videos at ten minutes each is two afternoons. The insurance one alone will save your front desk more time than it took to make the whole library.
What to Keep Out of a Dental Video
A few things belong on the exclusion list from the start.
No real patients, no real records. Do not use a real patient's images, X-rays, scans or story, and do not build a character that resembles an identifiable patient. Patient information is protected, and consent for clinical use is not consent for marketing use. An animated video sidesteps this entirely, which is part of why the format suits the category.
No before and after implications you cannot support. Advertising rules for dentists vary by jurisdiction and by board, and they commonly address before and after imagery, testimonials and claims about results. Illustrated depictions of a typical outcome should be clearly typical rather than presented as a specific patient's result.
No guarantees. "Most patients report" survives review in a way that "you will" does not. Nothing in a patient education video should promise a clinical outcome.
No specific fees, as above, and no insurance coverage promises. Explain how benefits work in general terms and leave the specifics to the conversation.
No superlatives about the practice. Keep patient education content educational. Claims like best or painless belong nowhere near a clinical explainer, and in many jurisdictions belong nowhere near dental advertising at all.
This is general guidance on what to keep out of a production, not legal advice. Advertising and privacy rules differ by country, state and board, so run your first video past whoever handles compliance for the practice.
Pro Tips for Dental Explainers That Change Case Acceptance
Make the video answer the objection, not the procedure. The video that moves the needle on periodontal treatment is not "what is scaling and root planing", it is "why can't we just do a regular cleaning". Write to the question patients actually ask.
Keep it under 90 seconds and one procedure per video. A patient waiting for anaesthetic to take will watch 90 seconds. They will not watch five minutes.
Show the consequence of waiting, calmly and without scare tactics. "The crack spreads and the tooth needs more work later" is honest, useful and persuasive. Pain imagery is none of those things.
Play them where the decision happens. The waiting room loop builds general awareness. The operatory screen, playing the specific video for the treatment just recommended while the patient waits, is where acceptance actually changes.
Attach the right video to the treatment plan email. The patient goes home and explains your recommendation to a partner who was not in the room. Right now they do that from memory. Give them the video instead.
Update the post-op videos whenever your instructions change. That is a scene level edit, not a new production.
Final Verdict
Dental explainer video used to be a marketing budget question. In 2026 it is a Tuesday afternoon. The explanation that works is already in your head, the workflow turns it into a finished video in about ten minutes, and captions, narration and translation into more than 40 languages come with it.
Start with the one you are most tired of giving. Write down what you said to the last patient, build it, and put it on the operatory screen. If the next few patients ask better questions, make the other eleven.
Open the Atlabs Workflow and Make Your First Video Free
Frequently Asked Questions
Can I make a dental explainer video for free?
Yes. Atlabs pricing starts free, with paid plans from $15 per month, so you can build one patient education video and test it in the practice before spending anything.
How long does it take to make one?
About ten minutes for a 90 second video once the script is written. Script, style and cast take roughly four minutes, generation runs in one pass, and scene level review takes a few minutes more.
How long should a patient education video be?
60 to 90 seconds, which is a 150 to 220 word script, covering one procedure. Patients watch short videos in the chair and abandon long ones. Atlabs can create 20 seconds video in one go.
Do I need any video or animation experience?
No. The video generates with cuts, captions and motion graphics already applied, so there is no editing timeline and no separate captioning step.
Can I use my own patients' cases in the video?
No. Keep real patients, their images, records and stories out of marketing content. Animated characters should be generic and should not resemble identifiable patients, which is one of the practical advantages of an illustrated format in this category.
What happens when a protocol or a material changes?
You rewrite that scene and regenerate only that scene. Scene level editing means an update takes minutes rather than a new production.
Can I make the videos in other languages for my patients?
Yes. The Global Release Kit translates the finished video into more than 40 languages with reframing and thumbnails included, which is often the single highest value step for a practice serving a multilingual patient base.
Where should the videos actually be used?
The operatory screen at the moment a treatment is recommended, the waiting room loop, your website treatment pages, the treatment plan email that goes home with the patient, and social. The operatory screen is where case acceptance changes.