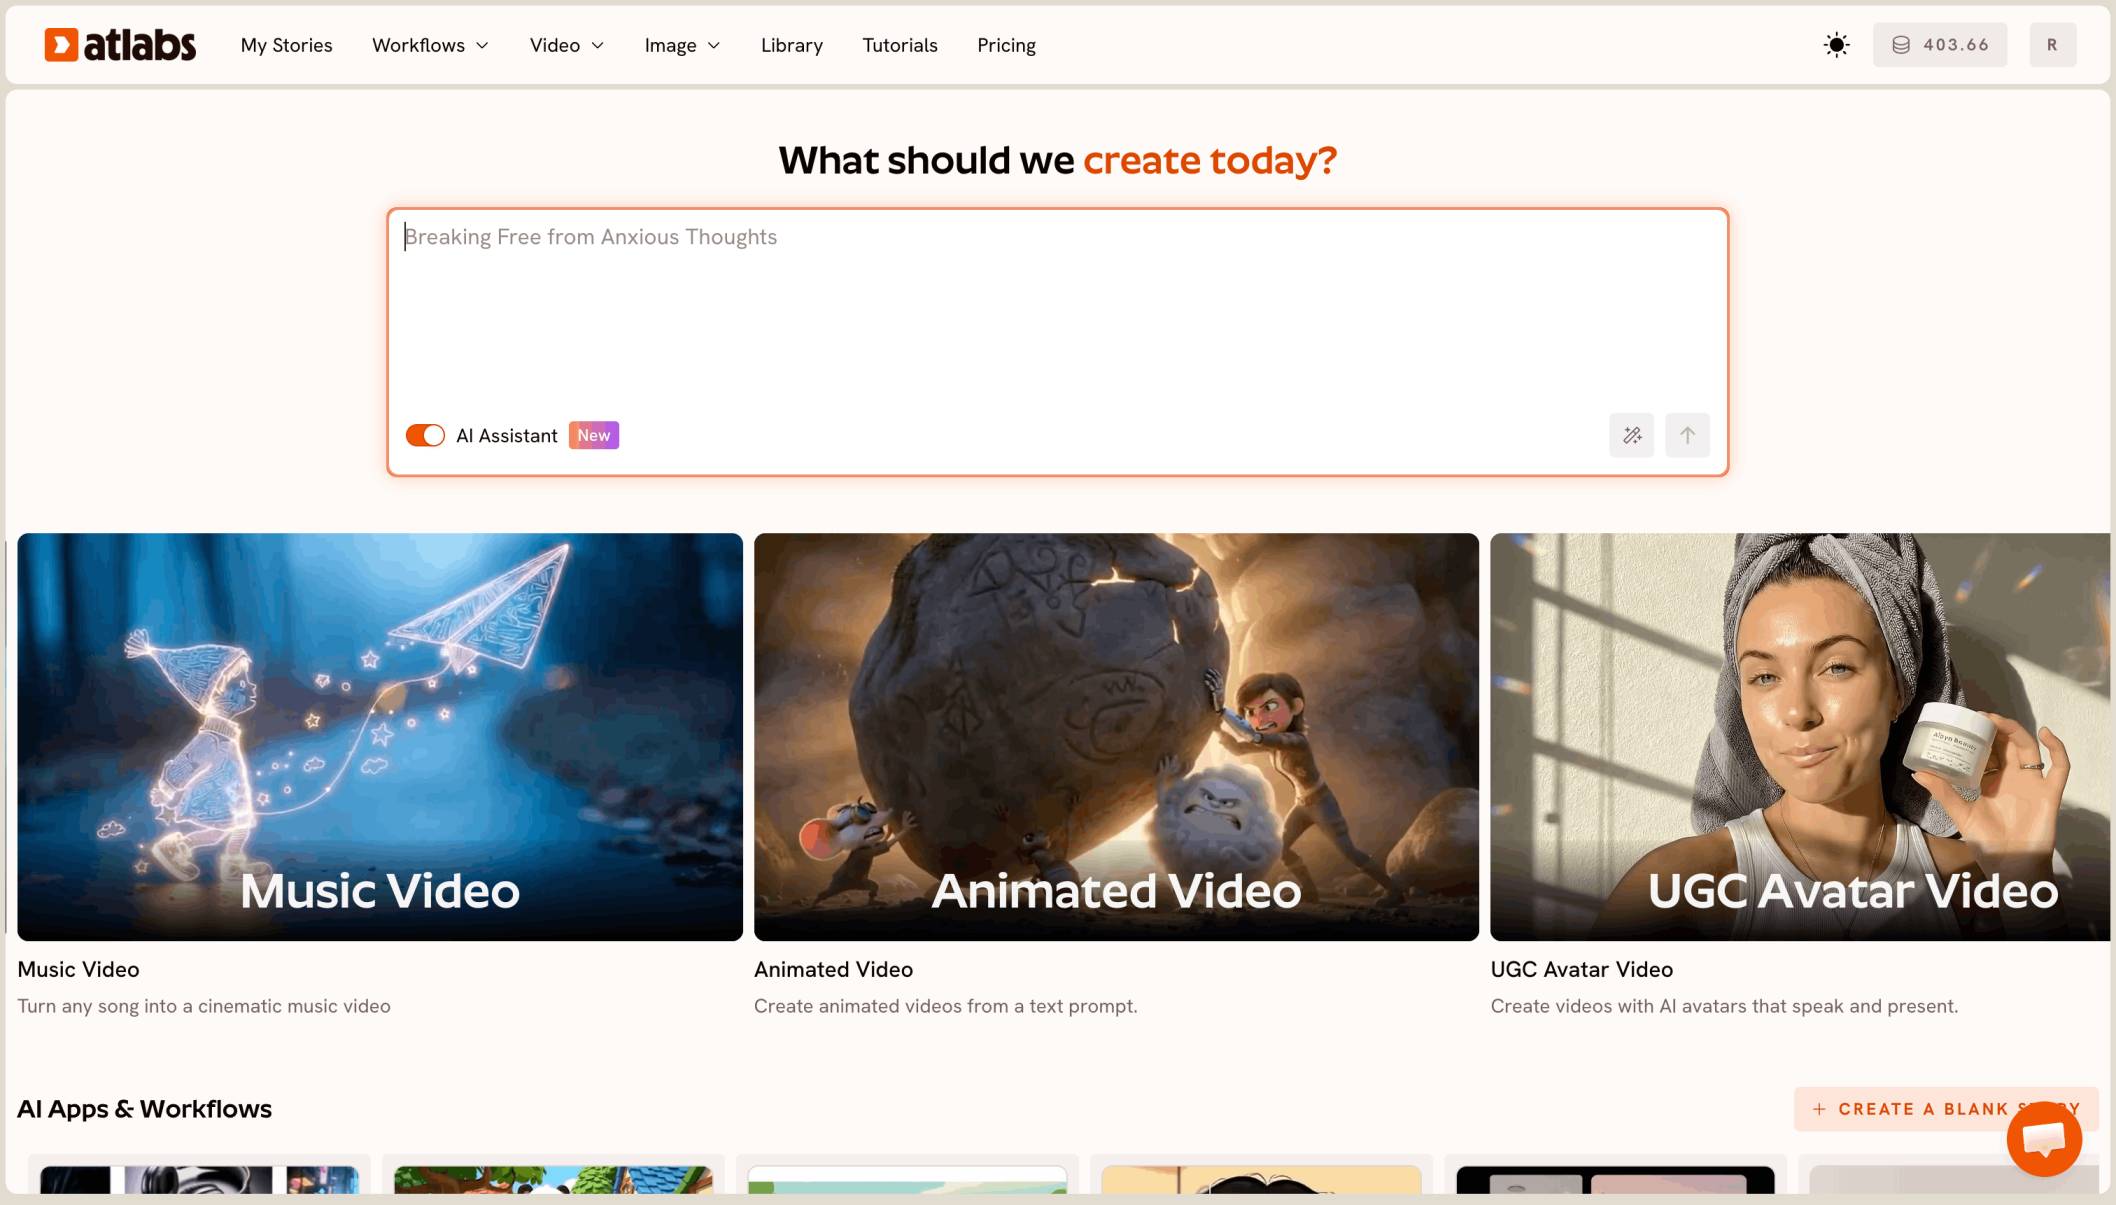
Here is the short answer: AI videos look artificial because of flat prompts, mismatched models, and characters that morph between shots. All three are fixable in minutes. This guide walks through the exact prompt structure, model choices, and finishing steps that make AI footage feel filmed rather than generated. We will use Atlabs, a platform that runs Kling 3.0, Google Veo 3.1, Seedance 2.0, and Hailuo 2.3 in one place, so you can route every shot to the model built for it.
Why AI videos still look fake in 2026
Viewers clock an AI video in about two seconds. The tells are always the same: plastic skin that looks airbrushed, floaty motion with no weight, faces that shift slightly between scenes, backgrounds that drift like wallpaper, and that one slow push-in camera move repeated forever. Here is the part most people miss. In 2026 the models are no longer the problem. Kling 3.0 and Veo 3.1 can produce shots that pass for filmed footage. The artificial look now comes from how people use them: vague prompts, one model forced to do every job, zero character control, and no finishing pass. Which means the fix is not waiting for better AI. The fix is a better process, and it takes about 15 minutes to learn.
What you'll need
You need three things: an Atlabs account, a script or an idea for your video, and 10 to 15 minutes. No filming, no editing software, no VFX experience. Every step below happens inside the Atlabs dashboard, and each one attacks a specific reason your output looks generated.
Step 1: Write prompts like a cinematographer, not a search bar
Type 'a woman walking through a city' and you get the plastic look, guaranteed. Generic prompts pull the model toward its most average, most synthetic output. Instead, describe the shot the way a director of photography would: name the lens, the light, and the movement. Something like '35mm lens, handheld, golden hour backlight, shallow depth of field, natural skin texture, light film grain.' Real footage is full of imperfection, so ask for it directly. And drop words like flawless, perfect, and 8K hyperrealistic. They push the model straight back toward that airbrushed render feel.
Step 2: Match the model to the shot
Every model has a personality, and forcing one model to carry a whole video is a top reason results feel off. On Atlabs you pick per shot. Kling 3.0 handles realistic human motion and smooth closeups. Google Veo 3.1 owns photoreal wide shots and establishing shots. Seedance 2.0 is the pick for stylized scenes and character dialogue where realism is not the goal. Hailuo 2.3 shines on fast, fluid, high motion moments. Route each shot to its specialist and the whole video levels up.
Step 3: Lock your characters before you generate anything
A face that subtly changes between scenes is the single loudest AI tell, and it is the first thing your audience notices. Atlabs workflows include a Cast step that builds a reference sheet for each character, multiple angles plus a portrait, so the exact same face, outfit, and proportions carry across every scene. Set your cast once at the start and the morphing problem disappears.
Step 4: Fix the motion, not just the frames
AI motion often looks weightless, like everything is underwater. Frames can be perfect while the movement gives the whole thing away. Motion Control on Atlabs transfers movement from a real reference video onto your character. Film yourself doing the walk, the dance move, or the gesture on your phone, upload it, and your character inherits real human physics. It is the fastest realism upgrade on this list.
Step 5: Sync the mouth or lose the viewer
Lips that almost match the audio break realism faster than any visual flaw. Run every dialogue and vocal shot through Lip Sync, which accepts audio from 2 seconds to 120 seconds and locks mouth movement to the actual waveform. It turns a robotic talking shot into a believable performance.
Step 6: Finish like a professional
Raw AI output is a draft, not a final. Upscale your video so compression softness does not read as AI blur. Use Reframe to produce clean 9:16, 16:9, and 1:1 versions instead of cropping and stretching one export. Add captions for social delivery. These finishing passes are exactly what real productions do, and skipping them is a big reason so many AI videos feel unfinished.
Step 7: Cut like an editor
No real film holds a single static shot for ten seconds, but AI creators do it constantly because one long clip feels efficient. Keep shots between 2 and 4 seconds. Vary your angles across wide, medium, and closeup. Cut on action. A quick editing rhythm hides small imperfections before anyone can study them, and it mimics the pacing your audience already associates with real production. Generate two or three takes per shot and keep only the best one.
Quick wins you can apply in 10 minutes
A few small habits compound fast. Add light film grain to every shot, since a little texture instantly reads as camera footage. Give your subjects imperfections on purpose: freckles, flyaway hair, a wrinkled jacket. Keep camera movement motivated, meaning the camera moves because something in the scene moves, not because a drifting push-in was the default. Write a shot list before you generate so every clip has a job. And review your video on a phone at full brightness before publishing, because that is where your audience will judge it, and where plastic skin and floaty motion show up first.
Copy these prompts
Paste these into any Atlabs video workflow and swap in your own subject. Both follow the structure from Step 1.
A cyclist courier weaving through a rainy downtown street, 35mm lens, handheld camera with subtle shake, overcast daylight, wet asphalt reflections, natural skin texture, light film grain, shallow depth of field, muted color grade
Closeup of an elderly fisherman repairing a net on a wooden dock, golden hour backlight, 50mm lens, soft focus background, weathered hands in detail, gentle breeze moving loose threads, warm film grain, documentary style
Watch the full Atlabs tutorial
Prefer to watch the whole process instead of reading it? The full Atlabs walkthrough covers every step above on screen, from prompt structure to the final upscale. Watch it here: [INSERT ATLABS YOUTUBE TUTORIAL LINK]
FAQ
Why do AI videos look fake?
The usual causes are vague prompts, one model doing every type of shot, characters that shift between scenes, weightless motion, and no finishing pass. Each one is a process issue, not a model limit, so each one is fixable in minutes.
Which AI video model looks the most realistic in 2026?
Kling 3.0 leads for realistic human motion and closeups, while Google Veo 3.1 leads for photoreal wide and establishing shots. The stronger play is routing each shot to its best model, which is what a multi-model platform like Atlabs is built for.
Can I fix an AI video that already looks artificial?
Yes. Run dialogue shots through Lip Sync, run the full video through Upscale, and tighten the edit to 2 to 4 second shots. If one clip still stands out, regenerate just that shot with a cinematographer style prompt.
How long does this whole process take?
About 10 to 15 minutes once you know the steps. Writing the prompt and picking a model takes a couple of minutes per shot, and the finishing passes like Lip Sync and Upscale run in the background while you work.
Get started
The artificial look is a process problem, and now you have the process. Pick one idea, write one cinematographer prompt, route it to the right model, and run the finishing passes. Your next video will be the one people rewatch trying to figure out how you filmed it.