Most creators using AI video generation are gambling. They type a prompt, hit generate, and hope the result isn't a hallucination. The lighting changes between shots, characters morph into different people, and you have zero control over camera movement.
The problem isn't AI video itself; it’s the lack of control.
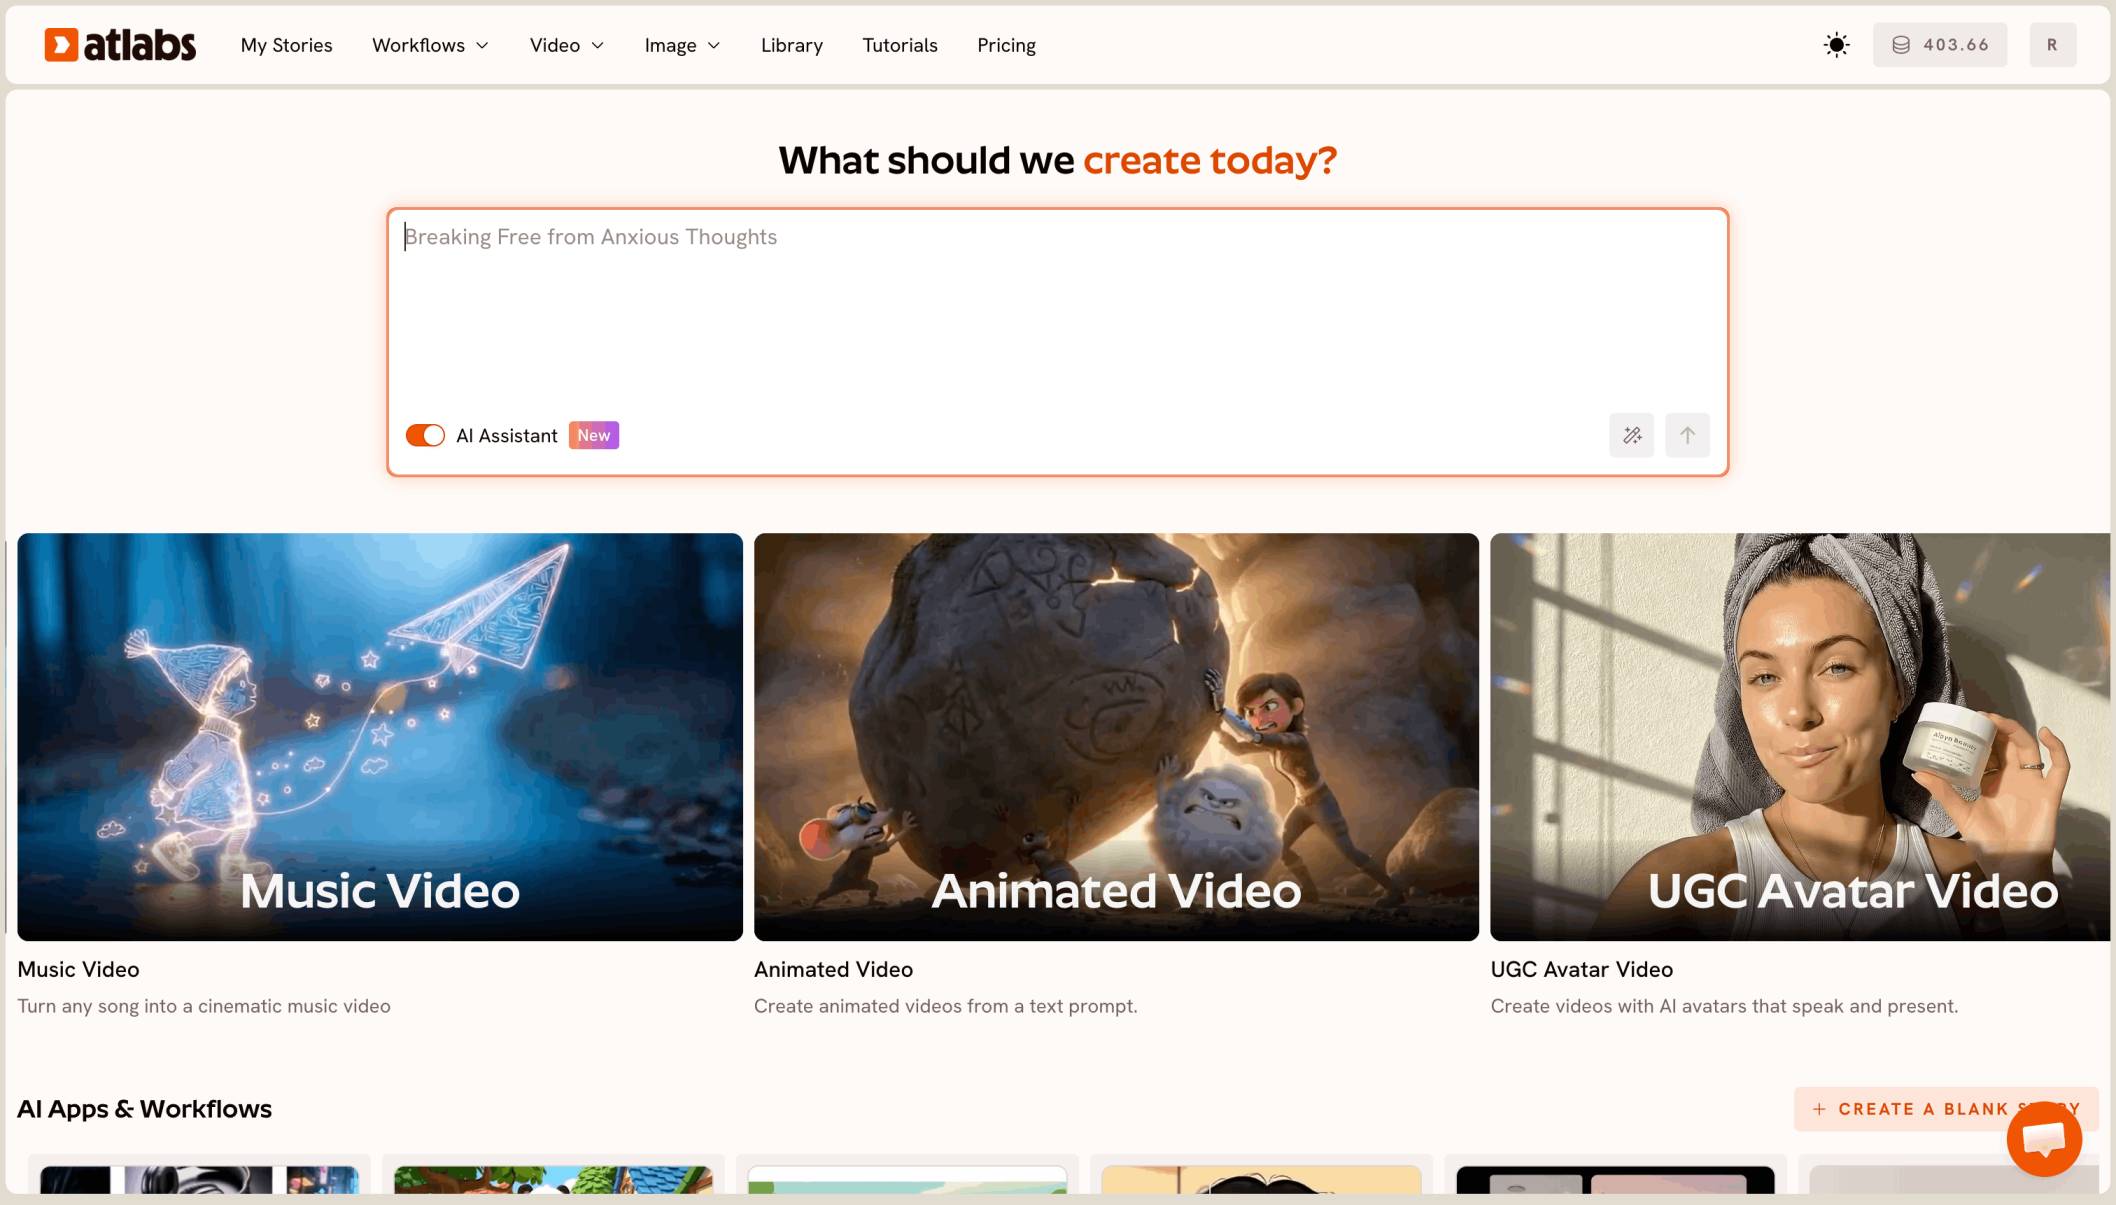
The solution is Kling O1, specifically used via the Modify Video feature on Atlabs AI. This moves you from "generating random clips" to actually directing and editing video with precision.
Here is the no-fluff guide to mastering Kling O1 to create consistent, cinematic results.
1. Precise Control with Reference Images
Stop describing what a character looks like in every single prompt. Instead, upload reference images to steer the style and environment.
How to do it: Upload your image to Atlabs AI.
The Command: In your text prompt, reference the image using
@image1(or whichever number applies).Why it works: This tells the model, "Don't guess what the subject looks like; look at this picture and animate it."
2. AI Video Editing (The "Modify" Feature)
This is the core of the Atlabs AI workflow. You can now edit existing footage rather than generating from scratch. Think of this as "Photoshop Generative Fill" but for video.
How to do it: Upload an existing video clip. Describe the change you want (e.g., "Make it a stormy night" or "Add a sandstorm").
The Result: The AI preserves the motion and camera structure of your original shot but fundamentally changes the atmosphere or details.
3. Generating the "Next Shot" & "Previous Shot"
Consistency is the hardest part of AI video. Kling O1 allows you to reference a video to determine what happens immediately before or after it.
Next Shot: Upload a 3-second clip and prompt: "Create the next shot, keeping character consistency."
Previous Shot: You can essentially reverse-engineer a scene by asking the AI to generate what led up to the current clip.
4. Using "Elements" for Character Consistency
If you are making a film, you need your actor to look the same in every scene.
The Fix: Create an "Element." This is a bundle of images of the same subject (character, prop, or location) from different angles.
How to use it: Upload multiple angles of your subject to the Elements tab. When prompting, type
@Element(e.g.,@Rowyn).Benefit: The AI now understands the 3D structure of your character, keeping them consistent across different shots and lighting conditions.
5. Seamless AI Transitions
Connect two completely different clips smoothly without a hard cut.
The Method: Take the last frame of Shot A and the first frame of Shot B.
The Prompt: Use Atlabs AI’s "Start and End Frame" feature. Describe the transition (e.g., "Camera pans rapidly from the forest to the city").
Result: The AI generates the bridge between the two clips, morphing them perfectly.
6. Video Restyle
Change the "vibe" without losing the shot. You can turn a cartoon into realism or a sunny day into a horror movie.
The Prompt: Describe the new style (e.g., "Cinematic color grade, filmic look, 35mm").
Crucial Step: Add "Preserve constraints" to your prompt. Tell the AI: "Preserve camera motion and timing, keep character identity consistent."
7. Scene Extension
If a generated clip is too short, don't stretch it (which ruins quality). Extend it.
How to do it: Upload your short clip as a video reference.
The Prompt: Ask the AI to "Generate the next shot in the scene."
Why use it: This creates long, flowing takes that look like they were shot continuously, maintaining the environment perfectly.
8. Motion Transfer (Steal the Camera Move)
Do you love the camera movement in a Hollywood movie scene or a video you shot on your iPhone? You can apply that movement to your AI generation.
The Method: Upload the video with the desired movement as a reference.
The Prompt: "Use the camera motion from @video to have [Your Character] standing in [Your Location]."
Pro Tip: Film yourself doing a specific camera move with your phone, upload it, and apply that motion to a fantasy environment.
9. Shot Switching (Change Angles)
You have a perfect wide shot, but now you need a close-up.
How to do it: Upload your wide shot as a reference.
The Prompt: Type specific camera directions like "Extreme close-up shot," "Low angle," or "Top-down aerial shot."
Result: The AI re-renders the scene from the new angle while keeping the subject and location identical.
10. Element Removal & Addition (VFX)
You don't need After Effects to remove unwanted objects anymore.
Removal: Upload your video and prompt: "Remove the car in the background" or "Remove the logo on the shirt."
Addition: Prompt: "Add a vintage car in the background" or "Add a sword to the character's hand."
11. Assigning "Roles" to Reference Images
Don't just dump images into the uploader. Assign them jobs in your prompt to prevent the AI from getting confused.
Example Prompt: "Reference @image1 for lighting and color grading. Reference @image2 for environment design. Ignore subjects in these images."
Why it works: It prevents the AI from blending the face from Image 1 with the background of Image 2 effectively giving you granular control.
12. The "Constraint Sandwich"
To get the best results on Atlabs AI, structure your prompts using this exact formula:
Subject Anchor: Define who/what (e.g., "A dragon with glowing red eyes").
Shot + Action: Define what happens (e.g., "Standing in a heavy sandstorm").
Preserve Constraints: Define what stays the same (e.g., "Keep the dragon's motion exactly the same").
Full Prompt: "[Subject] doing [Action]. Preserve [Aspects]."
13. The "Style Bible" Line
To ensure every single shot in your project looks like it belongs in the same movie, use a Style Bible Line.
What it is: A single sentence of style descriptors that you copy-paste at the end of every prompt.
Example: "Volumetric lighting, high-noon sun filling the frame, very detailed, narrow depth of field, filmic, cinematic."
Workflow: Paste this line in every generation, only changing the action description.
Ready to start?
Stop wasting credits on random generations. Go to Atlabs AI, select Kling O1, and use the Modify Video feature using the strategies above to take full control of your output.