Creating AI-generated video clips has never been easier, but making them look cinematic? That's where most creators hit a wall. Random shots, inconsistent characters, and videos that feel more like a slideshow than a story.
The Problem
AI video clips lack storytelling depth. Characters change appearance between shots, camera angles feel random, and there's no visual continuity, making it impossible to create professional, narrative-driven content.
The Solution
Using Atlabs powered by Nano Banana Pro, you can transform a single image into multiple cinematic camera angles while maintaining perfect character consistency, creating AI videos that actually tell a story.
In this guide, you'll learn the exact workflow professional creators use to turn one master image into a complete multi-angle video sequence. No more inconsistent characters. No more random, disconnected shots. Just cinematic AI video that looks like it was planned by a real director.
The Complete Workflow: From Single Image to Cinematic Video
This process works because you're building from a single source of truth, your master shot. Every subsequent camera angle references this original image, ensuring your character maintains their exact appearance, clothing, and environment throughout the entire video.
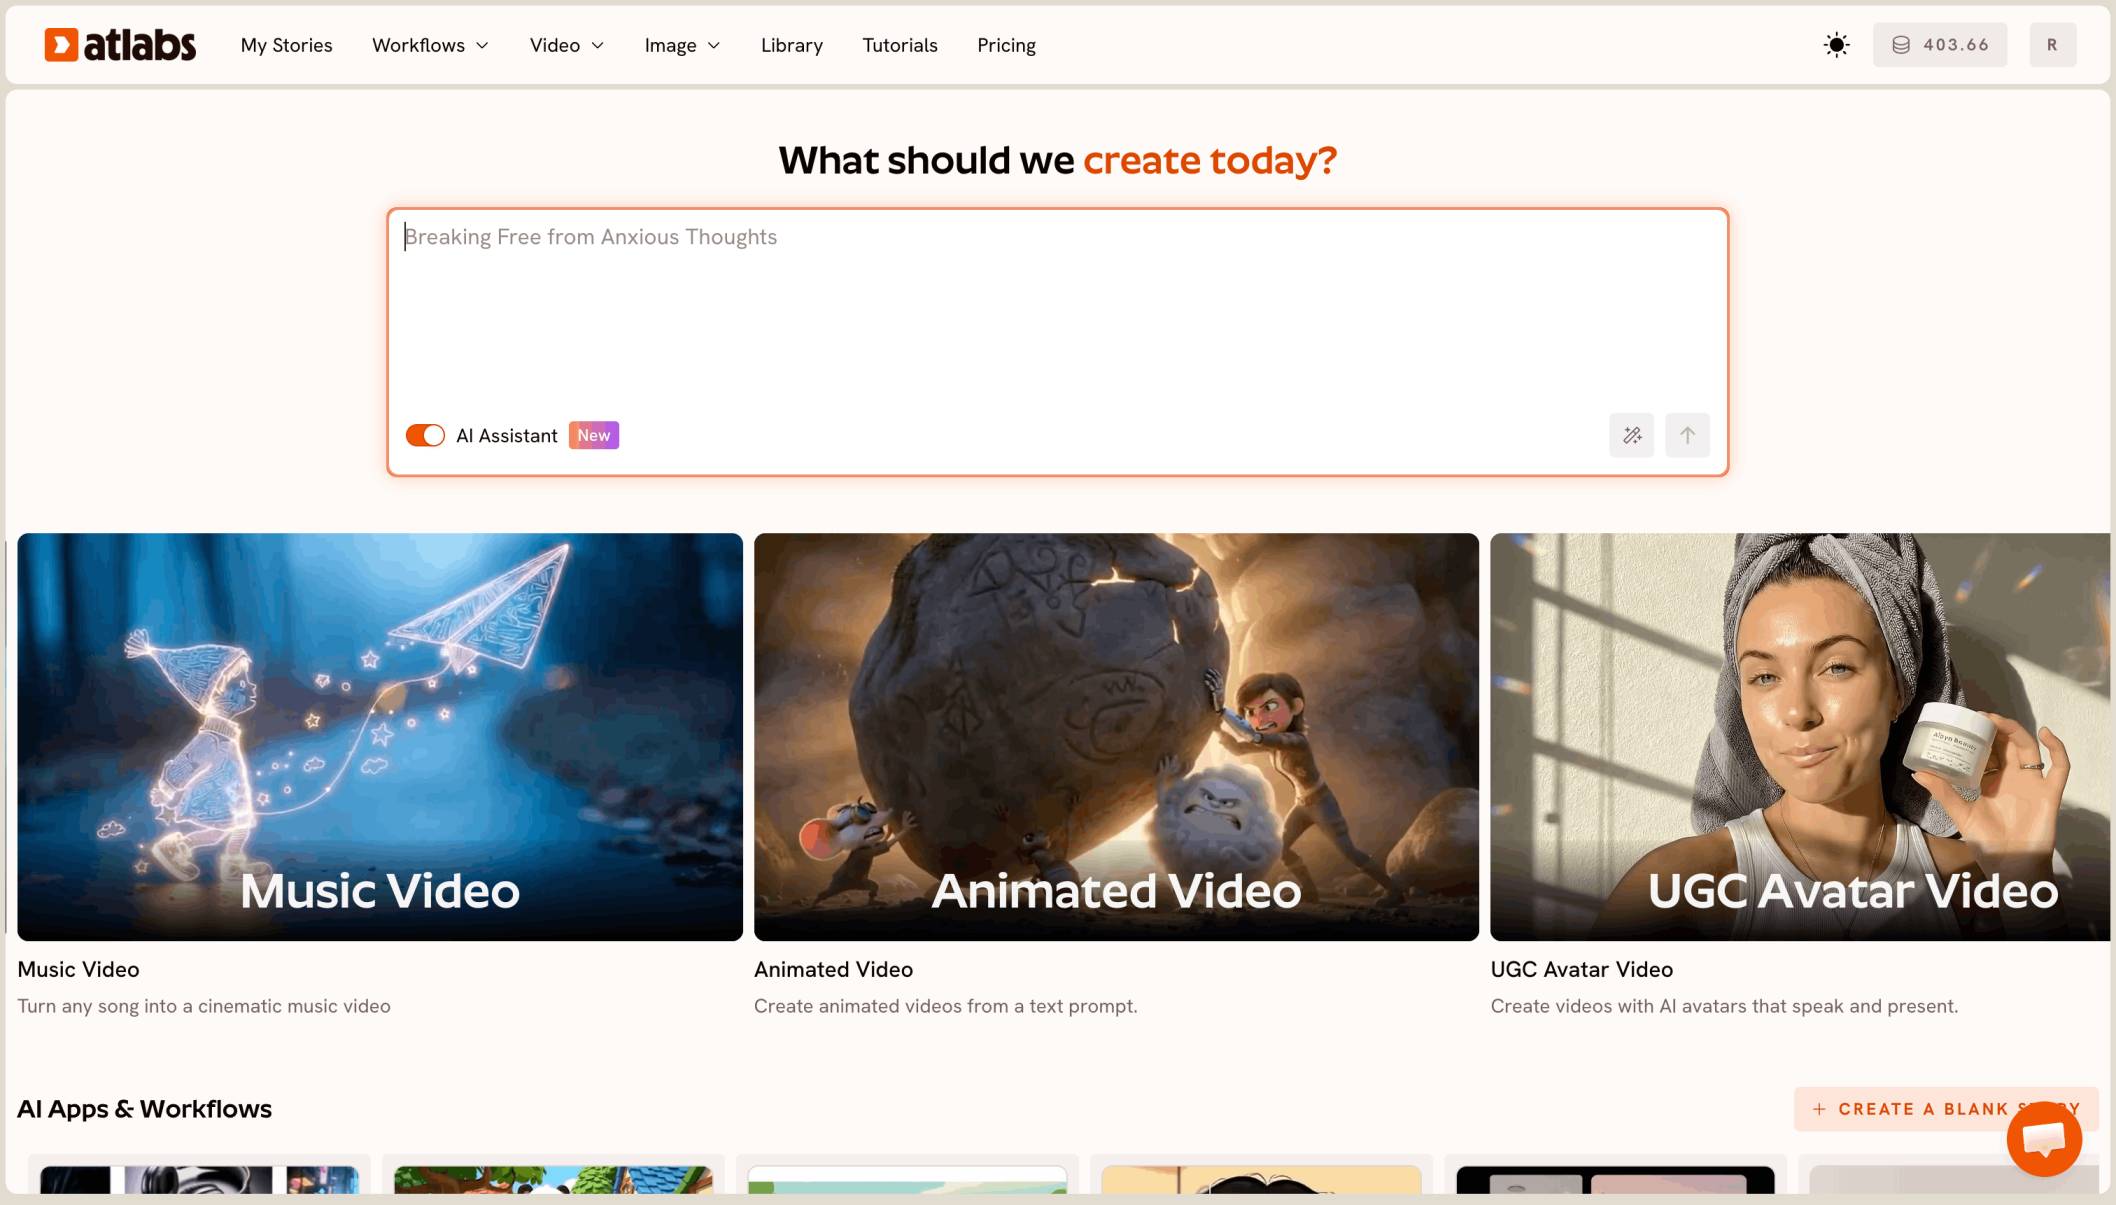
Step 1: Start a New Story on Atlabs
Open Atlabs and create a new story project. This will be your workspace for building the complete video sequence from your master image.

Step 2: Create Your Master Shot
In the Visual section, write a detailed prompt describing your character and environment. This is the most important step, your master shot becomes the reference for all other camera angles. Be specific about clothing, physical features, lighting, and setting. The more detail you include, the better your consistency will be across all shots.
Example prompt :A full-body cinematic shot of a young woman walking in an ancient desert, wearing layered cream-colored linen robes and a loose hooded cloak draped over her head, dark wavy hair slightly windblown, a rustic woven textured sash belt, barefoot on cracked dry earth, sparse dry golden grass tufts in the foreground, vast rolling sand dunes in the background, bright blue sky with large fluffy white cumulus clouds, soft natural sunlight, distant mountains on the horizon, high quality, photorealistic, intricate fabric textures, biblical era aesthetic, 8k resolution, masterpiece.

Step 3: Add Your Story Shots
Add additional shots to your story timeline. Think about the narrative arc you want to create. What moments need emphasis? Where should the audience focus? Planning your shots before generating them creates more intentional, professional results.

Step 4: Generate Camera Angle Variations
Here's where the magic happens. Use your master shot (or create new variations) by going to the Edit Image section and selecting Nano Banana Pro. Apply the camera angle prompts below to transform your single image into professional cinematography.

Step 5: Apply Prompts for Each Shot
Repeat the process for each shot in your story, using the appropriate camera angle prompts from the library below. Mix different angles to create visual variety while maintaining character consistency.

Step 6: Add Motion to Each Frame
Navigate to the Motion section on Atlabs. Select the video model best suited for each action—different movements may benefit from different models. Apply motion to bring your static shots to life.

Step 7: Process All Frames
Repeat the motion application for all frames in your sequence. Consider the pacing: some shots benefit from slower, more deliberate movement, while action sequences need dynamic motion.
Step 8: Export Your Cinematic Video
Export your completed video. You now have a cinematic sequence with consistent characters, professional camera work, and a cohesive visual story—all generated from a single master image.

Key insight: The master shot technique is how professional AI creators maintain consistency. By always referencing back to your original image, Nano Banana Pro can extrapolate new angles while preserving the character's identity.
Complete Camera Angle Prompt Library
Copy these prompts directly into the Edit Image section with Nano Banana Pro selected. Each prompt is crafted to generate specific cinematographic effects while maintaining your character's appearance.
Standard Framing Shots
CLOSE UP
Close-up shot of the subject, tightly framed from the chest up. Camera angle is eye-level, capturing subtle facial expressions and upper body posture. Soft, even lighting highlights contours and textures, background softly blurred to keep focus on the subject.

CINEMATIC CLOSE UP (EMOTIONAL)
A cinematic shot tightly framing the character's face, showing detailed emotional expression. The girl looks scared.

EXTREME CLOSE UP
Extreme close up, tightly framing the character's face, showing detailed emotional expression.

MACRO SHOT
An extreme macro cinematic shot of a girl's eye, hyper-detailed iris patterns with vivid colour, reflections of light in the pupil, fine texture of eyelashes and skin pores, ultra shallow depth of field, dramatic film lighting, photorealistic 85mm macro lens style, emphasizing emotion and intensity.

WIDE SHOT
A cinematic shot showing the full character from head to toe .
ESTABLISHING SHOT
A sweeping cinematic shot of the vast dessert landscape the character appearing small, emphasizing environment and scale of the location.

Angle-Based Shots
HIGH ANGLE
A high-angle cinematic shot, camera positioned above the character looking straight down, dramatic overhead lighting casting long shadows, emphasizing weakness and vulnerability, the character is staring up directly at the camera, looking scared.

LOW ANGLE
A dramatic shot looking up at the character from below, making them appear powerful, intimidating, or heroic.
DUTCH ANGLE
A cinematic shot with a tilted horizon, creating a sense of unease, tension, or chaos.

BIRD'S-EYE VIEW
A cinematic top-down shot looking straight down at character from above, emphasizing scale and insignificance.

Perspective Shots
OVER THE SHOULDER
A close cinematic shot framed over the character's shoulder, focusing on the vast dessert landscape.

TWO SHOT
A wide cinematic shot of the two characters framed together, equal focus. The girl is talking to an older tribesman wearing similar clothing, in profile.

POINT OF VIEW (POV)
POV shot of the vast white dessert location.

Movement-Based Shots - Video Generation
TRACKING / DOLLY SHOT
The camera moves smoothly alongside a character in motion, fluid movement. Tracking dolly shot. Flowing allows the capture of movement.
TRACKING / DOLLY SHOT (RUNNING)
The camera moves smoothly alongside a character as she runs, fluid movement. Tracking dolly shot.
CRANE / JIB SHOT
A sweeping cinematic shot rising high above the scene, dramatic camera movement, epic atmosphere. Crane jib shot.
HANDHELD / SHAKY CAM
Handheld, shaky camera movement, raw and chaotic, documentary-style realism.
Technical Camera Effects
RACK FOCUS
The camera focus shifts from the foreground to the background, first starting with the woman being sharp, then the background becoming sharp as she becomes soft focus.
STATIC SHOT
A perfectly still cinematic shot with no camera movement. The character stares dramatically at the camera.
Pro Tips for Best Results
Invest time in your master shot. The more detailed and high-quality your initial image, the better all derived angles will look. Spend extra time crafting the perfect prompt for your character's first appearance.
Plan your shot sequence like a filmmaker. Think about how professional films transition between shots. Wide establishing shots set the scene, medium shots carry dialogue, and close-ups capture emotion. This natural rhythm makes AI videos feel intentional rather than random.
Match motion models to action. Different video models excel at different types of movement. Experiment with Atlabs' motion options to find the best fit for each shot's intended action.
Maintain environmental consistency. Your prompts should reference the same setting details throughout. If your master shot features a white desert, ensure all angle variations maintain that environment.
Ready to Create Cinematic AI Videos?
Transform your single images into professional multi-angle video sequences with Atlabs and Nano Banana Pro. Start telling visual stories today.
Frequently Asked Questions
What is Nano Banana Pro?
Nano Banana Pro is an advanced AI model integrated into Atlabs that specializes in image transformation while maintaining subject consistency. It's specifically optimized for generating different camera angles and perspectives from a single reference image, making it ideal for creating cohesive video sequences.
How does character consistency work?
When you create a master shot and use Nano Banana Pro to generate variations, the model analyzes your original image and uses it as a reference. This means facial features, clothing, body proportions, and even lighting characteristics are preserved across all generated angles.
Can I use my own images as the master shot?
Yes. You can either generate a new master shot using Atlabs' image generation, or upload your own image to use as the reference for all camera angle variations.
What video models work best for different shots?
Atlabs offers multiple motion models suited for different types of action. Static or slow-moving shots often work well with more subtle models, while dynamic action sequences benefit from models designed for complex movement. Experiment to find what works best for your specific content.
How long does the process take?
A complete multi-angle video sequence typically takes 20-30 minutes to create, depending on the number of shots and complexity. The master shot creation is the most time-intensive part—subsequent angle variations generate quickly with Nano Banana Pro.