You explained photosynthesis three times and half the room still drew a blank. So you went looking for an animated video that fit your exact lesson, and everything online was either too long, pitched at the wrong grade, or stopped right before the part you needed. The honest reason teachers rarely make their own animations is that the traditional route looks enormous: storyboarding, drawing characters, rigging movement, syncing audio, exporting and re-exporting. It reads like a second job. It is not anymore. You can describe the lesson in plain language and let an AI build the animated scenes, the narration, and the timing for you. The hard part shrinks to something teachers are already good at: explaining one idea clearly. This guide walks through exactly how.
Animated videos make complex concepts easier to understand because they show processes in motion rather than forcing students to interpret static diagrams or text. What once required animation skills, expensive software, or production teams can now be created simply by describing a lesson clearly. Atlabs bridges this gap through workflows like Animated Video, Stick Style, and Lip Sync, allowing teachers to turn scripts or prompts into engaging educational explainers, character-driven lessons, and synced narration without needing prior animation experience.
Watch the full video on YouTube
Step-by-Step: Turn a Lesson Into an Animated Video
Step 1. Open the Animated Video workflow.
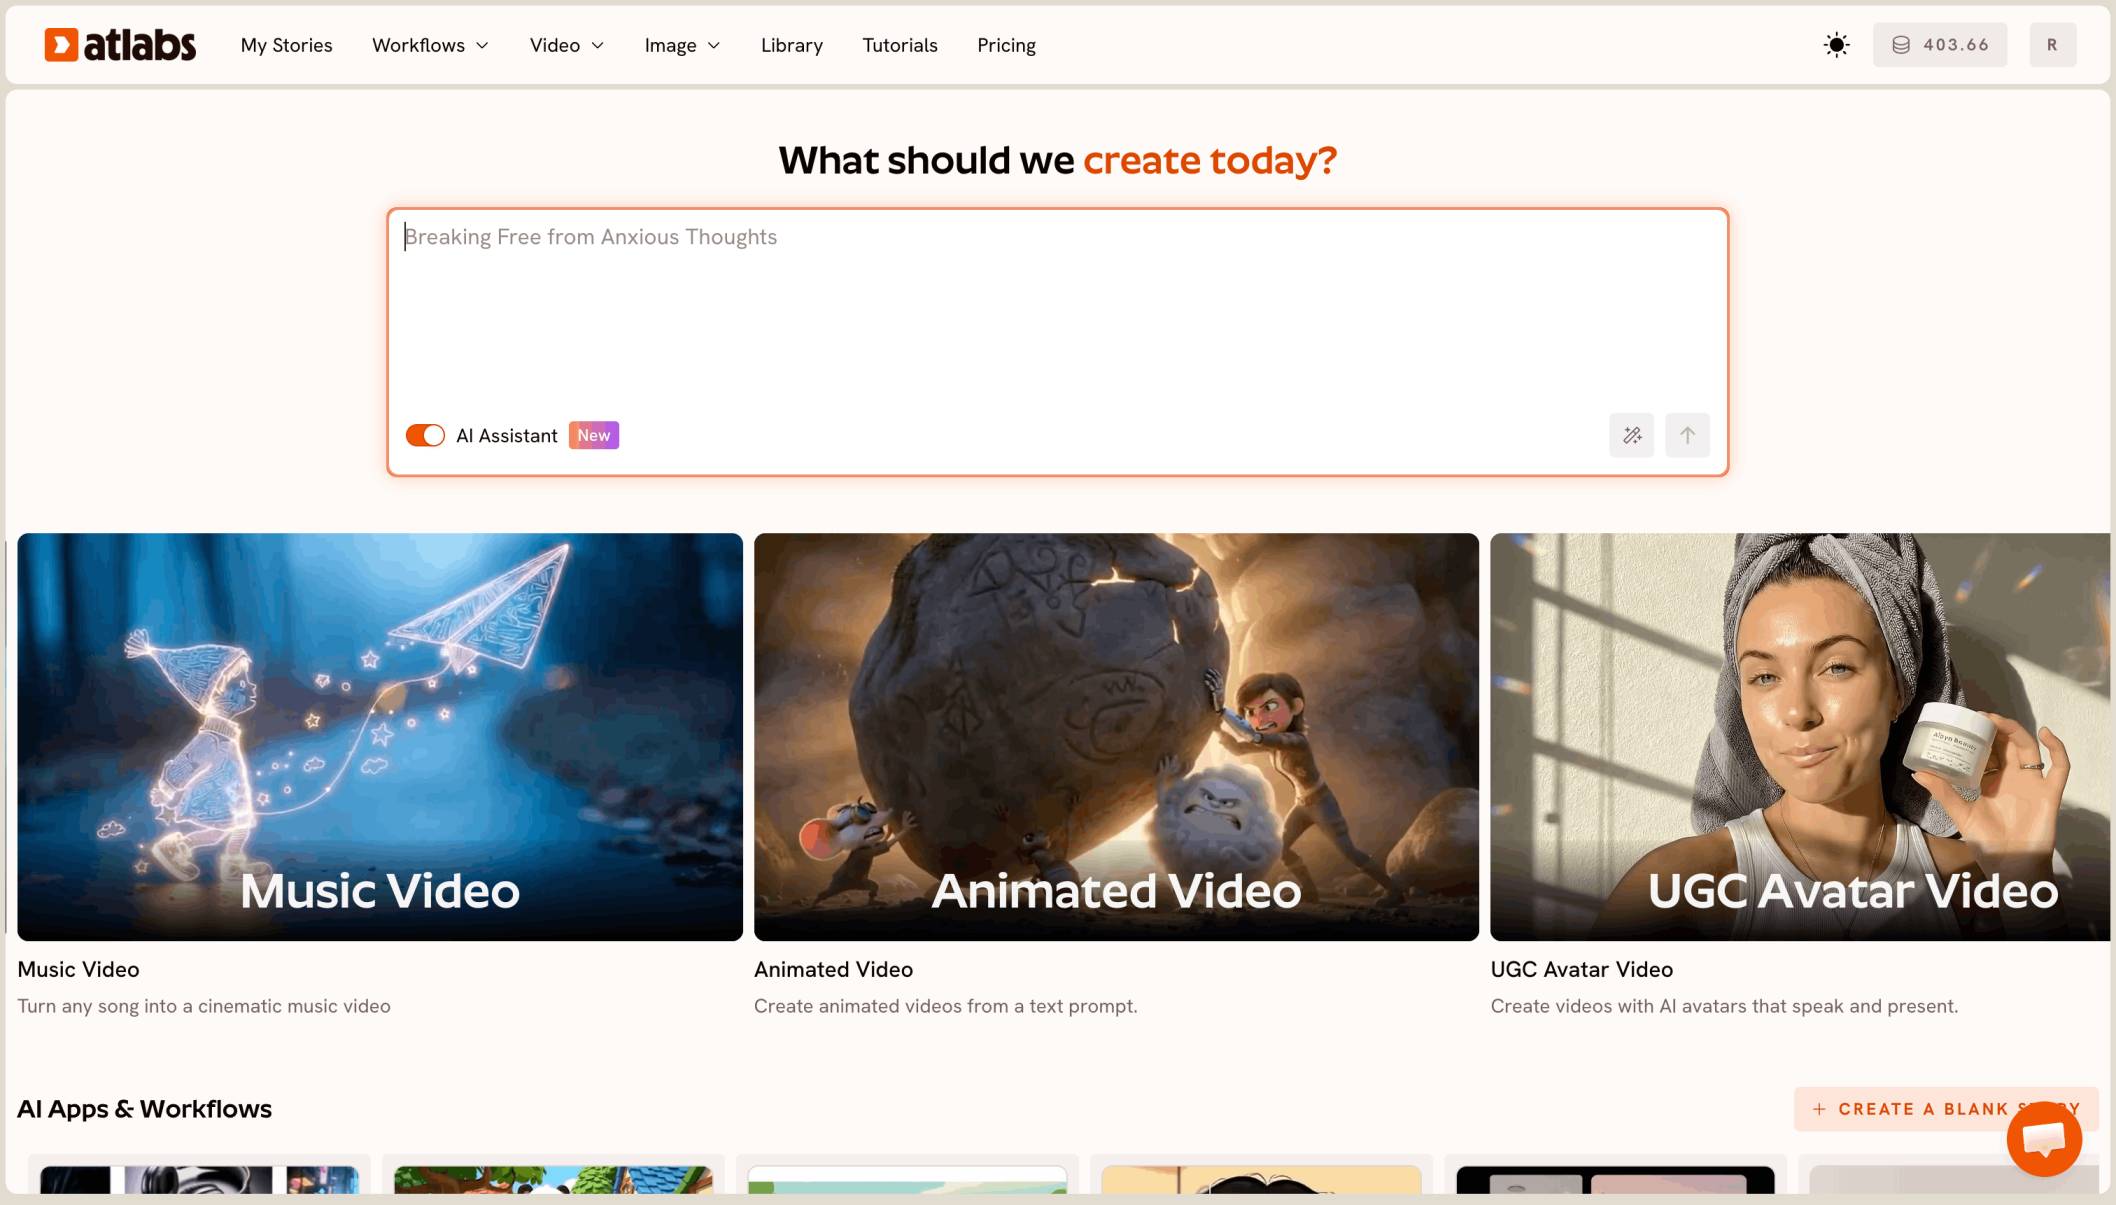
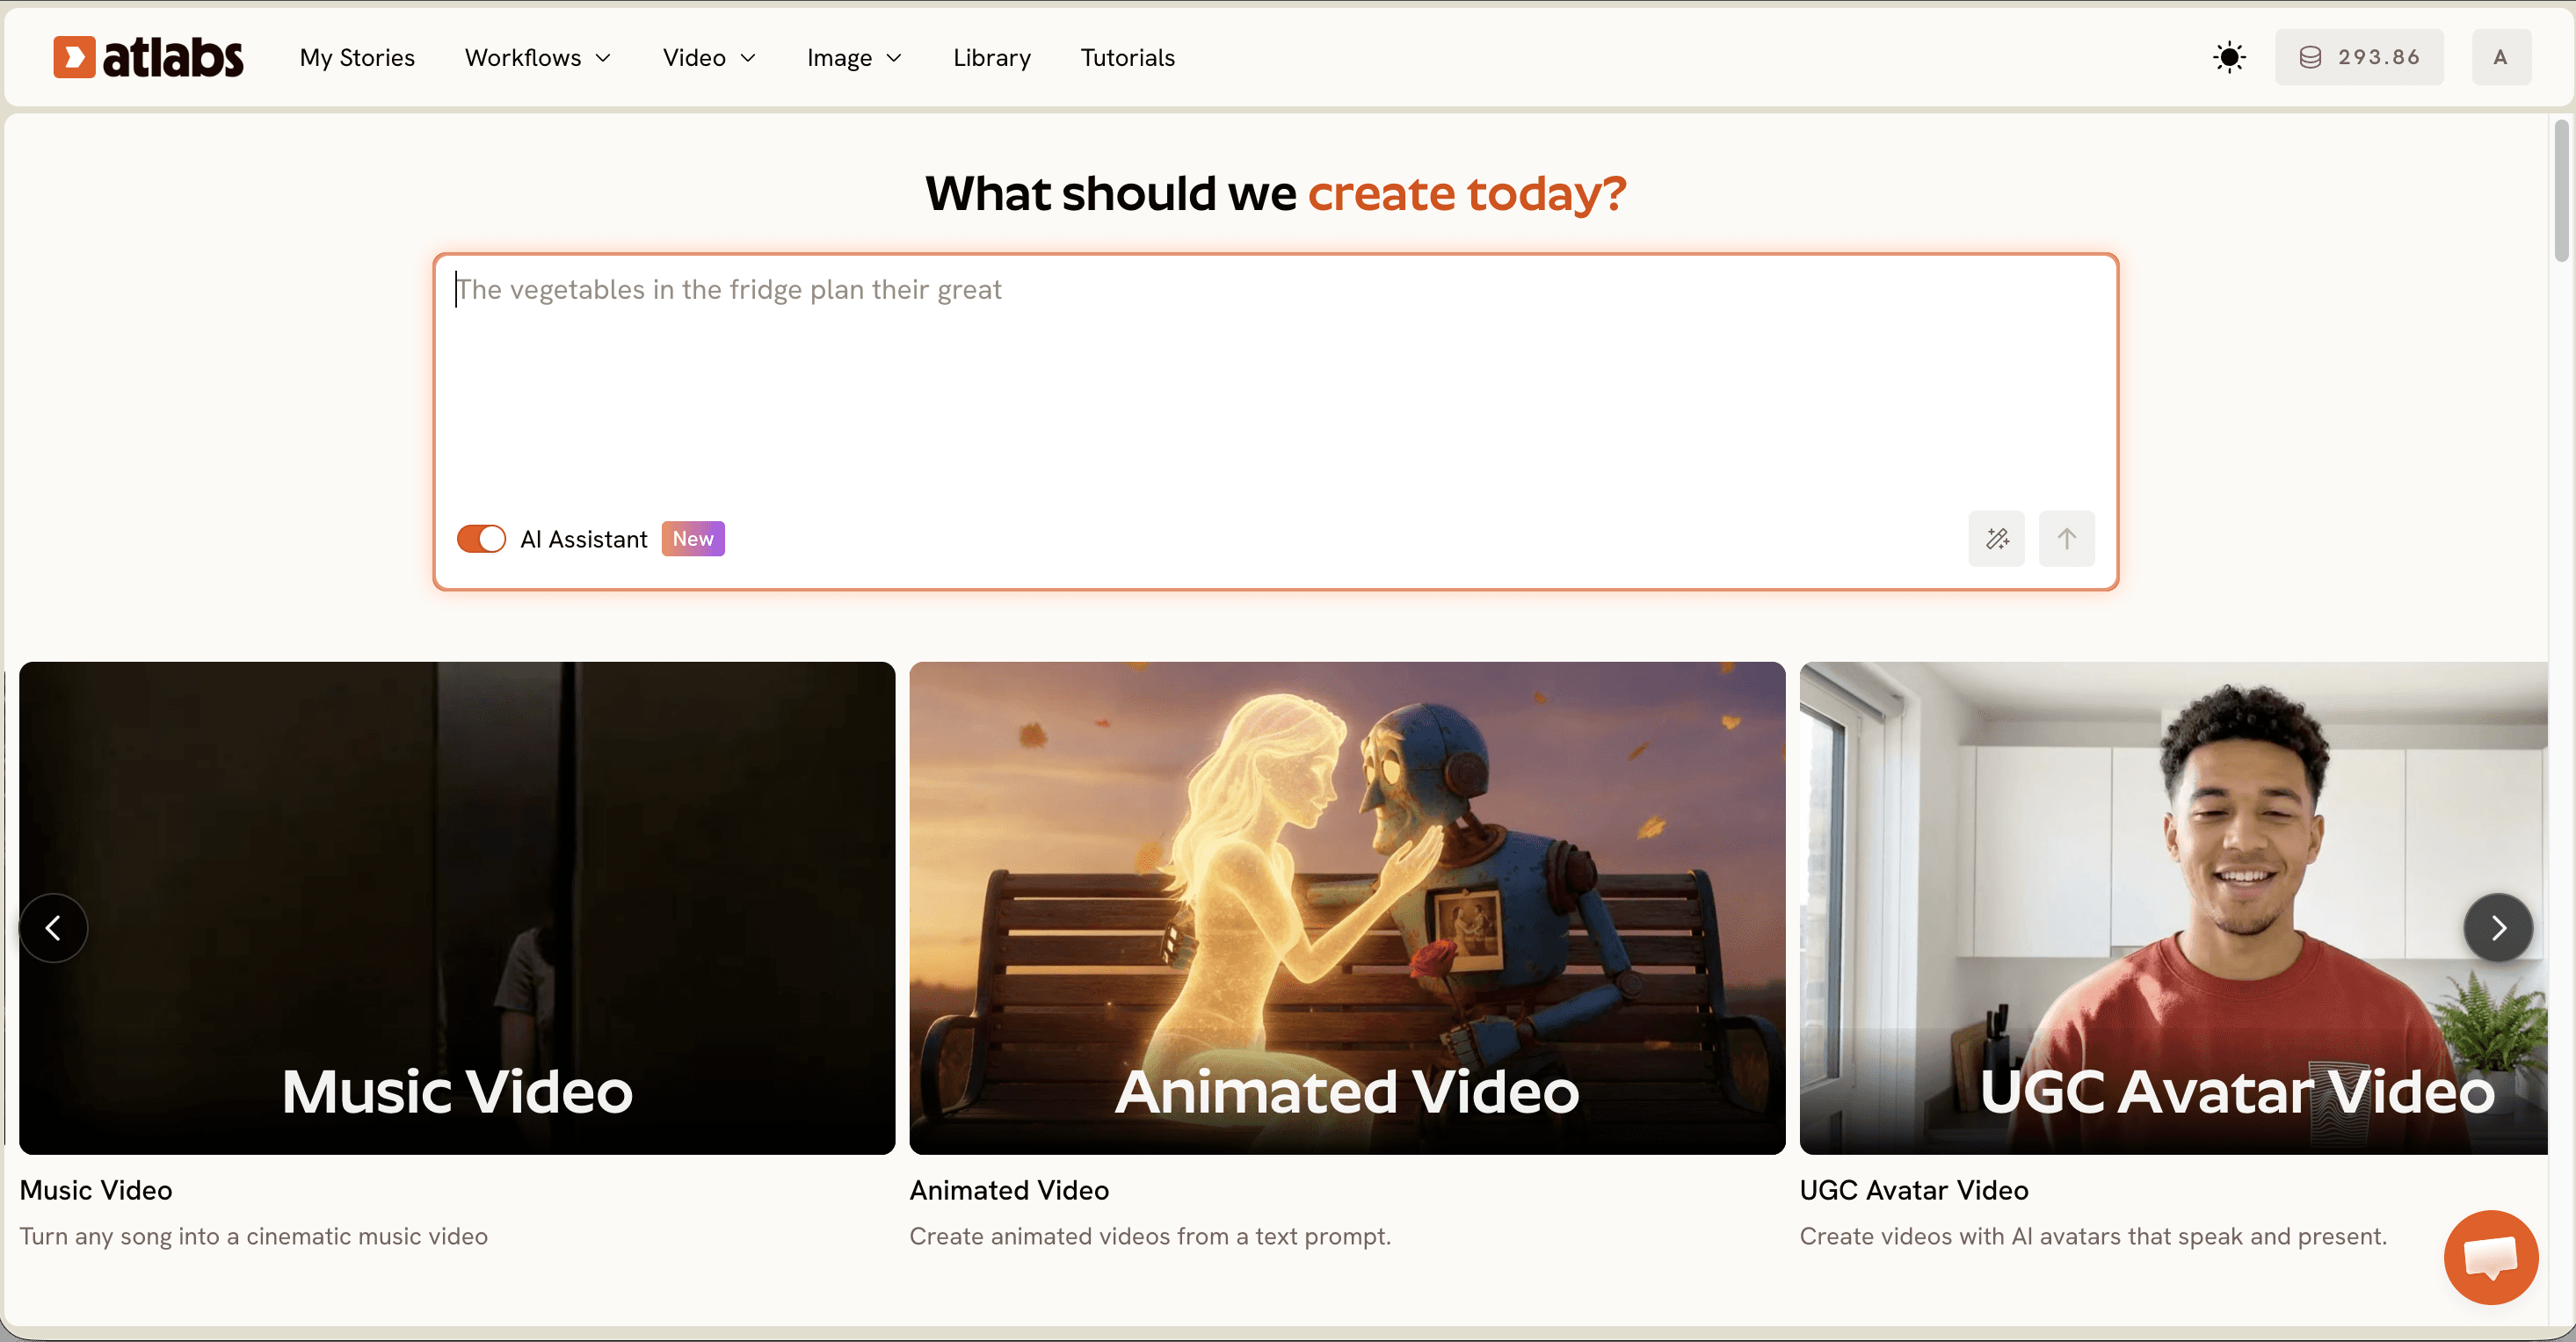
From the platform dashboard, where the homepage prompt reads "What should we create today?", open Workflows and choose Animated Video. This is the starting surface for any classroom animation, whether you want a polished explainer or a character telling a short story. Keep your lesson objective in front of you, because the single most important input is a clear description of what the student should understand by the end.
Step 2. Write the prompt as if you were briefing a teaching assistant.
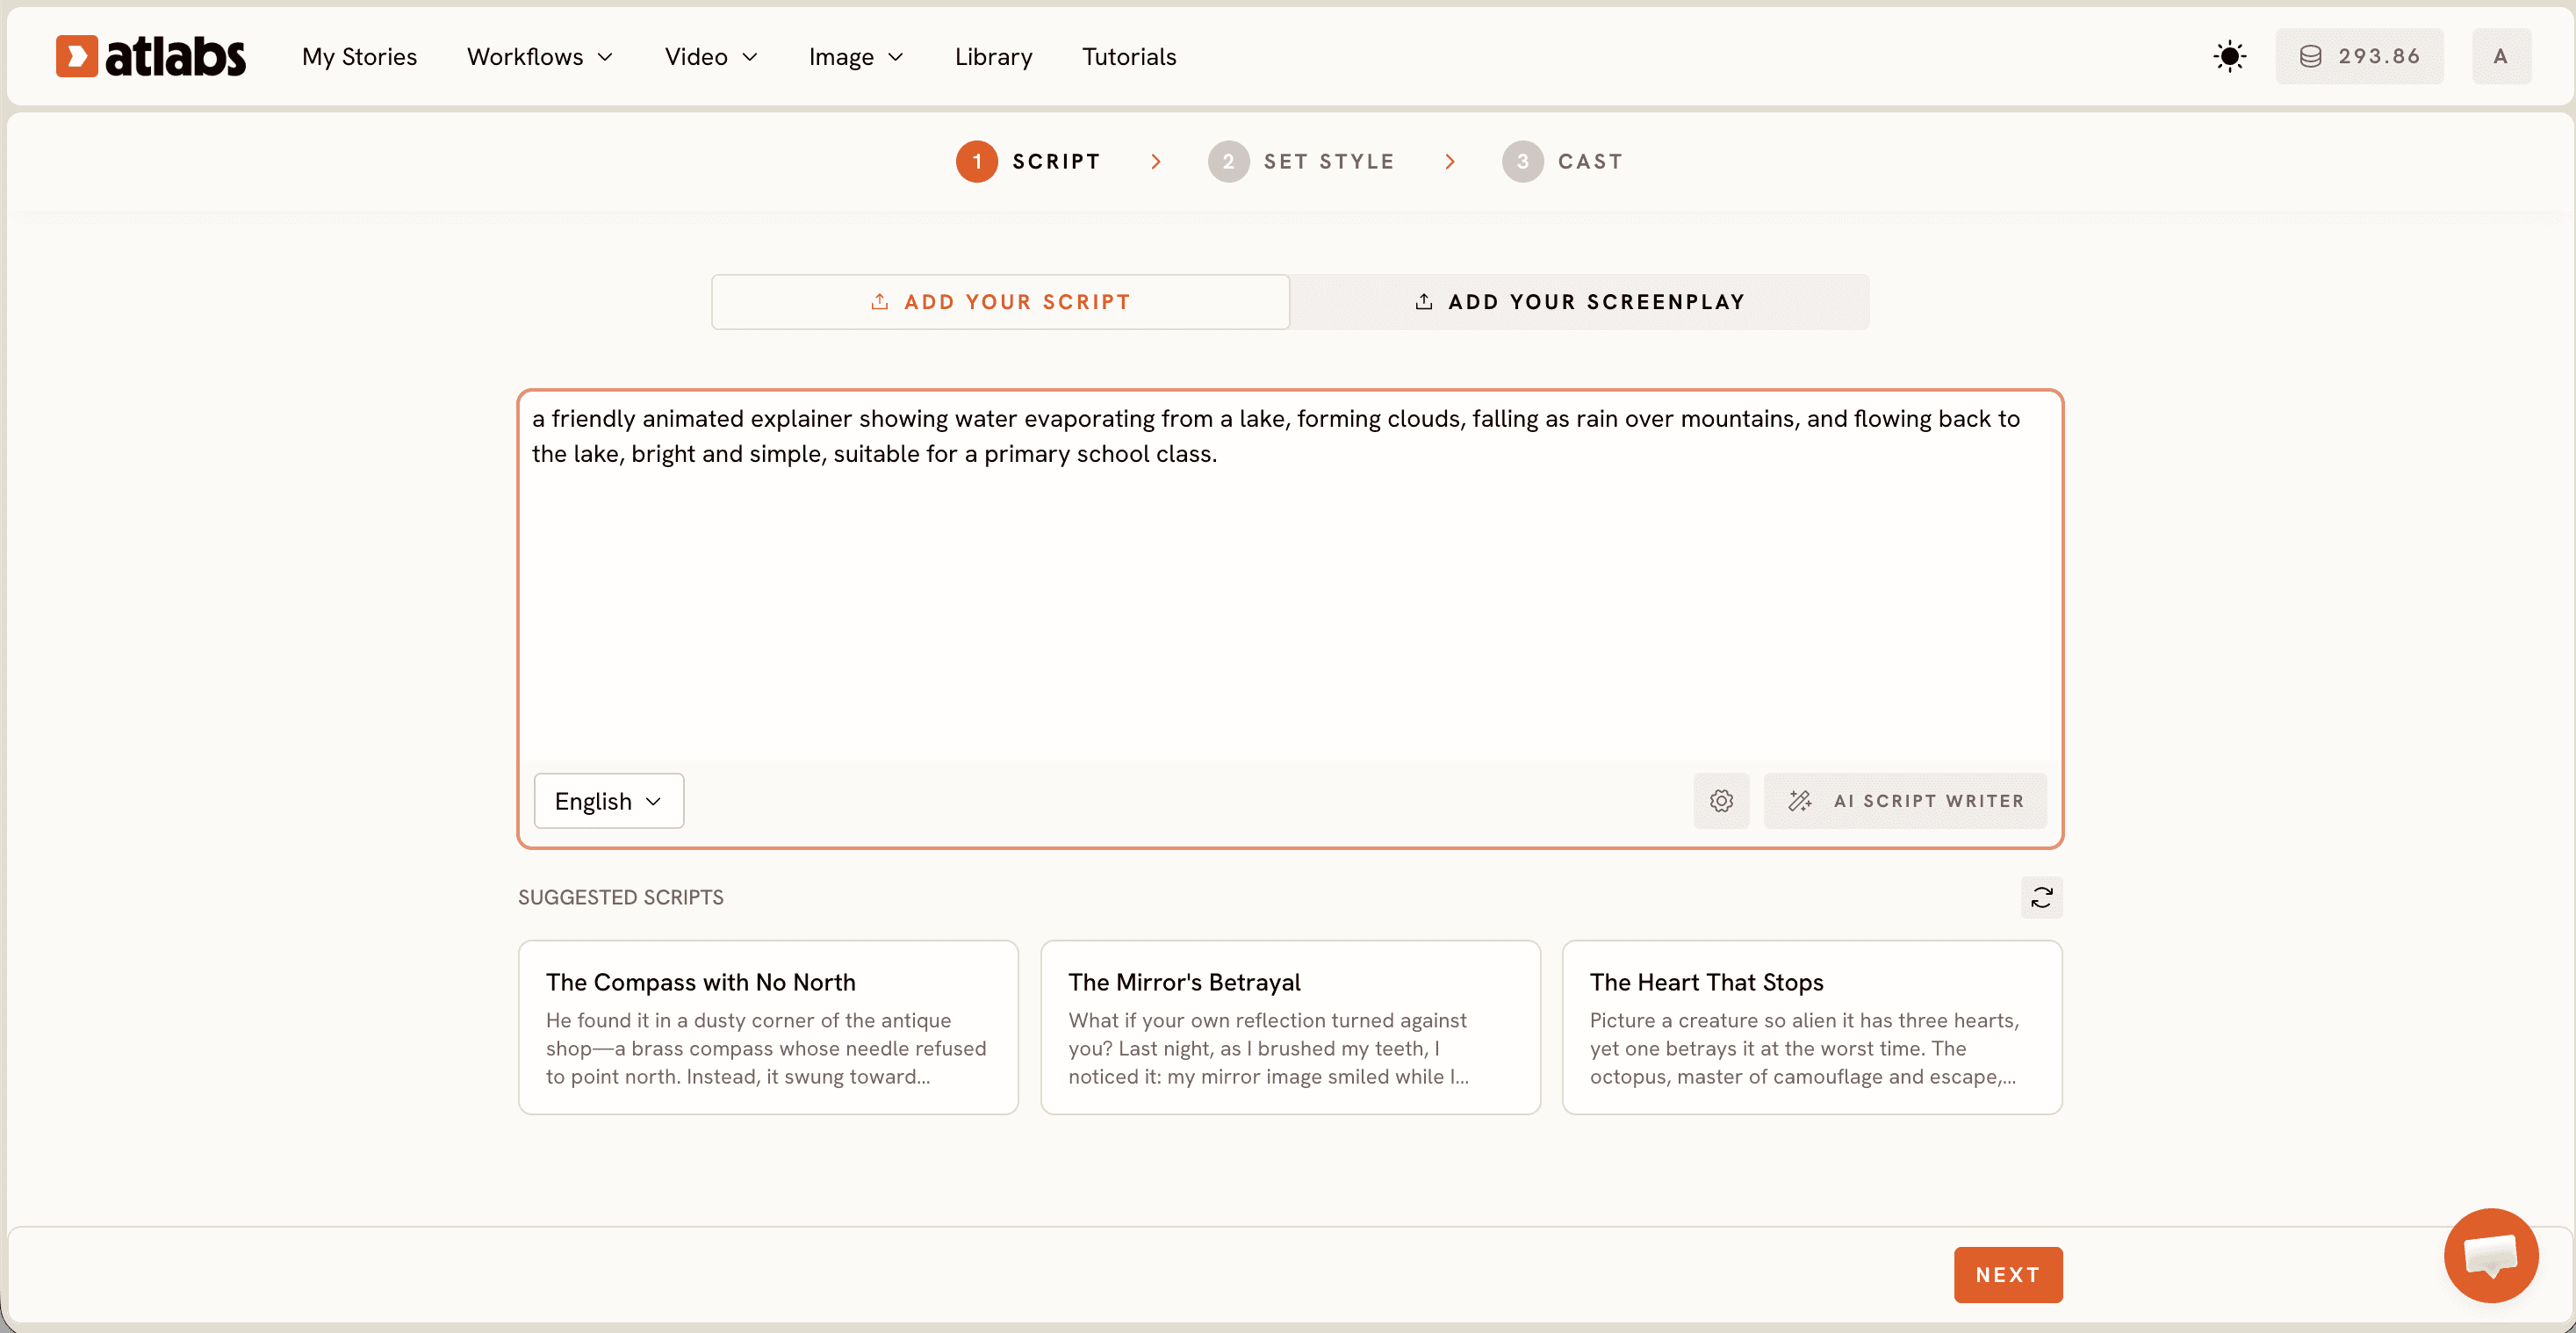
Describe the subject, the action, the setting, and the tone in one paragraph. Instead of "the water cycle," write "a friendly animated explainer showing water evaporating from a lake, forming clouds, falling as rain over mountains, and flowing back to the lake, bright and simple, suitable for a primary school class." The more concrete the action and the audience, the closer the first generation lands to what you actually need. You are not writing code. You are writing the kind of vivid instruction you would give a substitute teacher.
Step 3. Set the aspect ratio and visual style.
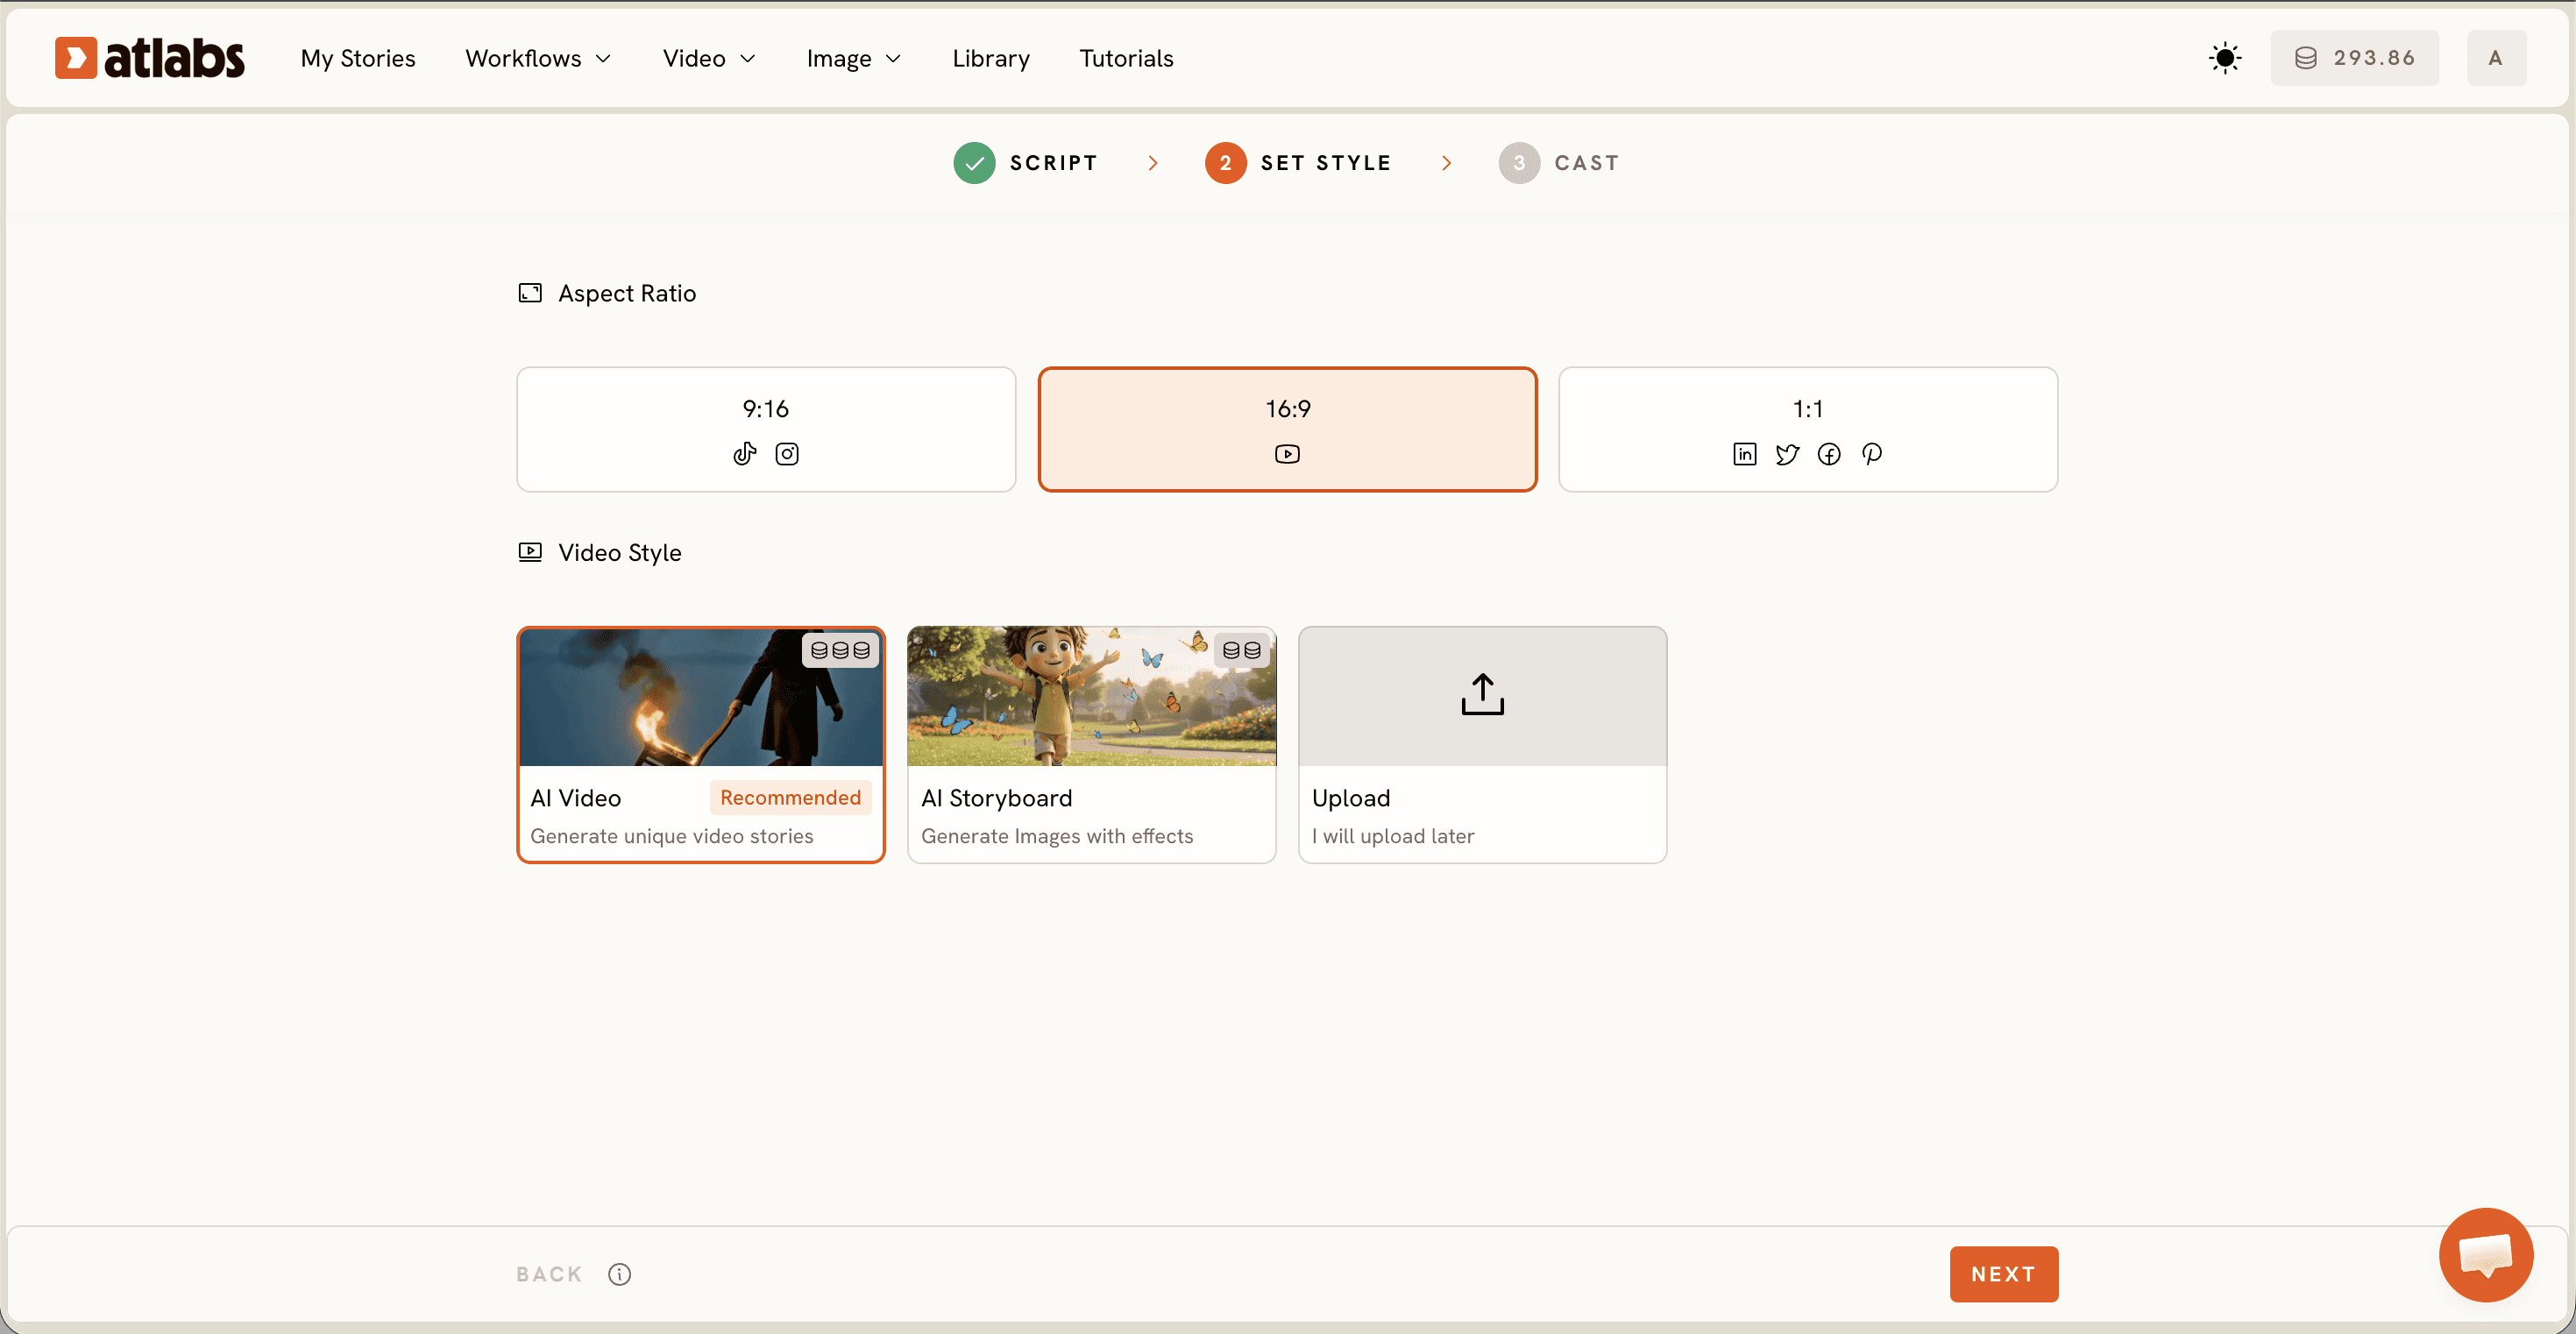
Choose the shape that matches where the video will play. A 16:9 ratio fits a classroom projector or a YouTube upload, while 9:16 suits a quick clip pushed to phones for revision. For style, a clean 3D Cartoon or Modern Cartoon look reads clearly for younger students, while a Storybook or Watercolor Ink style suits literature and history. The style choice is where you set the grade level feel without writing a word about it.
Step 4. Generate and review the scenes.
The workflow builds the animated scenes from your prompt. Watch it as a student would and ask one question: does the sequence make the process clear? If a step is missing or moves too fast to follow, you adjust the prompt and regenerate rather than editing frames by hand. This is the part that used to take days and now takes a revision or two.
Step 5. Add a narrator and sync the voice.
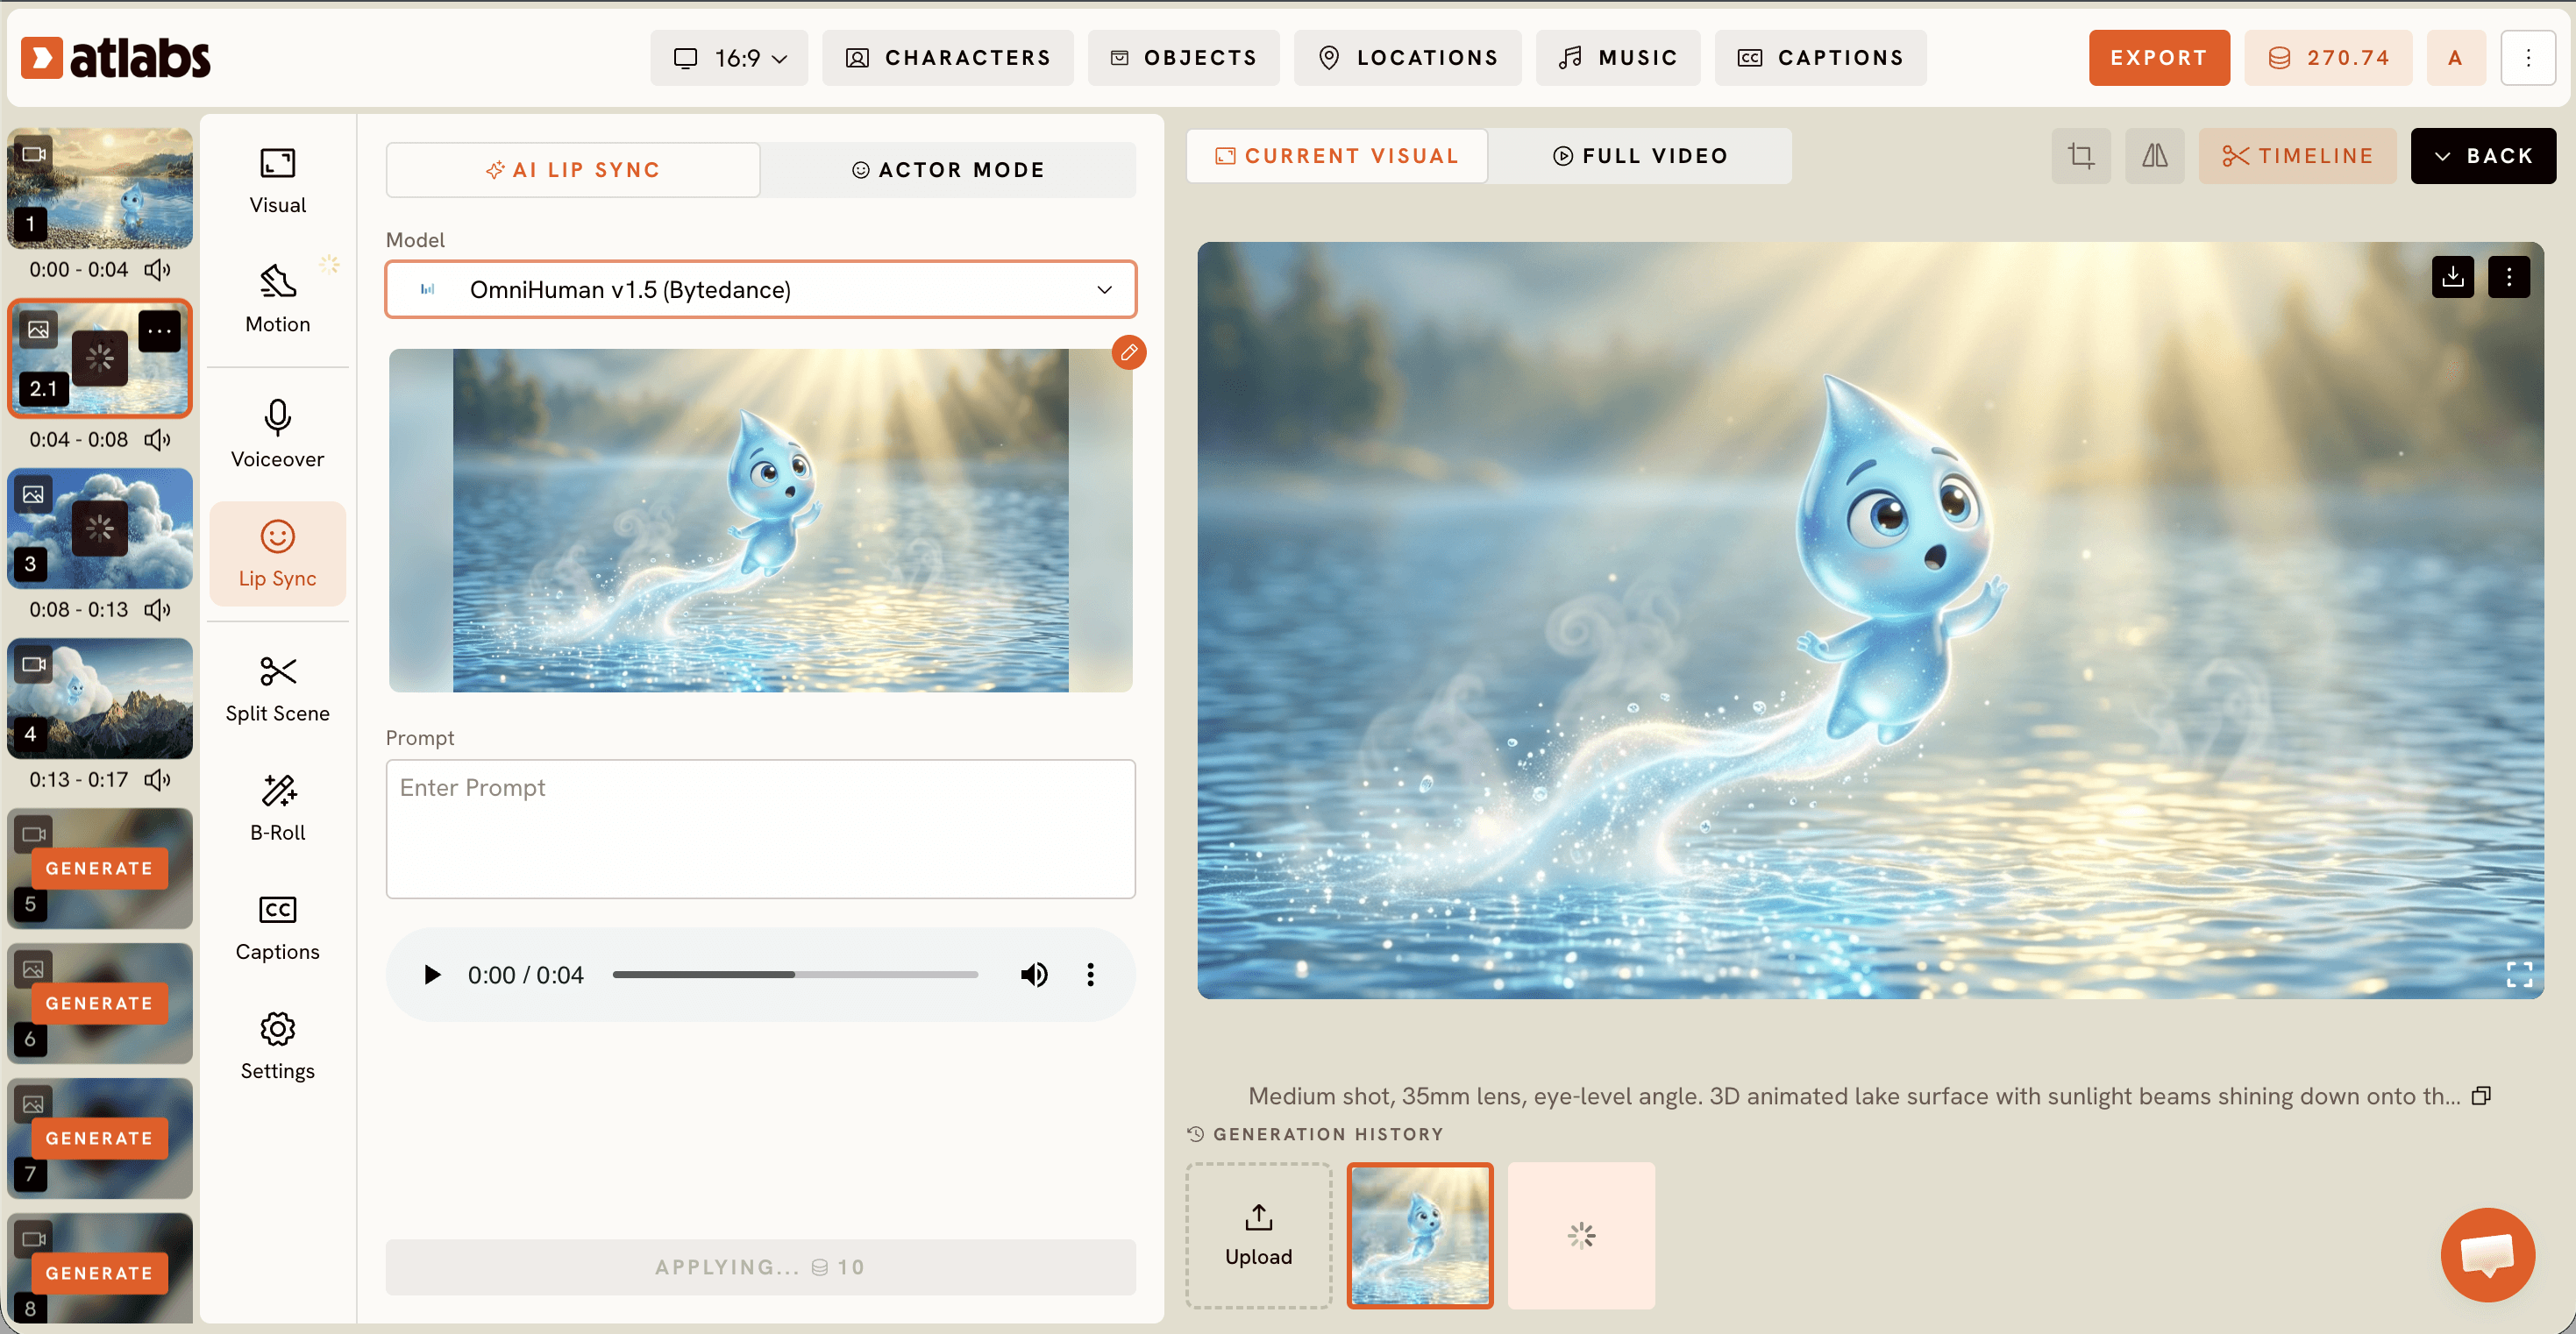
A silent animation explains less than a narrated one. When your video features a character or presenter who should appear to speak, take the voice track and run it through Lip Sync, which matches the lip movement to your audio so the narrator looks like they are actually teaching the lesson. You upload the character image or video and the audio file, then generate. The result feels less like a slideshow with a voiceover and more like a guide walking the class through the idea.
Step 6. Export and bring it to class.
Once the animation reads cleanly and the narration is synced, export and drop it into your slides, your learning platform, or a shared class folder. You can build a whole sequence this way: one short clip per concept rather than one long video, which fits how a lesson is actually paced. When you are ready, open the Animated Video workflow and start with the single hardest concept in your next unit.
Why Atlabs Works Well for Teaching Content
Three things make this practical for a teacher rather than a production studio. The first is that the input is plain language. The Animated Video workflow turns a written description into animated scenes, so the barrier is your ability to describe a lesson, not your ability to draw or rig characters. That is a skill teachers already have in abundance.
The second is the range of visual styles in one place. The same platform produces a bright 3D Cartoon for a primary science clip and a Storybook or Watercolor Ink treatment for a history narrative, so you are not locked into a single look that suits one subject and clashes with another. You match the aesthetic to the grade and the topic by selecting a style, not by hiring a different artist.
The third is model choice working quietly underneath. Stylized character closeups route well through Seedance 2.0, while higher motion sequences suit Hailuo 2.3, so a dialogue heavy story and a fast moving process animation can each land at the right quality from the same workflow. You get the benefit of multiple specialised models without managing any of them, which is the difference between a tool a teacher can actually use on a Sunday evening and one that needs a technical pipeline. You never see the model machinery unless you want to, and when you do, naming the right model in the prompt is the only adjustment required.
Example Prompts to Try
These are written to produce strong results on the first generation. Each one links straight into the workflow it suits. Adapt the subject to your own unit and keep the structure: subject, action, setting, tone, and audience.
An animated history scene for middle school showing a bustling ancient marketplace along a trade route, merchants exchanging spices and silk, camels resting in the background, warm storybook illustration style with soft watercolor textures, slow establishing camera move across the stalls, golden afternoon light, calm narrated documentary tone. (Best routed through Seedance 2.0)
Try this prompt in Atlabs Animated Video
A cheerful animated character, a curious young scientist with round glasses, standing beside a giant glowing model of a plant cell and pointing to its parts, modern cartoon style, clean classroom background, steady medium shot framing the character and the diagram, bright even lighting, encouraging and patient tone suitable for a biology lesson.
Try this prompt in Atlabs Animated Video
An animated number line scene for early math showing fractions splitting visually: a single bar dividing into two equal halves, then four equal quarters, each piece highlighting as it separates, flat modern cartoon style, simple pastel background, clear front-on framing, soft playful lighting, friendly and reassuring tone for young learners.
Try this prompt in Atlabs Animated Video
A stick figure whiteboard explainer walking through the steps of the scientific method, a simple stick character drawing each stage in sequence, observe, question, hypothesis, experiment, conclusion, clean white background with hand-drawn lines, minimal and clear, steady framing, neutral instructional tone for a high school class.
Try this prompt in Atlabs Stick Style
Pro Tips From Real Classroom Use
Make one clip per concept instead of one long video. A ninety second animation that nails a single idea is easier to slot into a lesson, easier to replay for the students who need it again, and far easier to regenerate when you want to tweak one step. Long videos force you to scrub for the moment that matters; short ones let you teach in the order you actually teach.
Name the grade level inside the prompt. Writing "suitable for a primary school class" or "for a high school biology lesson" steers both the visual simplicity and the pacing, and it saves you from a clip that is technically correct but pitched two years above your room. The audience line is the cheapest accuracy you will ever buy.
Keep a small library of prompts that worked. Once a phrasing produces a clip your class responds to, save it and swap only the subject next time. A prompt that delivered a clean water cycle animation will deliver a clean carbon cycle animation with three words changed, and you build a personal template set without ever opening animation software.
Final Verdict
The reason teachers have avoided making their own animated content was never a lack of ideas. It was the size of the production task standing between the idea and the finished clip. That task has shrunk to writing a clear description and reviewing a result, which is work teachers already do every day. With the Animated Video and Stick Style workflows for the visuals and Lip Sync for a narrator who actually speaks, you can build a short, focused animation for the one concept your class keeps getting stuck on, and then another, until you have a small library that fits your curriculum exactly. Start with your next hardest lesson and create your first animated video on Atlabs.