How do I get aesthetic, viral-ready photo edits out of Grok Imagine?
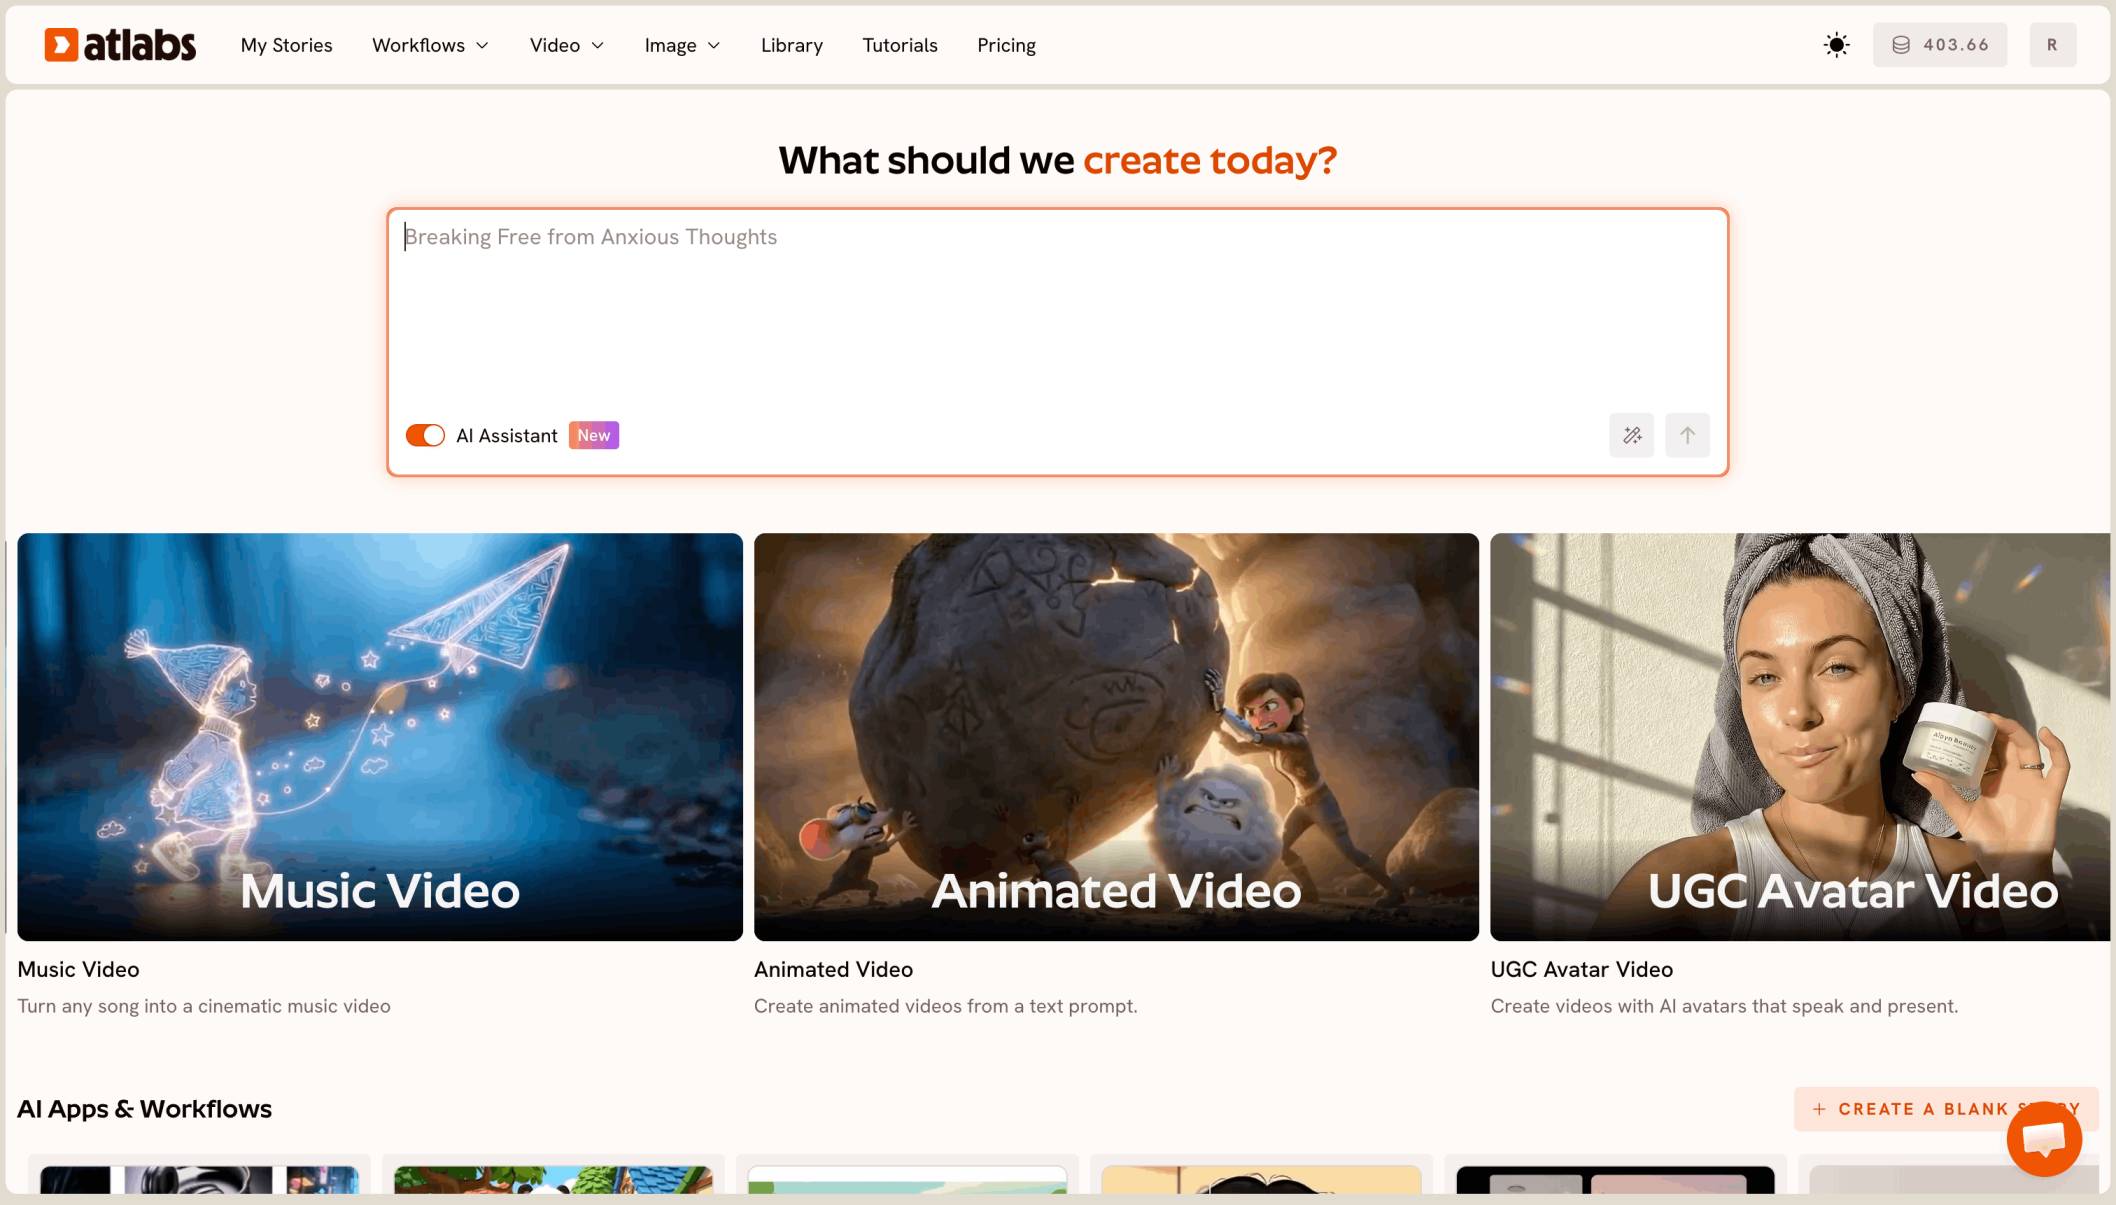
Describe one change at a time, name what must stay the same, and describe the light the way a photographer would. Grok Imagine is available inside Atlabs as an image model in Create Image, so you can generate, edit with reference photos, upscale, and reframe for each platform without leaving one workspace. This guide covers what Grok Imagine does well, the prompting rules that matter for social photos, the aesthetic looks worth building, and the settings that decide how your edit fits the feed.
What Grok Imagine Is Good At
Grok Imagine is xAI's image model for generation and editing. In Atlabs it takes up to 3 reference images, so you can restyle a scene, swap a background, or change one element of an existing photo from a plain language instruction. It is also known for rendering short text cleanly, which helps for posters, cover slides, and branded graphics, and for keeping a character consistent across several generations, which matters if your account is built around one face or one mascot.
Atlabs lets you produce up to 4 outputs per run and choose between 1K and 2K resolution, with 2K as the default. Running four outputs from the same prompt is the fastest way to find the version worth posting, because small wording changes shift lighting and framing more than most people expect.
Core Prompting Rules for Grok Imagine
Change One Thing Per Edit
Photo edits go wrong when a single prompt asks for a new outfit, a new background, and new lighting at once. Ask for one change, review the result, then send the next. Grok Imagine handles iterative refinement well, and each pass keeps what you already liked.
Say What Stays the Same
When you upload a photo, state the change and then list what must not move: the face, the pose, the framing, the background. Without that instruction the model treats unmentioned parts of the image as open to change.
Structure Every Edit the Same Way
A reliable order is the action, the subject or area it applies to, the style or mood, the lighting, and a texture or spatial detail. Specific wording beats general wording every time. A named background with a named light source gives the model something to act on, while a request like "make it prettier" gives it nothing.
Describe Light Like a Photographer
Aesthetic photos live or die on light. Name the direction and quality, such as low warm backlight, soft window light from one side, or hard on-camera flash with deep shadow falloff, instead of mood words like dreamy or cinematic.
Name Each Reference by Its Role
With several reference photos, say what each one contributes: the person, the outfit, the location. Calling a photo "the first image" invites mix-ups, while naming its job keeps every reference doing the right thing.
Keep On-Image Text Short
Because Grok Imagine renders short text well, a masthead, a title, or a one-line cover caption can go straight into the image. Put the exact words in quotes and keep them brief.
Aesthetic Looks to Build
These are directions to specify, not rigid formulas. Pick one look per edit and describe it with the same structure each time.
The golden hour portrait asks for low, warm backlight, a soft rim glow on hair and shoulders, a shallow depth of field, and a palette of peach and amber. The direct flash snapshot asks for a harsh on-camera flash, hot highlights, deep shadows on the wall behind the subject, visible film grain, and slightly faded color. The pastel flat lay asks for an overhead angle, soft window light, a muted palette of two or three colors, and generous empty space. The relight edit keeps the framing and people fixed and changes only the light, the sky, and the color grade. The cover slide pairs a clean studio backdrop with a short masthead in quotes.

The pastel flat lay look: overhead angle, soft window light, a three color palette, and empty space on the left for text. Generated in Atlabs with Grok Imagine at 3:4.
Save the wording of any look that performs, then reuse its structure with a new subject. The light, palette, and texture scaffold is what carries an aesthetic from post to post.
Ten Grok Imagine Prompt Patterns to Copy
These come from an open Grok Imagine 1.5 prompting guide published on GitHub by thoxakihiko under a CC BY 4.0 license, written for xAI's Grok Imagine image model. They are shown as published, so swap in your own subject and palette.
Pattern 1: The Prompt Anatomy
Put the subject first, then style, environment, lighting, mood, and technical details. The first 20 to 30 words carry the most weight, and conversational sentences work better than a list of keywords. The structure in the guide's own example runs from subject to medium, texture, palette, and overall feel.
Pattern 2: Street Art Poster

Pattern 2 run as written in Atlabs with Grok Imagine at 3:4.
Good for a bold carousel opener or a profile highlight cover. Swap the city for yours.
Pattern 3: Photoreal Portrait

A clean base for a feed portrait. Set the ratio to 3:4 in Atlabs, then reframe to 4:5 if you need the exact Instagram size.
Pattern 4: Product Shot

Pattern 4 run as written in Atlabs with Grok Imagine at 1:1.
Use it for shop posts and brand grids, with a 1:1 ratio.
Pattern 5: Stylized Concept Visual

Works as a wallpaper-style post or a cover slide behind short text. This is the prompt behind the image at the top of this guide.
Pattern 6: Single Photo Edit

Upload one photo as a reference in Atlabs and write the change as a direct instruction. The edit keeps the aspect ratio of the photo you upload.
Pattern 7: Multi-Image Edit

Combines up to three reference images. State what must stay unchanged, as the last sentence does here.
Pattern 8: Image Generation Template

Pattern 9: Single Edit Template
Pattern 10: Multi-Image Edit Template
Prompts above are credited to the Grok Imagine 1.5 prompting guide by thoxakihiko, licensed CC BY 4.0.
How to Run Grok Imagine Edits on Atlabs
Open Atlabs and choose Create Image from the AI Apps.
Select Grok Imagine from the model dropdown.
For an edit, add your own photo as a reference, up to 3 images in total. For a new image, skip this step.
Describe the image or the edit in the prompt field, set the aspect ratio, and choose 1K or 2K.
Generate, compare the outputs, then export. Use Upscale Image to sharpen the final and Reframe Image to make a second version for another platform.
Watch It In Action
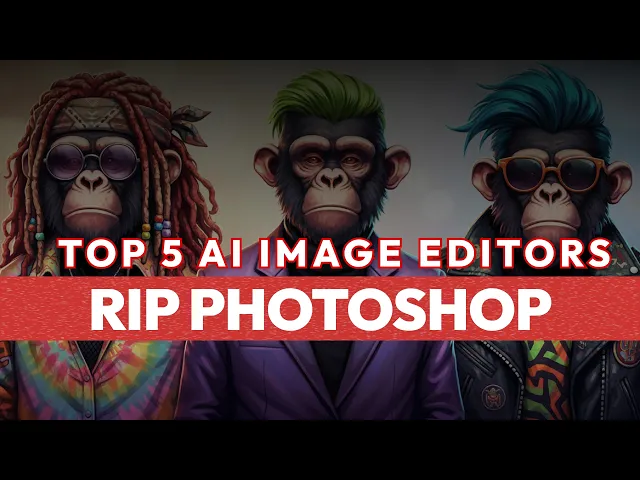
See the full editing process in this Atlabs tutorial, How to Edit Images with AI.
Settings That Decide How Your Photo Fits the Feed
Grok Imagine in Atlabs offers 1:1, 16:9, 9:16, 4:3, 3:4, 3:2, 2:3, 2:1, 1:2, and Auto. There is no 4:5, the Instagram feed ratio, so generate at 3:4 and use Reframe Image or a quick crop to reach 4:5. Use 9:16 for Stories, Reels covers, and TikTok, and 1:1 for grid posts and carousel slides. Choose the ratio before you generate, because composing for a vertical frame and cropping from a square give different results.
Common Mistakes to Avoid
Stacking several edits into one prompt is the most common one, and it is why results drift. Skipping the instruction about what stays the same is the second, since faces and backgrounds shift without it. The third is relying on mood words alone. Aesthetic describes a reaction to a photo, not the photo, so replace it with a light direction, a palette, and a texture.
FAQ
Can Grok Imagine edit my own photos?
Yes. Upload your photo as a reference in Create Image on Atlabs, describe the single change you want, and say what must stay the same. You can add up to 3 reference images.
Which aspect ratio works best for viral social photos?
Use 9:16 for Stories, Reels covers, and TikTok, 1:1 for grid and carousel posts, and 3:4 for the feed, then reframe to 4:5 if you need the exact Instagram size. Atlabs does not list 4:5 for Grok Imagine.
How many reference images can I use?
Up to 3 in Atlabs. Name what each one contributes so the model does not mix up the person, the outfit, and the location.
Can Grok Imagine put text on an image?
Yes, and it handles short text well. Put the exact words in quotes and keep them brief for the cleanest result.
Final Verdict
Grok Imagine rewards direction more than volume. One change per edit, a clear instruction about what stays fixed, and light described in photographer's terms are the habits that separate a styled photo from a generic AI image. The settings matter too: choose the ratio before you generate, compare up to four outputs, and use Reframe Image for the platforms that need a different shape. Running it through Create Image on Atlabs keeps generation, editing, upscaling, and reframing in one place, which is what makes a steady posting schedule realistic.