There is a specific kind of edit filling short form feeds right now. Somebody takes a clip everybody already knows, a wedding video, a movie scene, a viral reaction shot, and swaps in a completely different face. The body language stays. The timing stays. The camera move stays. Only the person changes, and the gap between familiar motion and an unfamiliar face is the entire joke.
Making one of these used to mean rotoscoping, masking and a long night in After Effects. It now takes two steps. You build one reference image of the character you want, then you hand that image and your original clip to a model that keeps the motion and repaints everything else. Below are three complete walkthroughs, each one a different flavour of the same technique.
Why Recasting an Existing Clip Beats Generating From Scratch
Text to video is good at inventing a scene. It is much weaker at inventing believable human motion inside that scene. Ask a model for a man walking down an aisle and you will get something that reads as generic. Hand it a real clip of a man walking down an aisle and ask it to change who he is, and every physical detail that makes footage feel real, the weight shift, the shoulder rotation, the tiny camera shake, is already solved before the model does anything.
That is why the recast format converts so well on short form. The clip is already proven. Somebody already filmed a moment worth watching, or somebody already made it go viral. You are not competing on whether the scene is interesting. You are only adding the twist. It also makes the work repeatable, because once you understand the pattern, a reference image plus a source clip, every trending audio and every reaction shot on your feed becomes usable material.
The other reason this works is control. When you describe a character in a prompt, you get a different face on every generation. When you supply a reference image, that face is locked, which means you can produce a series with the same character across multiple clips instead of one lucky output.
The Atlabs Workflow for This
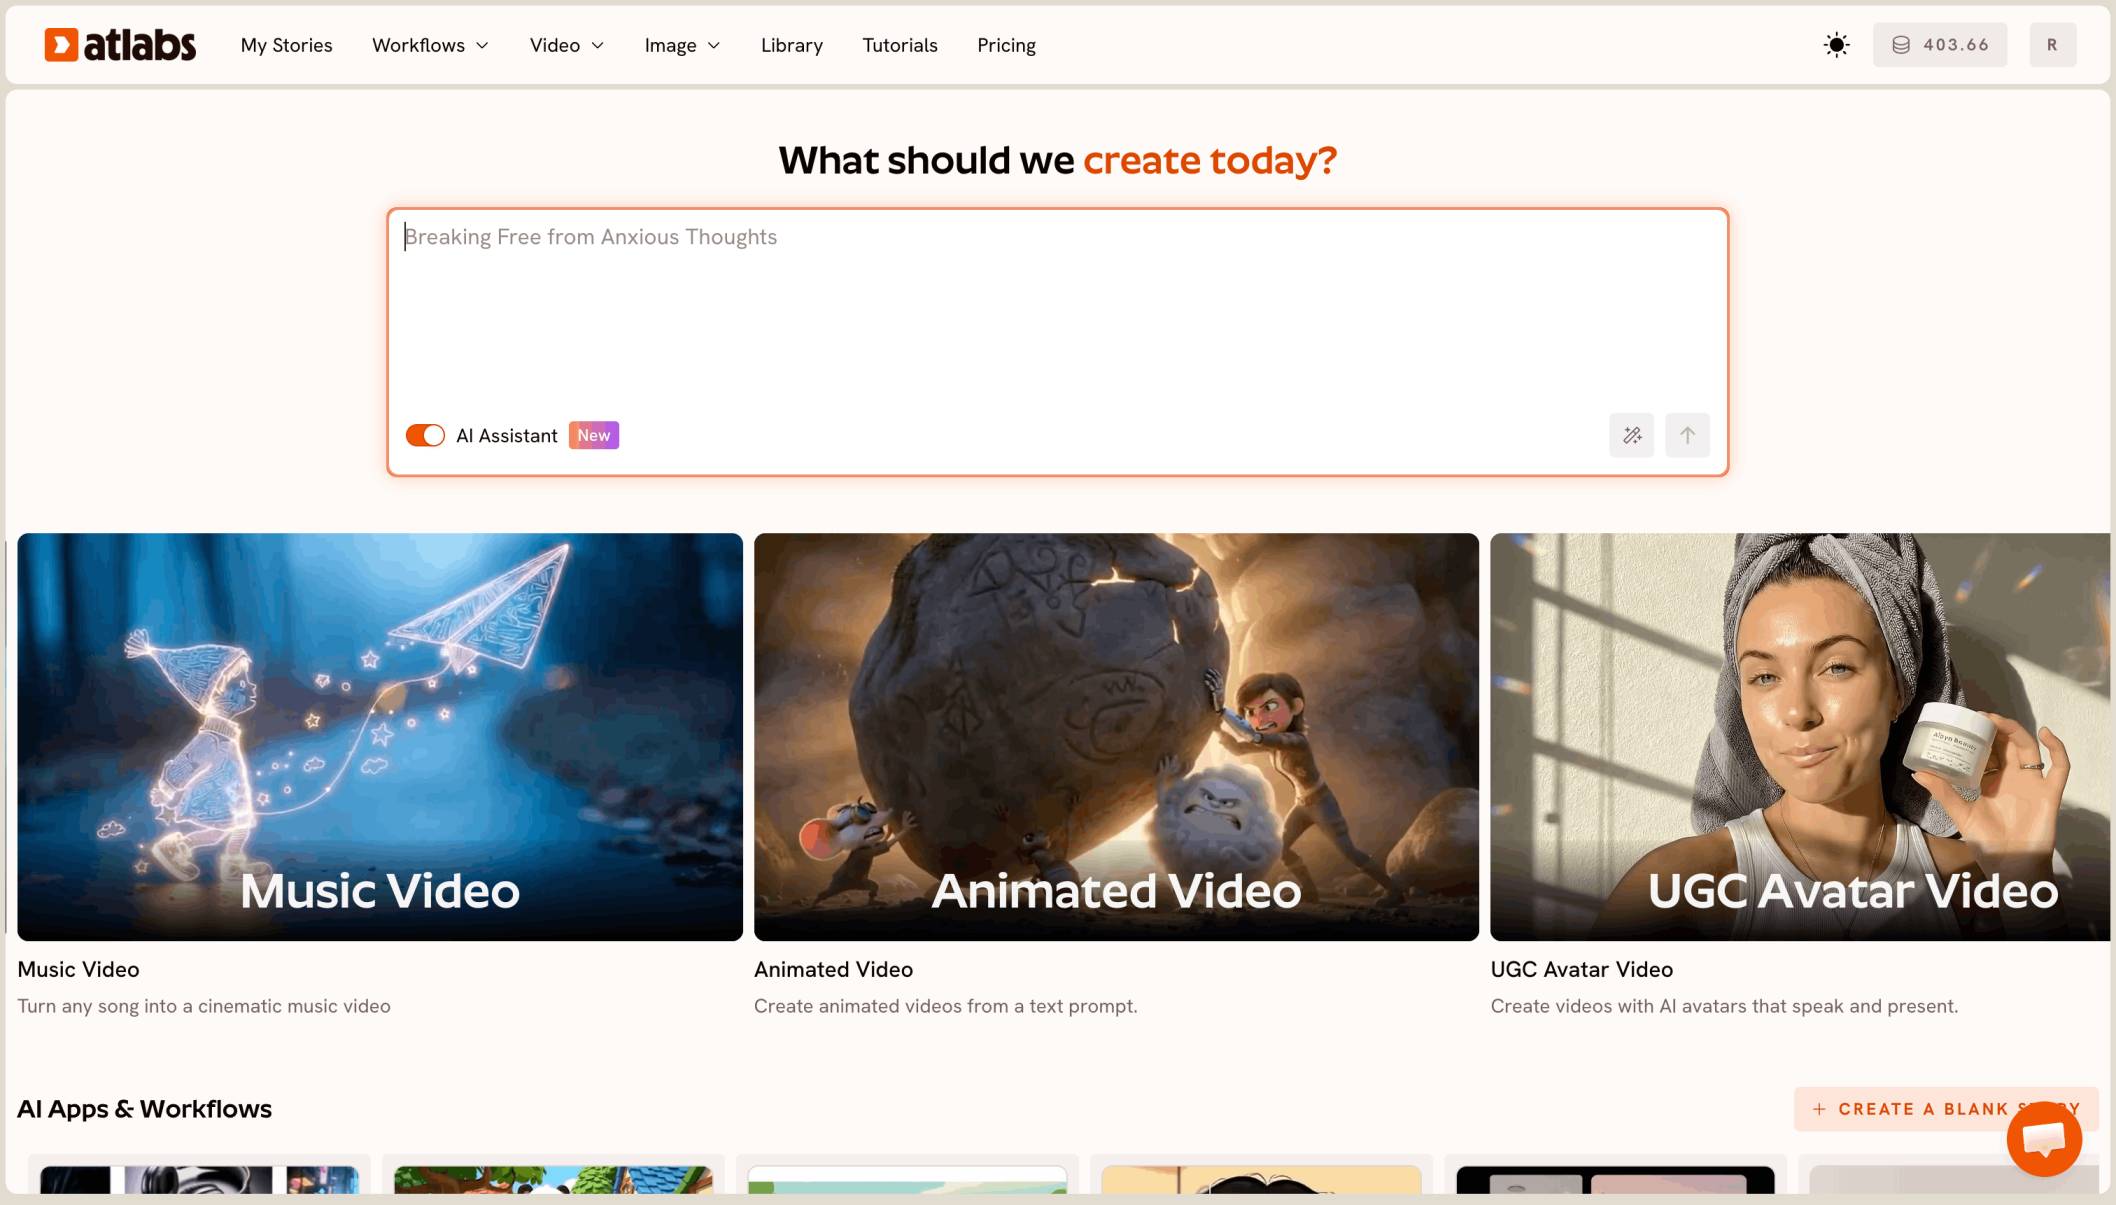
Every tutorial below uses the same two part pattern. First you build a reference image in an image app, either Grok Imagine when you want a full scene recreated with new characters, or GPT Image when you want one precise change to a single frame. Then you move the motion. Modify Video takes a clip of three to ten seconds, accepts up to four reference images, and rewrites the footage while holding the original movement. Kling Motion Control works from the other direction, taking the motion out of your reference video and applying it to a character image.
Which of the two you reach for depends on the clip. If the scene has several people, a background and lighting you want preserved, Modify Video is the right call. If the point is a single character performing a single motion, Motion Control gives you a cleaner result.
Tutorial 1: Recast a Wedding Clip as an MCU Scene
This is the most involved of the three because it replaces three people at once and still has to keep the room, the outfits and the camera angle intact. The trick is doing all the hard creative work in the image step so the video step has almost nothing left to decide.
Step 1: Build the reference image
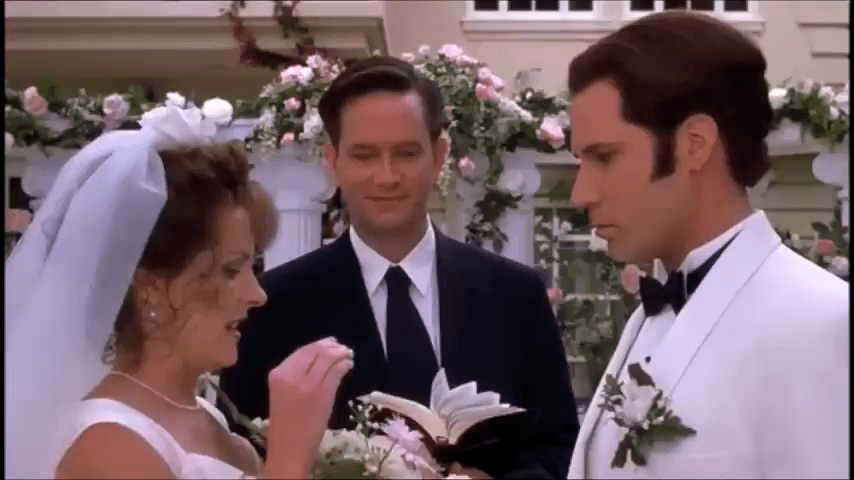
Open Grok Imagine in Atlabs and upload the input image, a still from your wedding clip that shows the full composition, both the couple and the officiant. Then use this prompt:
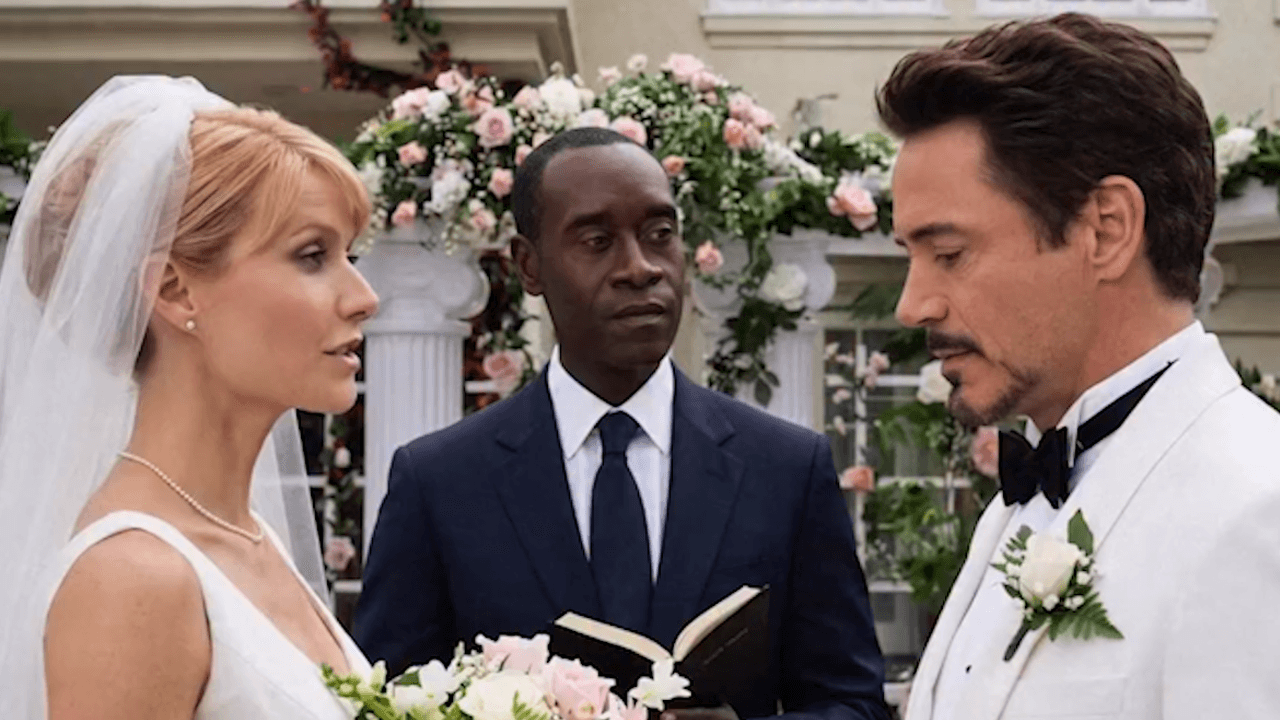
Recreate this exact wedding scene with Tony Stark as the groom, Pepper Potts as the bride, and James Rhodes (War Machine) as the officiant. Keep the same composition, poses, outfits, background, lighting, and camera angle. Photorealistic MCU movie still, cinematic, natural faces and skin, 16:9.
Notice how much of that prompt is instructions to change nothing. Composition, poses, outfits, background, lighting and camera angle are all explicitly pinned. The only variable is who the three people are. That is what makes the output usable as a reference rather than as a separate image.
Step 2: Move the motion onto it
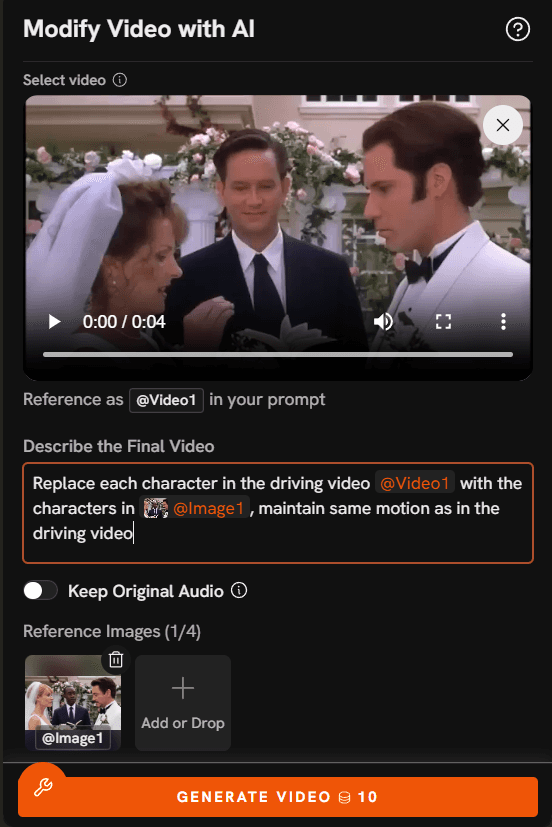
Open Modify Video and upload your clip. It needs to be between three and ten seconds. Add the image you just made under Reference Images, then write your instruction in the Describe the Final Video box, referring to the clip as @Video1:
Replace the people in @Video1 with the characters from the reference image. Keep the exact same motion, camera movement, framing, lighting and background. Photorealistic MCU movie still look, cinematic, natural faces and skin.
Leave Keep Original Audio on if the clip has usable sound. Generate, and you have your first shot.
Tutorial 2: The MJ Meme
This one is the MJ meme format, and it is the simplest of the three. One character, one exaggeration, one motion transfer.
Step 1: Edit the first frame
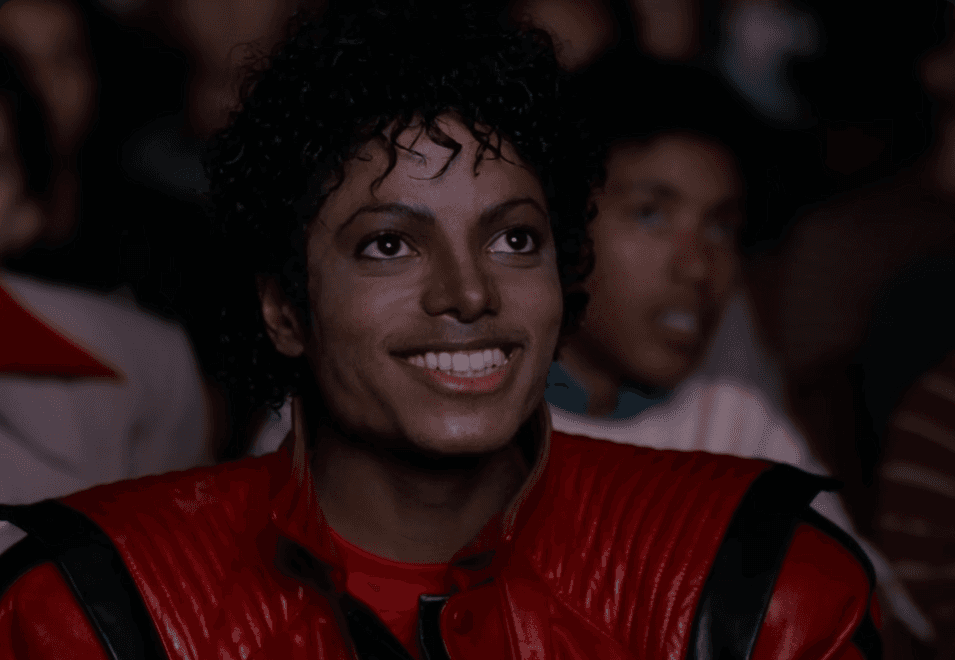
Take the first frame of your video and upload it to GPT Image in Atlabs. The prompt is short on purpose:
make him far more obese, increase face fat
Short prompts work better here than long ones. You are asking for one change to an image the model can already see, so the more you write, the more you invite it to redraw things you wanted left alone. Keep the instruction to the single edit you actually want.

Step 2: Transfer the motion
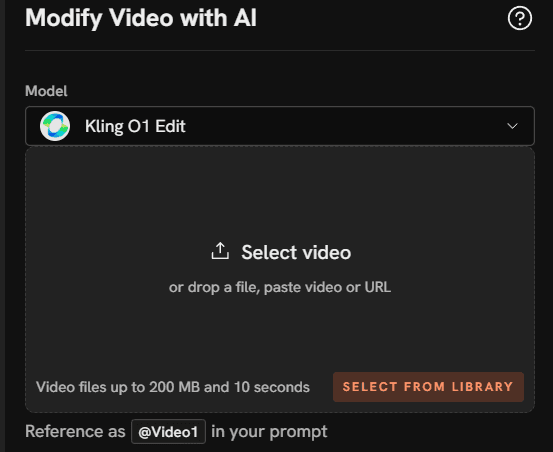
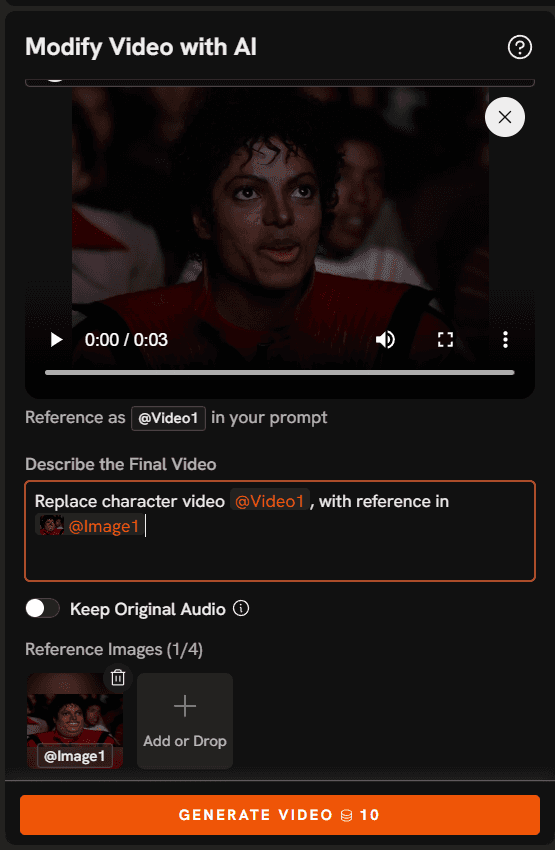
Open Kling Motion Control and upload your clip as the source. Add the edited image as your reference image. Because you started from the first frame of the same video, the pose in the reference already matches the opening pose of the clip, which is what makes the motion land cleanly. Generate, and you have your final video.
Tutorial 3: The Ronaldo Meme
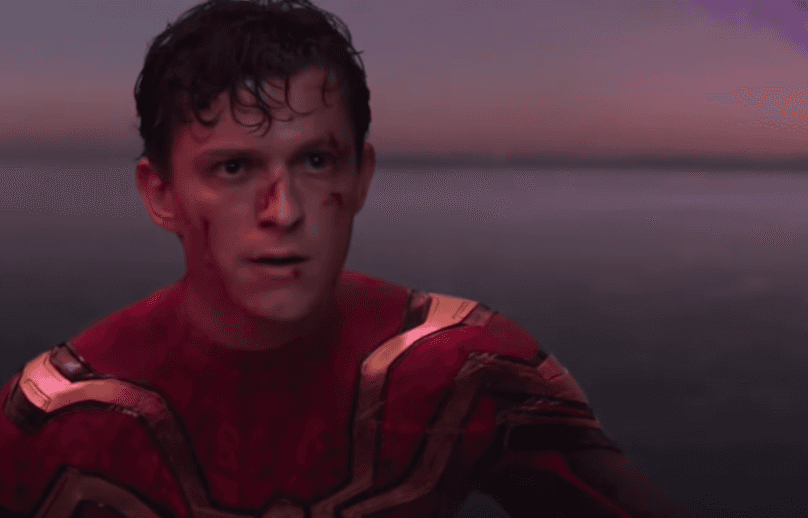
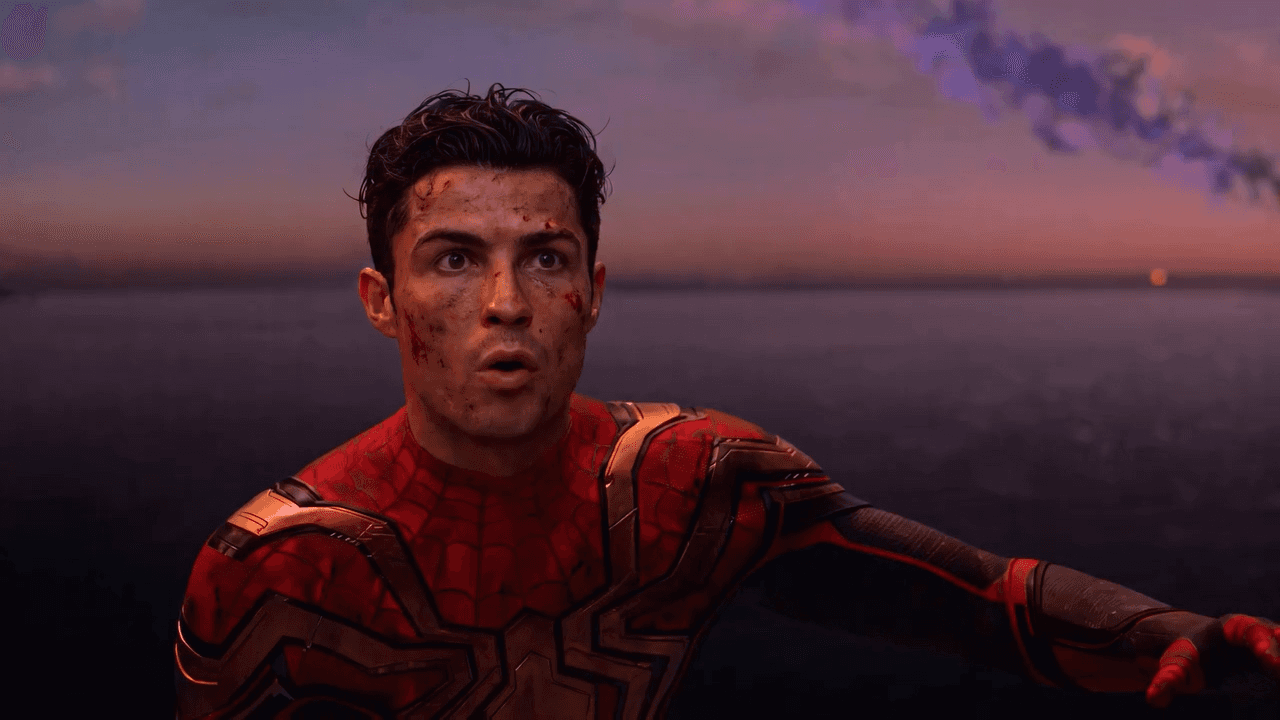
The Ronaldo meme swaps one recognisable character for another while holding an exact pose. The reference video is worth watching first so you know which beat you are matching.
Step 1: Swap the character in the first frame
Upload the first frame of your video to GPT Image in Atlabs and use:
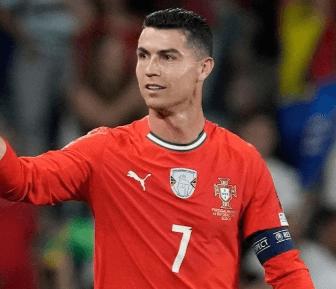
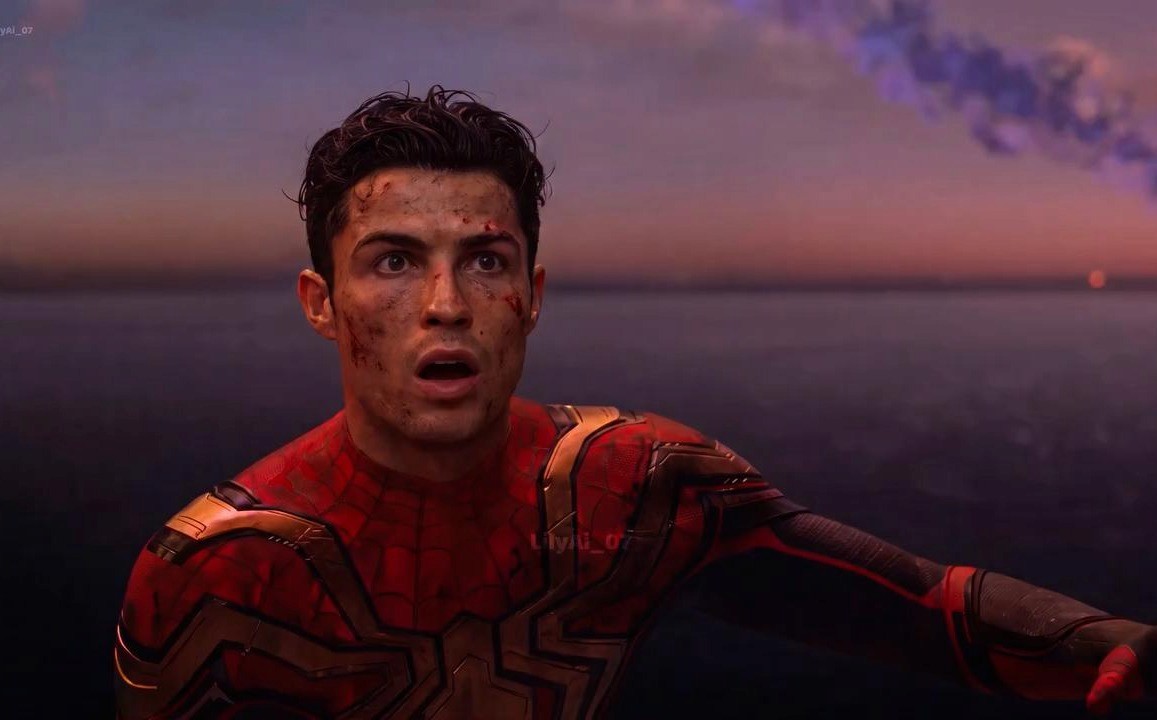
replace the tom holland's spiderman with ronaldo, same pose and expression as image1 (spiderman)
The important half of that prompt is the second half. Naming the pose and the expression, and pointing back at the source image explicitly, is what stops the model from giving you a generic portrait that will not line up with the motion in the next step.
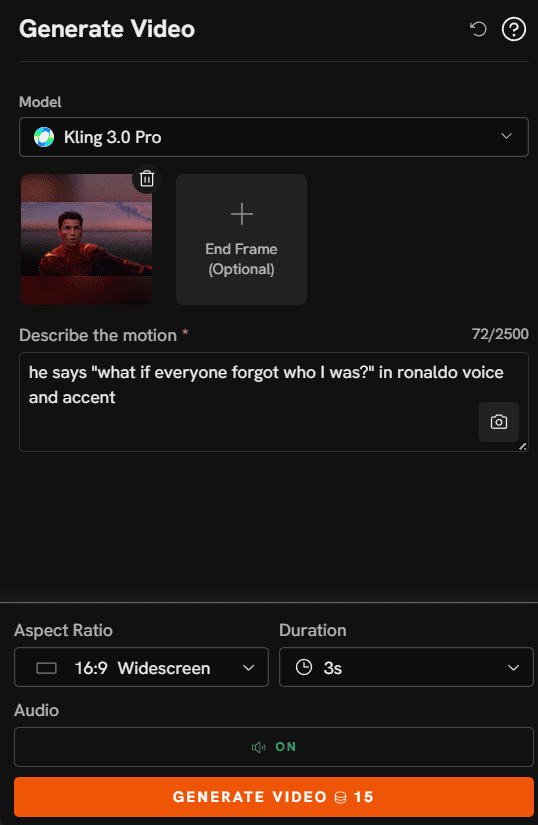
Step 2: Generate the clip
Open Kling Motion Control, add your edited image as the reference image, upload your photo, and write the motion prompt describing the action you want carried across. Hit Generate and you have your clip, and with it your final video.
Why Atlabs Works Well for This
The first reason is that both halves of the job live in the same place. A recast meme needs an image model and a video model working off each other, and the usual version of this workflow means one browser tab for image generation, another for video, a download folder full of intermediate files, and two separate accounts to keep topped up. In Atlabs the image you make in Grok Imagine or GPT Image goes straight into Modify Video or Motion Control from the library, so the reference never leaves the platform.
The second is model choice. Grok Imagine and GPT Image are good at different things, and this guide uses both deliberately, one for full scene recreation and one for precise single edits. The same applies on the video side, where Modify Video and Motion Control solve two different shapes of the same problem. Being able to swap between them without setting up separate API access for each is the practical difference between testing three approaches in an afternoon and committing to one.
The third is what happens after the clip exists. A meme that works is a meme you want in three aspect ratios, so Reframe converts your 16:9 output to 9:16 with AI generated fill rather than a hard crop, and Upscale pushes the result to 1080p or 4K at up to 60fps before it goes out. Those steps matter more than they sound, because compression on short form platforms is unforgiving and a soft output reads as low effort even when the idea is strong.
FAQ
How long can my source clip be?
Modify Video accepts clips between three and ten seconds. Motion Control accepts reference videos between three and thirty seconds. For character swaps specifically, shorter is better, because identity consistency degrades as the clip runs on. Cut to the beat that matters and generate that.
Should I use Modify Video or Motion Control?
Use Modify Video when the scene itself matters, multiple people, a background and lighting you want kept. Use Motion Control when a single character performing a single motion is the whole shot. Motion Control moves the movement onto your character image, so the environment comes from your prompt rather than from the source footage.
Why does my output face keep changing between generations?
That is what happens when the character is described in text rather than supplied as an image. Build the reference image once, then reuse that same file across every clip in the series. The face is locked to the image, so it stops being a lottery.
Can I use these clips on TikTok, Reels and YouTube Shorts at the same time?
Yes. Generate once, then run the output through Reframe to produce 9:16, 1:1 and 16:9 versions with AI generated fill instead of cropping the subject out of frame, and through Upscale to hold quality through platform compression.
Final Verdict
The recast meme is one of the few AI video formats where the technique is simple and the ceiling is set by your taste rather than your tooling. Everything above reduces to the same two moves. Build one strong reference image, then move the motion onto it. Tutorial one recreates a whole scene, tutorial two exaggerates one character, tutorial three swaps one recognisable face for another, and all three run on the same pattern.
The reason to run it in one place is that the image step and the video step feed each other constantly, and every download and re-upload in between is a chance to lose the thread. Pick a clip you already like, spend your effort on the reference image, and let the model handle the rest. Start with Atlabs and build the first one today.