What is the Atlabs MCP, and how do I use it to make AI video, image, and music inside Claude?
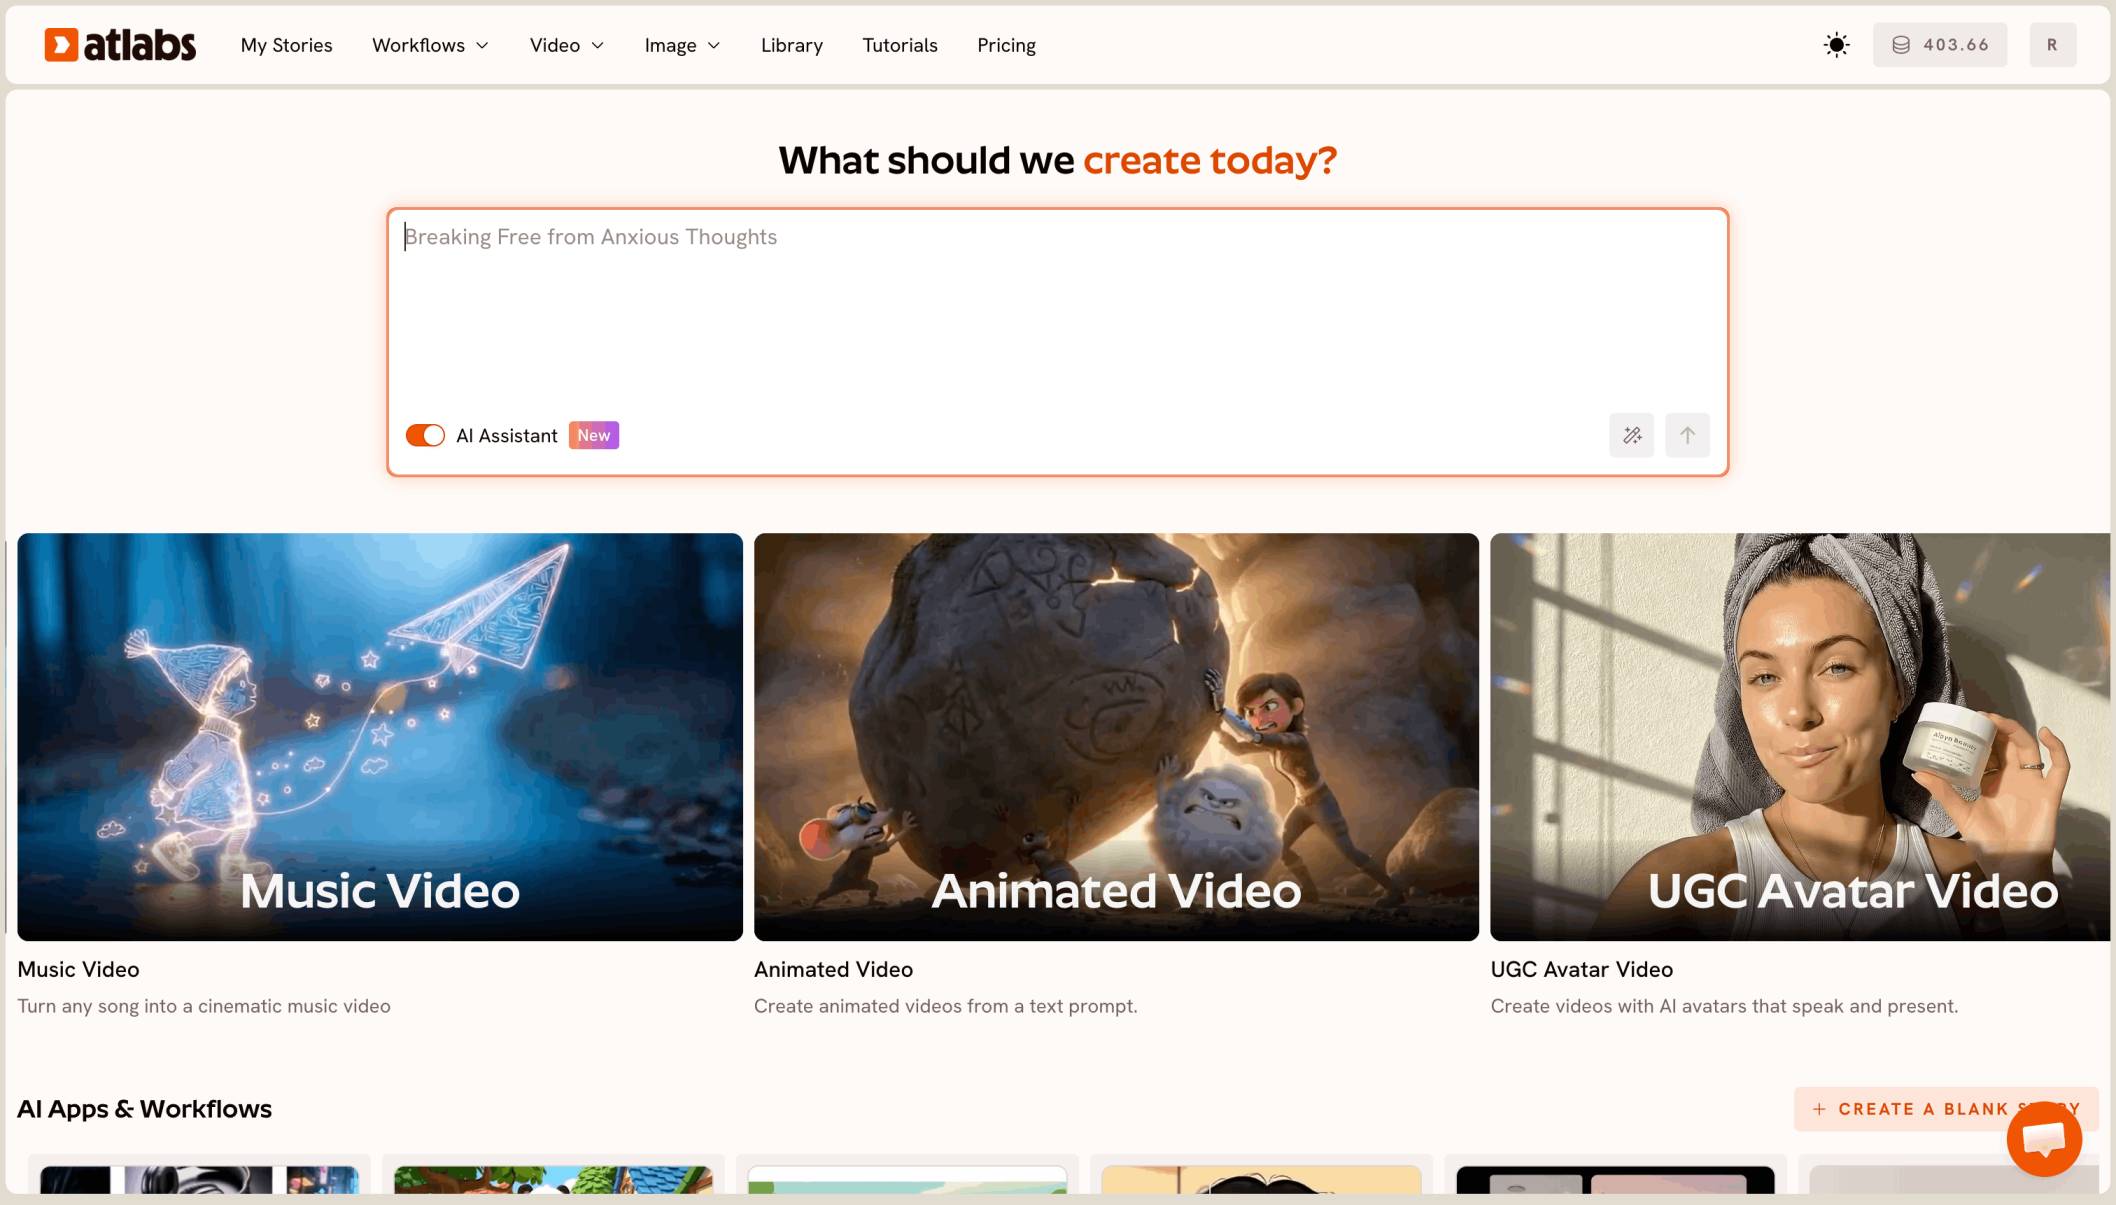
The Atlabs MCP connects Atlabs's full video, image, and music studio directly into Claude. You describe what you want in plain language, and Claude picks the tool and model, shows the price, and delivers the result right in the chat. There's no tab switching, no learning each model's individual settings, and no downloading a file just to hand it to the next step.
What You'll Need
Before starting, have Claude connected to the Atlabs MCP and an Atlabs account with credits on it. Have your starting material ready too, a product photo, a rough script, a driving video for motion, or a voice recording for lip sync, since most of what follows starts from something you already have rather than a blank prompt.
How to Connect the Atlabs MCP to Claude
Connect from Claude Web or Desktop
Open your profile menu in Claude and select Customize, then go to Connectors and click Add connector, followed by Add custom connector. Enter a name for it and the server URL https://mcp.atlabs.ai/mcp, then complete the sign-in step when prompted. Once that finishes, the tools are ready to use directly in chat.
Connect from Claude Code
Run this command in your terminal:
claude mcp add --transport http atlabs https://mcp.atlabs.ai/mcp
Complete the sign-in step when your browser opens, and the MCP is connected.
Connect from Another MCP Client
Add https://mcp.magnific.com as a streamable HTTP MCP server and complete the same sign-in step. Either way, you'll need an active account with credits on it, since MCP actions consume credits even on a plan with unlimited generations for certain models.
Full Step-by-Step Walkthrough
1. Generate an Image
Describe a text-to-image shot, or hand Claude a reference photo for image-to-image editing that keeps a product or character consistent across several shots. About 20 models are available, including Nano Banana (2, 2 Lite, Pro), GPT Image 2.5, Seedream 4.5 and 5, Flux 2, Flux Kontext, Flux Realistic, Qwen Image and Qwen Image Edit, Recraft V3, Grok Imagine, and Runway References. Claude suggests a default model plus two alternatives and explains how they differ in speed, quality, and style, and you can set the aspect ratio, output count, style, resolution, and quality before anything runs.
2. Generate a Video
Turn a prompt into text-to-video, animate a still with image-to-video, or build a shot from reference people, products, voices, or clips. Start-frame and end-frame control sets up a clean transition between two shots, and some models can extend an existing video instead of starting over. About 50 models are available, including Google Veo 3.1, the Kling lineup from 1.6 through v3 and its O-series transitions, Seedance 2 and 2.5, MiniMax H3 (Hailuo), Wan 3, Flux 3, Gemini Omni Flash, Grok Imagine Video, LTX-2, and Runway's cinematic look, with duration, aspect ratio, resolution, and native audio generation all adjustable.
3. Edit a Video with a Prompt
Change an existing video in plain language, something like "make it snow" or "change her jacket to red," guided by a reference image when needed, while the original audio stays intact. This runs on Kling O1 Edit, Gemini Omni Flash Edit, or Grok Imagine Edit.
4. Apply Motion Control
Give a still character the moves from a driving video, a dance, a gesture, a piece of acting. You choose whether the shot follows the driving video's framing or the original image's, and whether to keep the source audio, with Standard and Pro tiers available.
5. Sync Lips and Build Talking Avatars
Re-sync the lips in a video to new audio, or turn a single photo into a talking video, using Kling Lip Sync, Avatar v2 and v2 Pro, Sync 3, OmniHuman 1.5, or VEED Fabric. It auto-detects the speaker in a multi-person shot, and its sync modes, loop, bounce, cut off, remap, and more, handle the gap when the audio and video lengths don't match. The voice audio has to come from you; there's no built-in text-to-speech.
6. Generate Music
Describe a song or instrumental and get a track back, on MiniMax Music 3, ElevenLabs Music, or Lyria 3 and Lyria 3 Pro. Custom lyrics are supported, Claude can write them for you, alongside a mood image to set the vibe, a forced instrumental option, and a set duration.
7. Finish the Shot
Four finishing tools round things out:
Upscale takes an image up to 8x or a video up to 4K at 60 fps.
Reframe changes an image's or video's aspect ratio and fills in the new area with AI, turning a 16:9 video into 9:16 for Reels or Shorts with an optional prompt like "extend the beach."
Trim cuts a clip to exact timestamps or pulls the audio out of a video, free and using no credits.
Trim in browser hands you an interactive player to drag handles and pick the part yourself, like just the chorus.
8. Work with Atlabs Stories
Browse the films already built in Atlabs, called stories, along with their assets, directly from the chat, and export a finished story to 1080p, 2K, or 4K.
9. Upload and Manage the Library
Upload images, video, or audio directly, or pick them through a file picker in your browser, browse the Atlabs media library, play any file in the chat, and check your credit balance and plan without leaving the conversation.
Watch It In Action
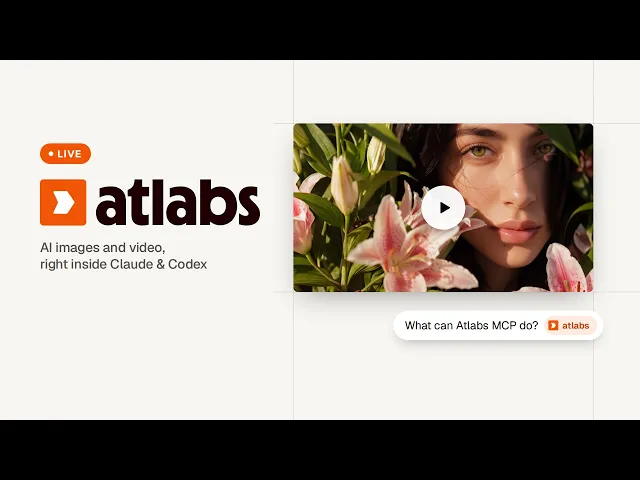
See the full studio working inside Claude in this Atlabs MCP walkthrough.
Try the Atlabs MCP in Claude →
Why It Actually Matters
Each output carries its own ID straight into the next tool, so nothing gets re-uploaded between steps, a product photo can become an animated video, get reframed to 9:16, upscaled to 4K, and paired with a background track in one conversation. Every paid action shows the exact prompt, every setting with defaults marked, your files, and the credit cost before anything is charged, so nothing runs until you say yes. Claude also recommends models and explains the tradeoffs rather than expecting you to know 70-plus models yourself, flags it immediately if a file doesn't fit a model's requirements and suggests how to fix it with trim, upscale, or reframe, and plays every result, image, video, or audio, inline with its own download and open buttons.
Example Workflows
Prompt 1: Product Ad Chain
Step 1: Generate a lifestyle scene from a product photo with Nano Banana Pro.
Step 2: Animate the scene into video with Veo 3.1.
Step 3: Reframe the video to 9:16 for Reels or Shorts.
Step 4: Upscale the result to 4K.
Step 5: Generate a background music track to match the mood.
Prompt 2: Talking Spokesperson
Step 1: Upload a headshot and a voiceover recording.
Step 2: Lip sync the headshot to the voiceover with OmniHuman.
Step 3: Reframe the finished video for each platform it's going out on.
A dance trend chain works the same way: a character image and a trending clip go through motion control, then get trimmed to 15 seconds. A music video chain writes lyrics, generates the song, generates matching visuals, then lip-syncs a character to the vocals. And a full Atlabs story can be exported straight to a 4K final cut without leaving the conversation at all.
Start Chaining Your First Workflow →
FAQ
Do I need to leave Claude to use any of these tools?
No. Image generation, video generation, editing, motion control, lip sync, music generation, and finishing tools all run inside the same Claude conversation through the Atlabs MCP.
How do I know what something will cost before it runs?
Every paid action shows the exact prompt, the full settings with defaults marked, your files, and the credit cost first. Nothing is charged until you confirm it.
What happens if my file doesn't fit a model's requirements?
Claude checks compatibility automatically and tells you which models accept the file as is, or how to fix it first with trim, upscale, or reframe.
Can I chain several tools together in one request?
Yes. Each tool's output carries its own ID into the next step, so a single conversation can move an image through animation, reframing, upscaling, and a music track without re-uploading anything in between. See the setup details in the Atlabs MCP documentation.
Final Verdict
The real shift here isn't any single model, it's that the studio moved to where the work already happens. A product photo, a script, or a voice recording no longer needs four separate tabs and four re-uploads to become a finished video, it stays in one conversation from the first prompt to the exported cut. That's what makes the Atlabs MCP worth setting up over picking tools one at a time, the chaining and the price-before-you-pay confirmation are what turn a pile of individual AI tools into an actual studio.
A studio that lives inside the conversation you're already having beats one more tab to manage.
Set Up the Atlabs MCP and Start Creating →