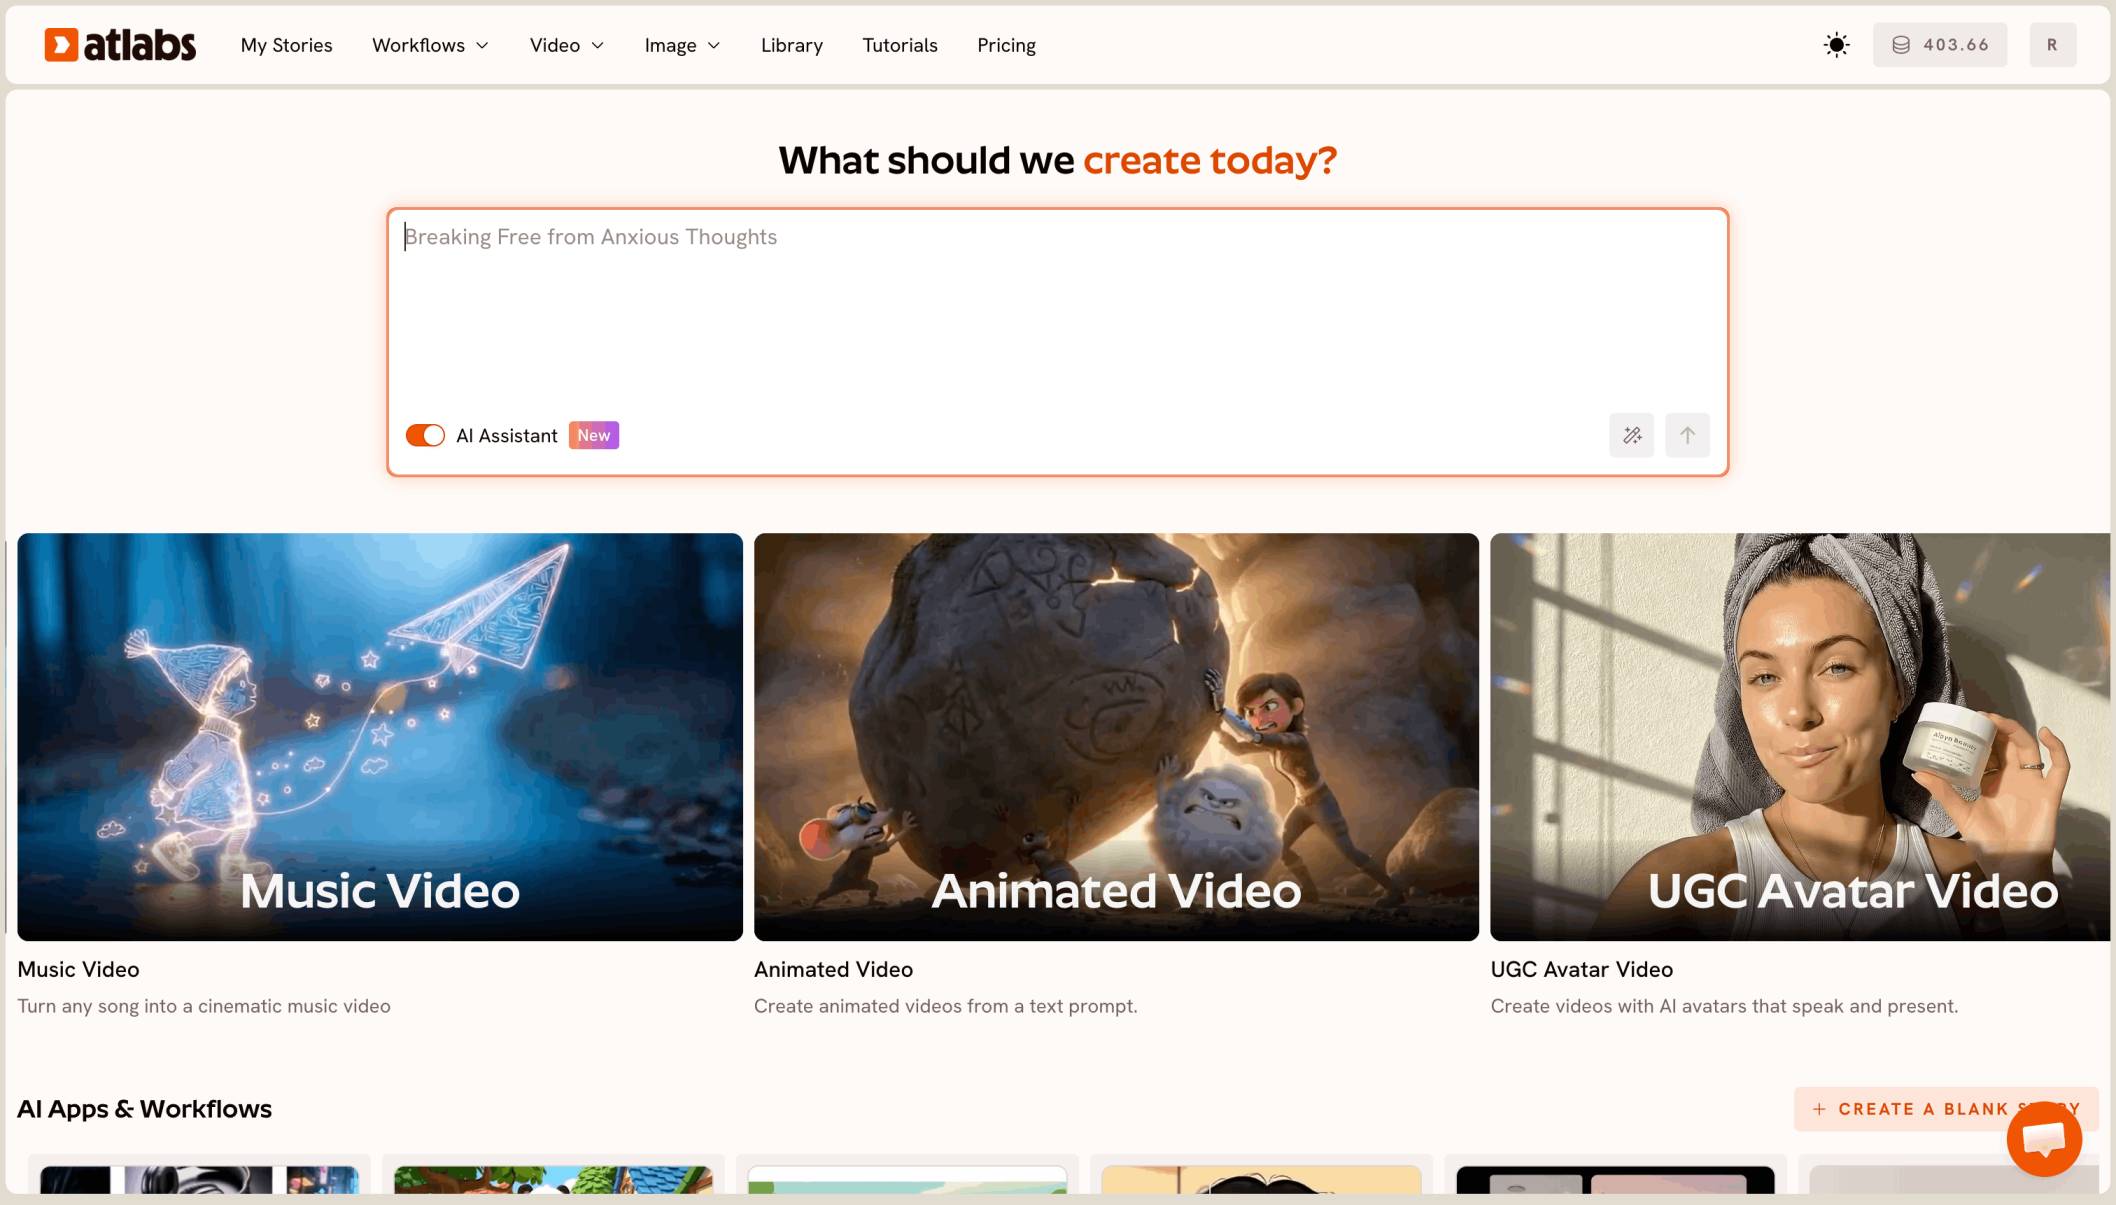
To make an animated explainer video for your classroom, open the Animated Video workflow in Atlabs, paste your lesson script, pick a visual style and aspect ratio, then cast a narrator voice and characters. Atlabs builds the animation for you, so no animation software and no drawing skill is needed. Most teachers finish a watchable first draft in about 10 minutes. This beginner guide walks through all three steps with screenshots from the workflow itself.
What Teachers Need Before They Start: The Beginner Guide Checklist
You need four things, and none of them cost you a weekend. First, an Atlabs account, because the Animated Video workflow lives inside the platform. Second, the classroom lesson you want to explain, either written out as a script or held loosely as an idea you can hand to the AI Script Writer. Third, a decision about where your students will watch, since a smartboard and a student phone want different aspect ratios. Fourth, roughly 10 minutes. That is the entire list. No storyboard, no voice recording setup, no animation software installed on the school laptop, and no prior video experience.
How to Make an Animated Explainer Video: The Step-by-Step Walkthrough
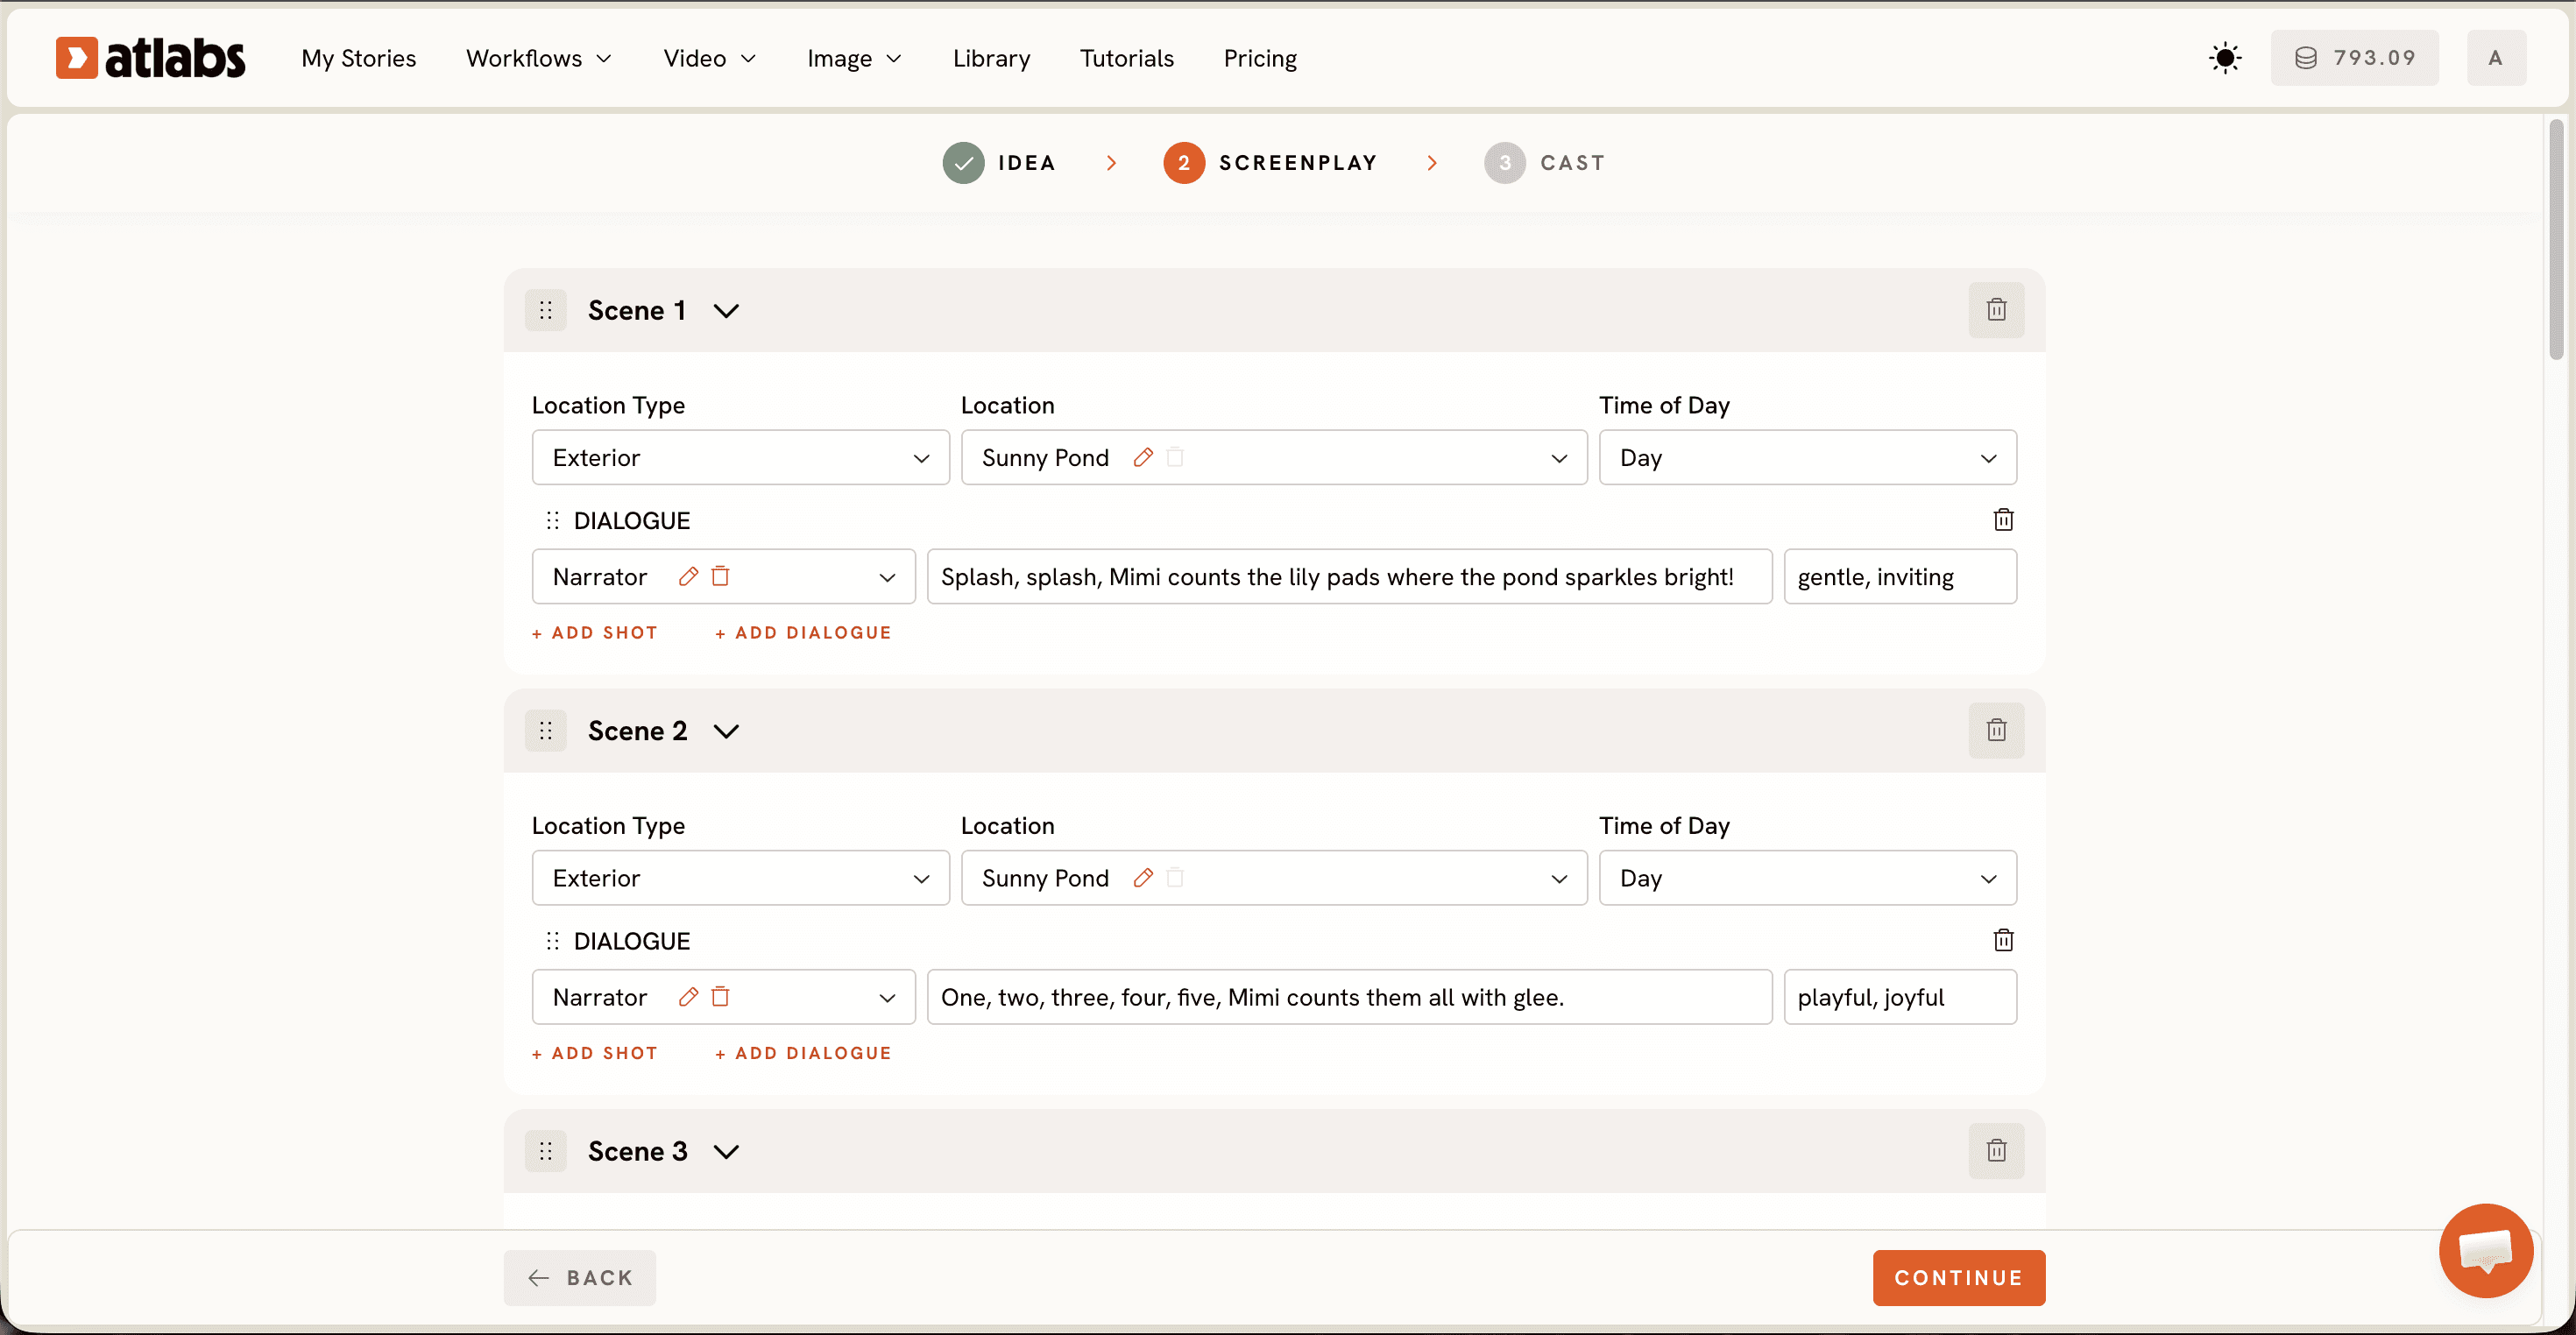
The Animated Video workflow runs on three steps, and the progress bar at the top of the screen reads SCRIPT, then SET STYLE, then CAST. Here is what each step asks of you and what to pick as a teacher.
Step 1. Write the Lesson Script, or Let the AI Script Writer Do It Free
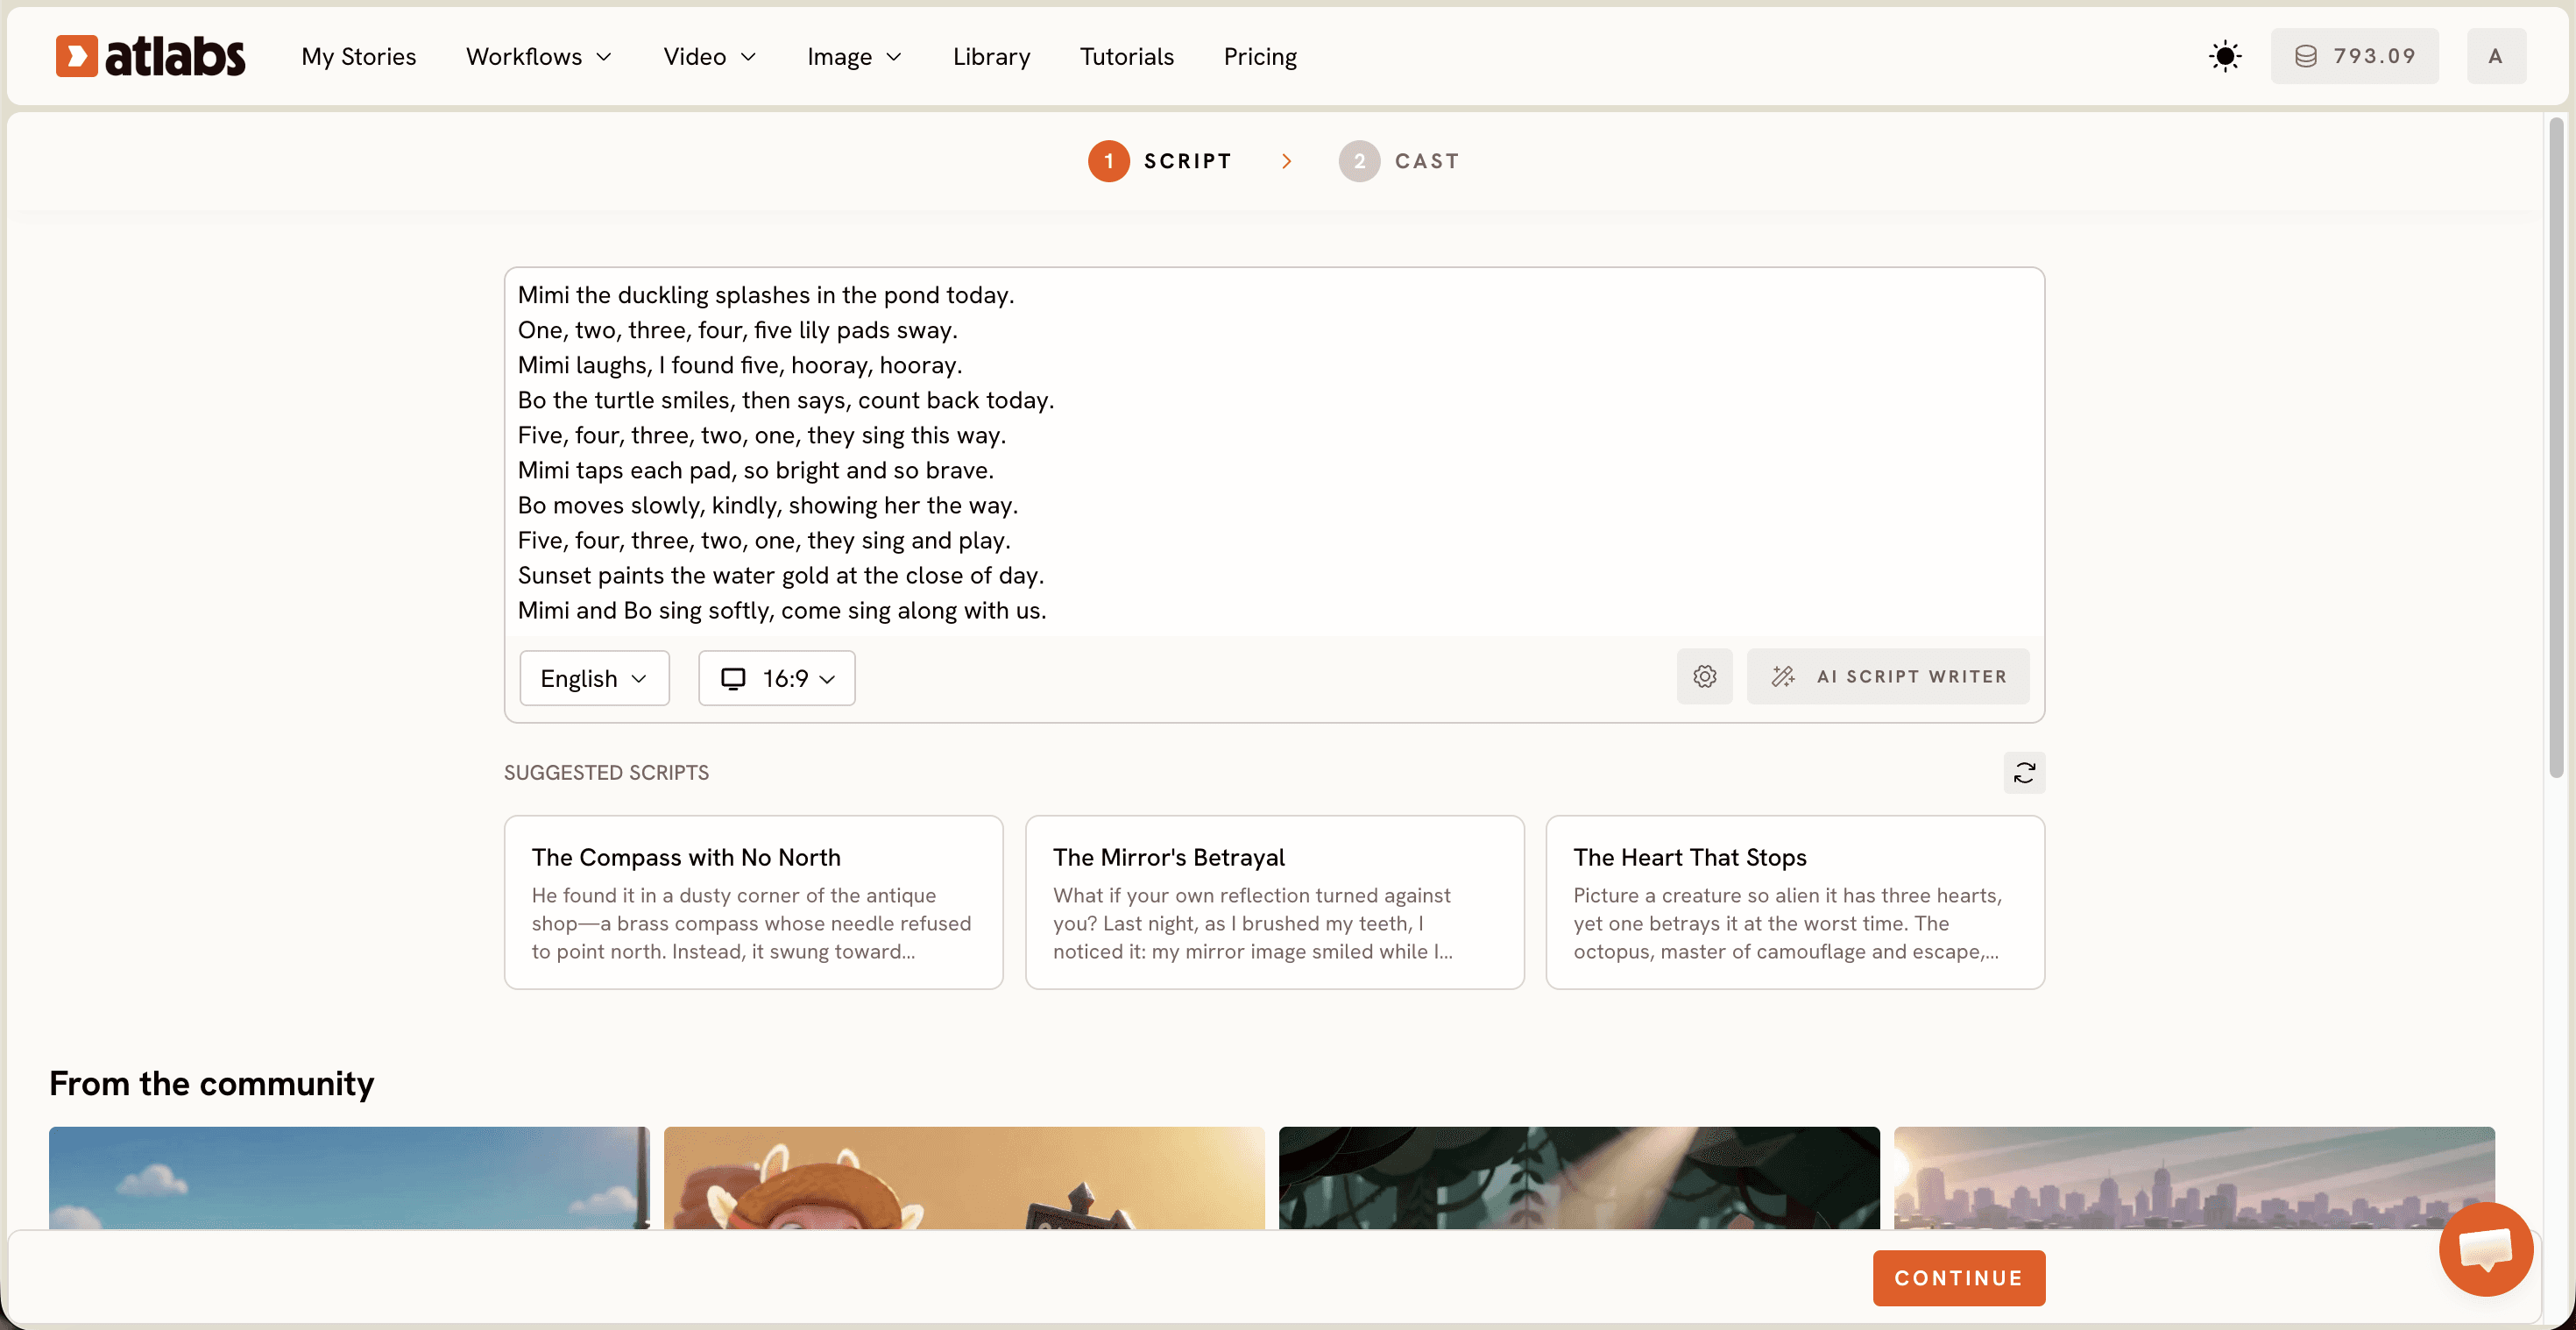
Open the Animated Video workflow and you land on the SCRIPT step. Two tabs sit at the top. Add your script takes free form text, and Add your screenplay takes structured screenplay formatting if you prefer scene by scene control. Paste the explanation you would normally say out loud in class. Keep it to what you would speak in 60 to 90 seconds, because that is about one explainer segment and about as long as a class will watch without drifting.
No script ready? Click AI Script Writer at the bottom right and describe the lesson in one line, such as a Grade 6 explanation of the water cycle. The SUGGESTED SCRIPTS cards under the editor show example structures if you want to see the shape of a strong script before writing your own. Set the Language selector at the bottom left before moving on, which matters if you teach a bilingual classroom.
Step 2. Set a Style Your Students Will Actually Watch, Step-by-Step
Pick your Aspect Ratio first. Choose 16:9 when the video plays on a classroom projector or smartboard, 9:16 when you share it to student phones or a school social page, and 1:1 for a class portal or a parent newsletter embed.
Next choose the Video Style. AI Video is the recommended option and produces a moving animated video. AI Storyboard produces images with effects, which suits a slower vocabulary lesson or a timeline recap. Upload lets you bring your own visuals later. Then pick a Visual Style from the library. 3D Cartoon works for primary classes, Flat 2D Modern suits science and maths concepts, Paper Cutout fits history storytelling, and Claymation gives younger students a friendly texture. Toggle Custom Styles for the full library, including Anime, Soft Pastel 2D, and Cozy Plush.
Step 3. Cast the Narrator and Characters in 10 Minutes
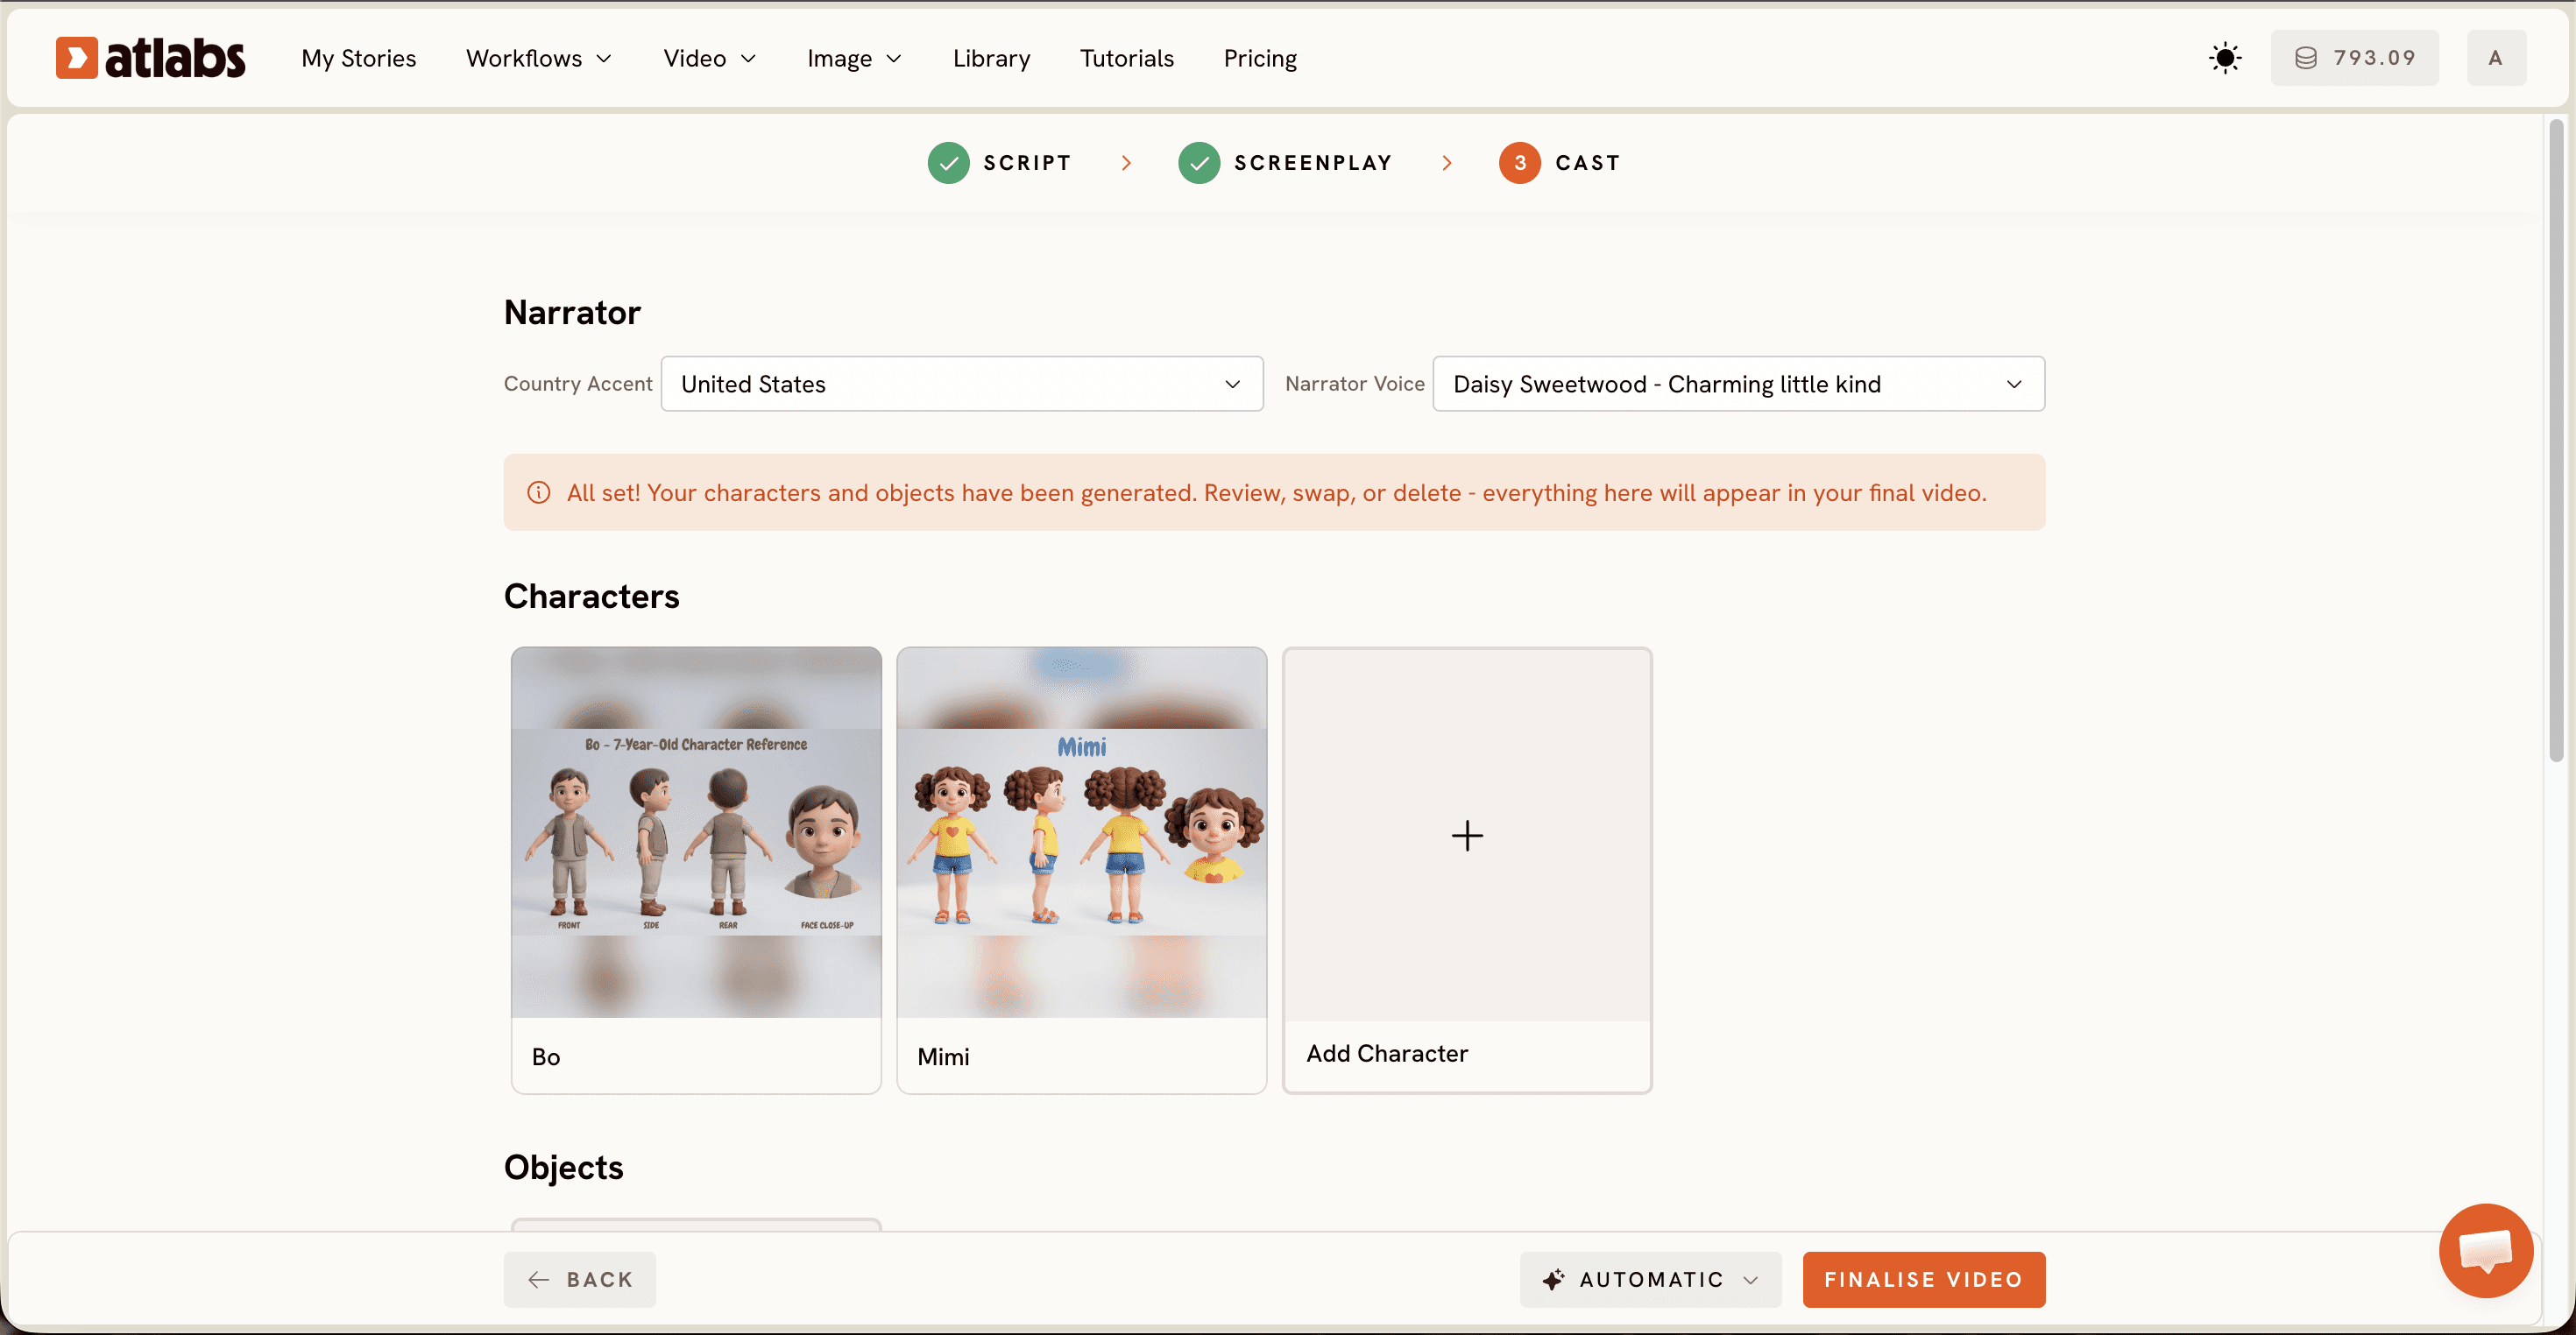
Set the Narrator first. The Country Accent dropdown defaults to United States, and the Narrator Voice dropdown holds the voice options such as David. Pick an accent your students hear as familiar, because comprehension slips when narration sounds distant to the ear.
Below the narrator sits the Characters section, where Atlabs generates character cards from your script and gives each one a name tag. A science lesson might cast a curious student and a teacher. A history lesson might cast two figures in conversation. The Objects section at the bottom is optional and earns its place when the lesson depends on a prop, like a beaker, a globe, or a coin. Click generate, then watch the result once the way a student would, and rewrite any line that made you pause.
Tips for Better Classroom Videos: The Ultimate Guide Extras
Match the model to the subject. Seedance 2.0 handles stylized character closeups, so it suits dialogue heavy civics and literature explainers. Kling 3.0 gives smoother cinematic motion for anything that moves, like a lesson on forces or the solar system. Google Veo 3.1 leans photorealistic and works for establishing shots in geography.
Keep one idea per video. A single explainer on photosynthesis stays watchable. One that covers photosynthesis, respiration, and the carbon cycle is a lecture with animation on top. Write narration the way you speak in class, then read the script aloud before pasting it, because if you stumble on a sentence your students will too. Add captions before you share, since Caption Video makes the lesson usable for students with hearing difficulty and for anyone watching without sound on the bus home. Use Reframe when you want the same classroom video in a second aspect ratio without rebuilding it.
Two Classroom Prompts You Can Copy Free
Paste either prompt into the AI Script Writer on the SCRIPT step, swap the grade and topic for your own lesson, and you have a script in seconds.
Write a 75 second explainer script for a Grade 5 science class on the water cycle. Use simple spoken English with one idea per sentence. Open with a question the narrator asks the class, cover evaporation, condensation, precipitation, and collection in that order, then answer the opening question in the last line.
Write a 90 second explainer script for a Grade 8 history class on why the Silk Road mattered. Use two characters, a trader and a student, in short back and forth conversation. Keep the vocabulary at Grade 8 reading level and end with one takeaway line students can copy into their notebooks.
Watch the Full Atlabs Tutorial: Step-by-Step on YouTube
Prefer to watch someone build one first? The Atlabs tutorial walks through the same three steps on screen, from pasting a script to picking a narrator voice, so you can follow along with your own lesson open in a second tab. Teachers who watch it first usually finish their first classroom explainer video faster.
FAQ
How long does it take a teacher to make one animated explainer video?
About 10 minutes for a 60 to 90 second lesson video once your script is ready. The first one may take closer to 15 minutes while you explore the Visual Style library. After that, most teachers repeat the workflow in a free period.
Do I need animation or video editing skills to make classroom videos?
No. The Animated Video workflow asks for a script, a style, and a narrator, and it handles the animation itself. There is no timeline to edit, no keyframes to set, and nothing to install on a school laptop.
Can I make an explainer video in a language other than English?
Yes. The Language selector sits at the bottom left of the SCRIPT step, so set it before you generate. This helps in bilingual classrooms where students follow a concept better in their first language.
What aspect ratio works best for classroom explainer videos?
Use 16:9 for a projector or smartboard, since it fills the screen without black bars. Use 9:16 if students watch on phones, and 1:1 for a class portal or newsletter. Reframe converts a finished video to a second ratio.
Get started
Your next lesson is already a script waiting to become a video. Open the Animated Video workflow, paste it in, and watch your classroom explainer build itself in about 10 minutes.