TL;DR
Create professional full CGI commercials without 3D software, production crew, or Hollywood budgets using Atlabs AI.
The Tools: Atlabs AI + Nano Banana Pro (characters) + Veo 3.1 (animation)
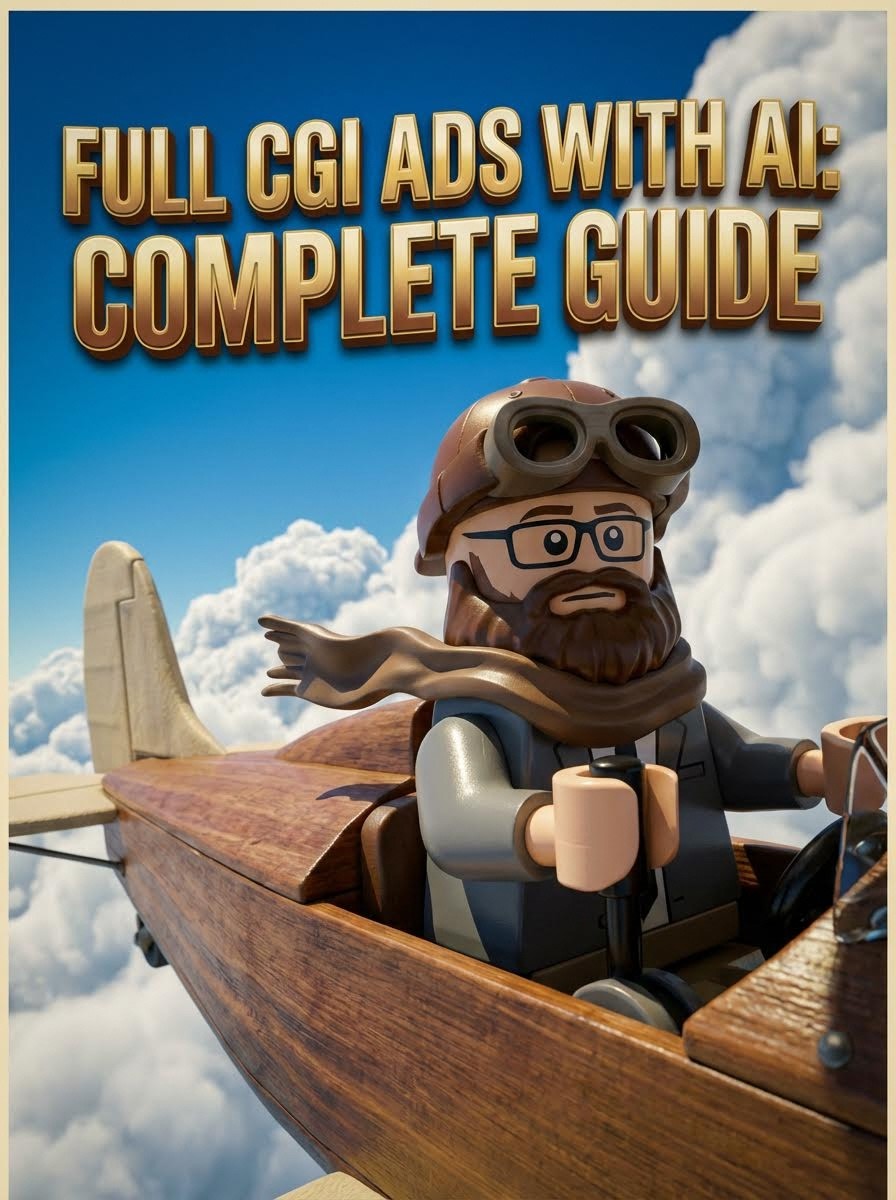
The Project: LEGO-style CGI ad, office worker discovers portal to fantasy worlds
The Result: Photorealistic 3D commercial created entirely from laptop
Cost: Atlabs subscription
Time: 2-3 hours
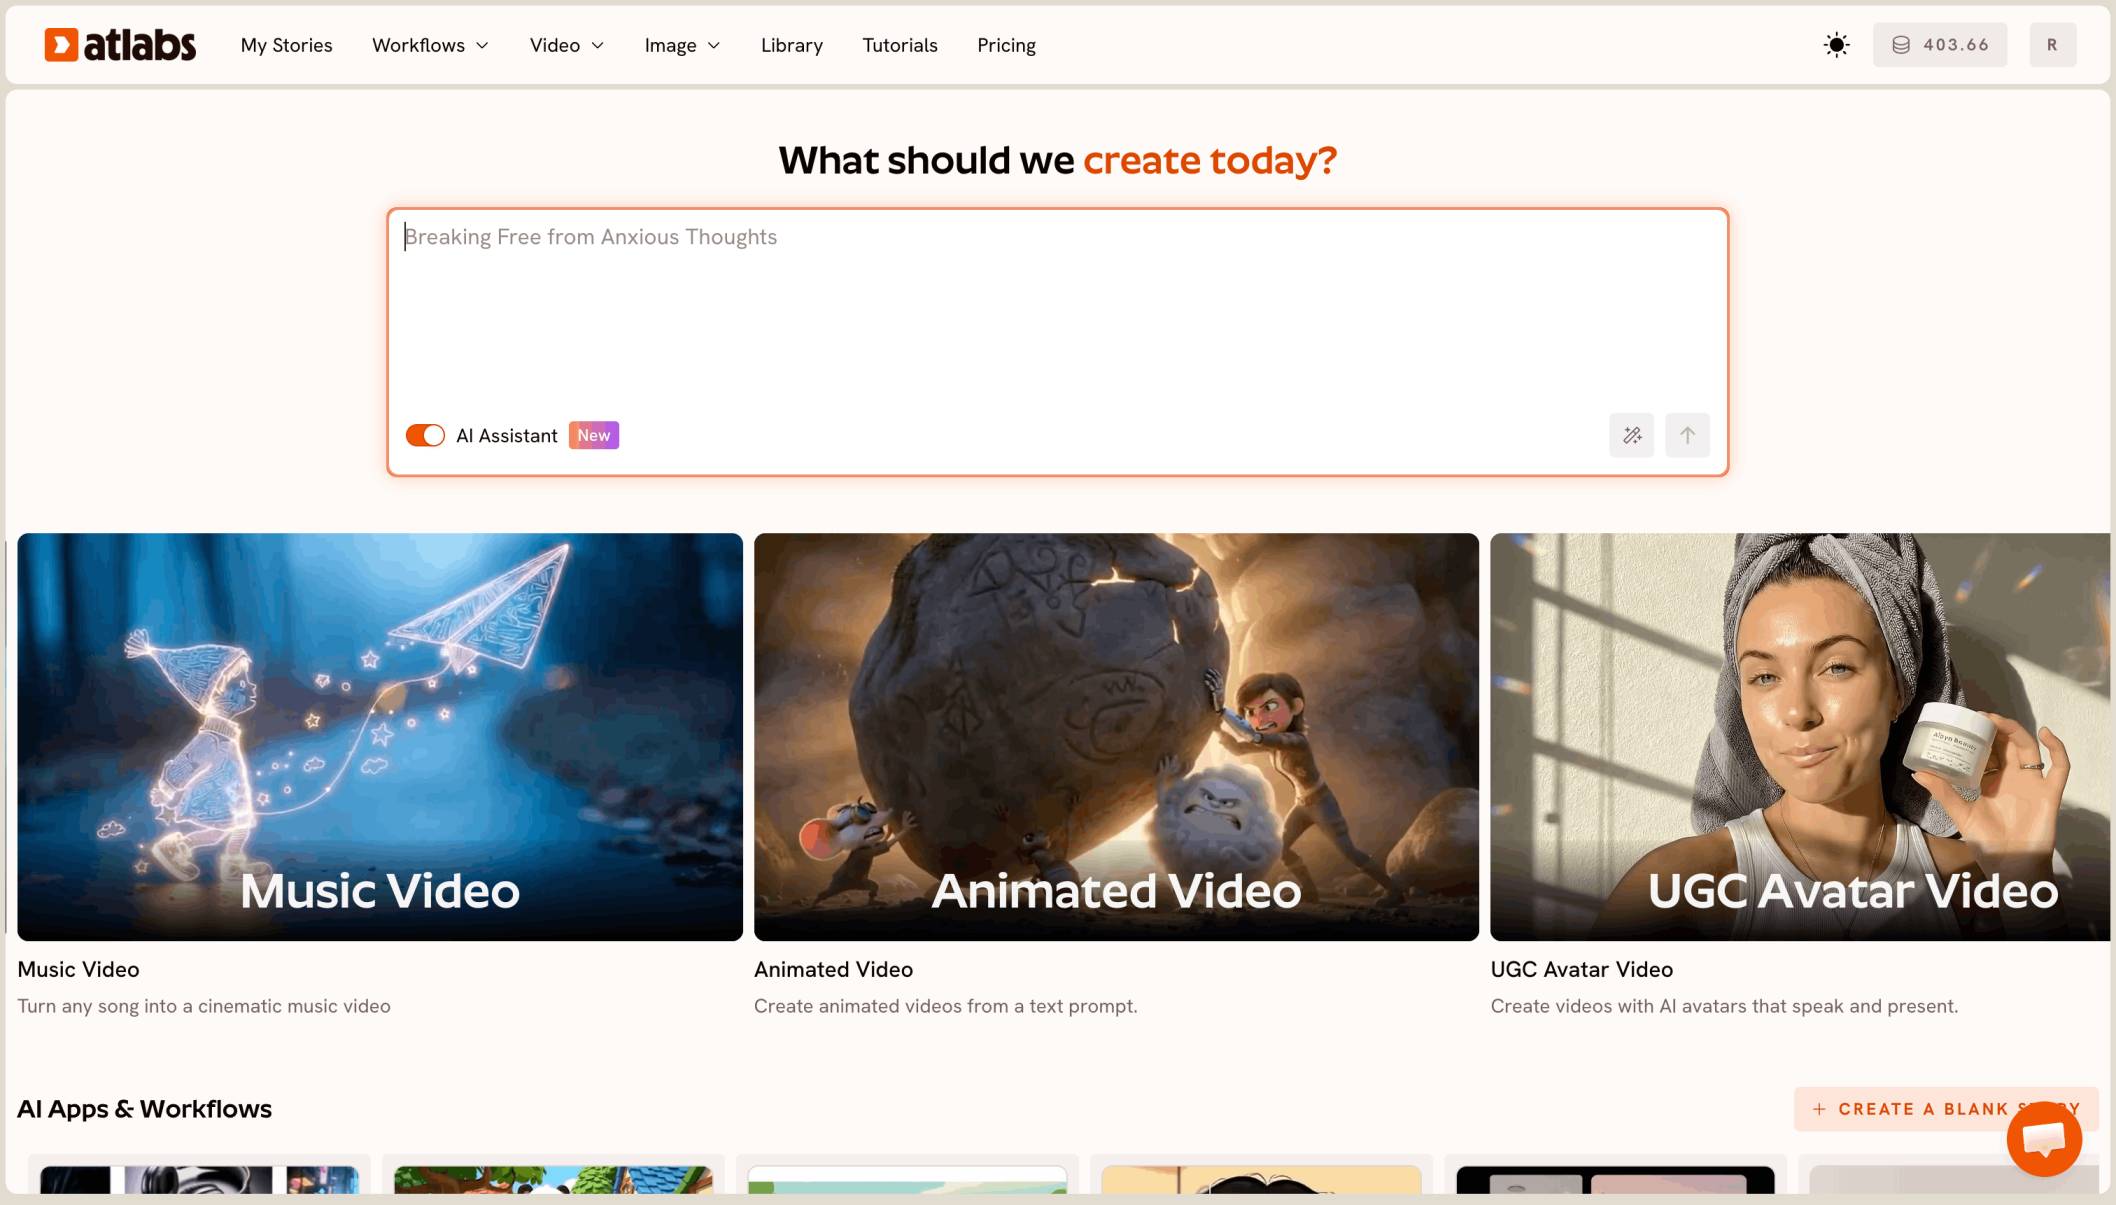
Start Creating CGI Ads on Atlabs AI
The CGI Revolution: Zero 3D Software Required
What if I told you you can make an entire ad, every frame of it, without 3D software, no creative studio, and a tiny budget?
Traditionally, photorealistic 3D scenes required:
Maya or Blender expertise
Creative team of 5-10 people
Weeks of modeling and rendering
$50,000-200,000+ budgets
Expensive render farms
Today with Atlabs AI:
No 3D software needed
Solo creator workflow
Hours, not weeks
Subscription cost only
Instant cloud rendering
This is the shift: From "Can we afford this?" to "Can we imagine this?"
Why Use AI for CGI Advertising?
Generative AI fundamentally changes commercial production:
✓ Slash Budgets: No expensive sets or actors
✓ Iterate Quickly: Test concepts in minutes, not days
✓ Democratize 3D: No Maya or Blender expertise required
✓ Unlimited Creativity: Build impossible worlds
✓ Client Approval: Show concepts before full production
The power of generative AI: It allows you to escape reality and execute ideas that were previously impossible due to budget constraints.
The Case Study: LEGO Portal Ad
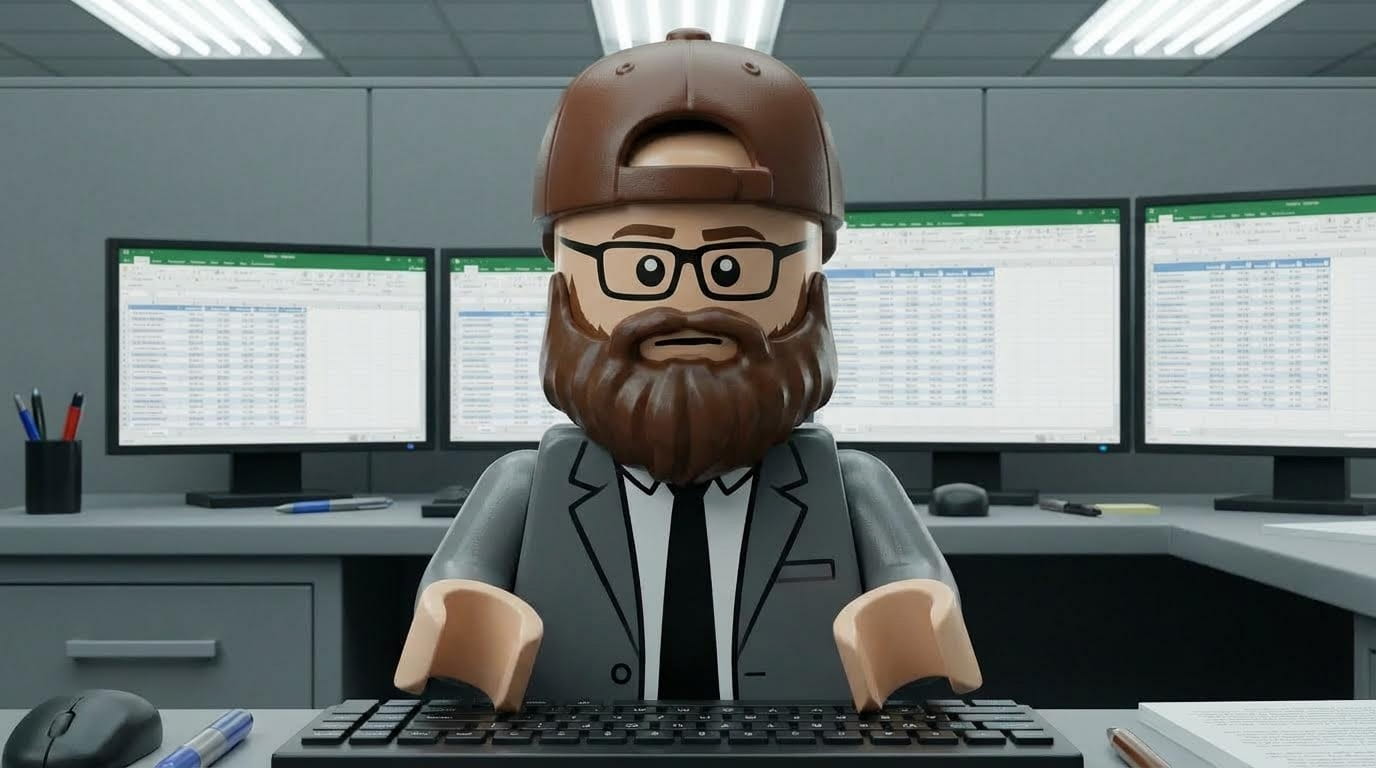
The Concept: A LEGO figure working a dull, gray office job discovers a portal to vibrant fantasy worlds—a metaphor for the freedom of generative AI.
The Visual Metaphor:
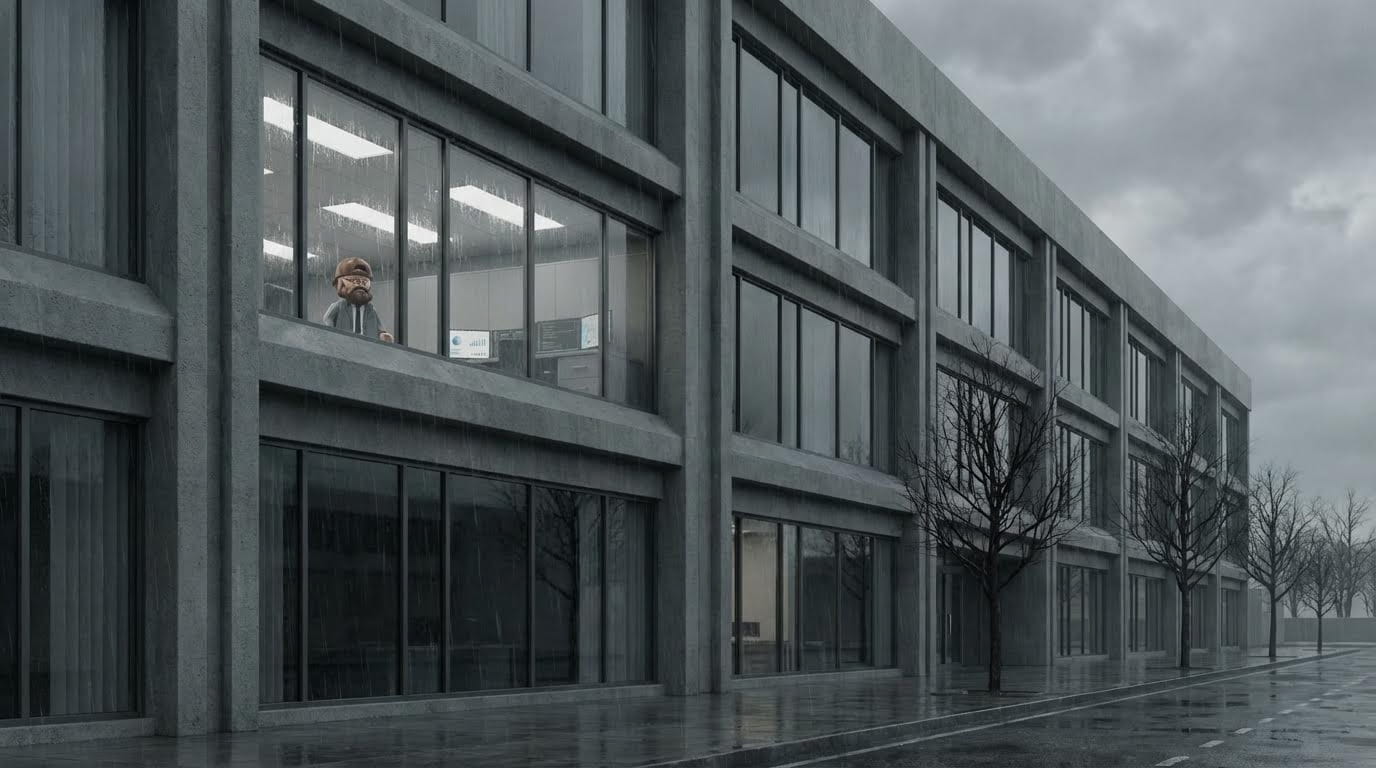
Gray office = Creative restriction, corporate monotony
Vibrant fantasy worlds = Creative freedom, unlimited possibilities
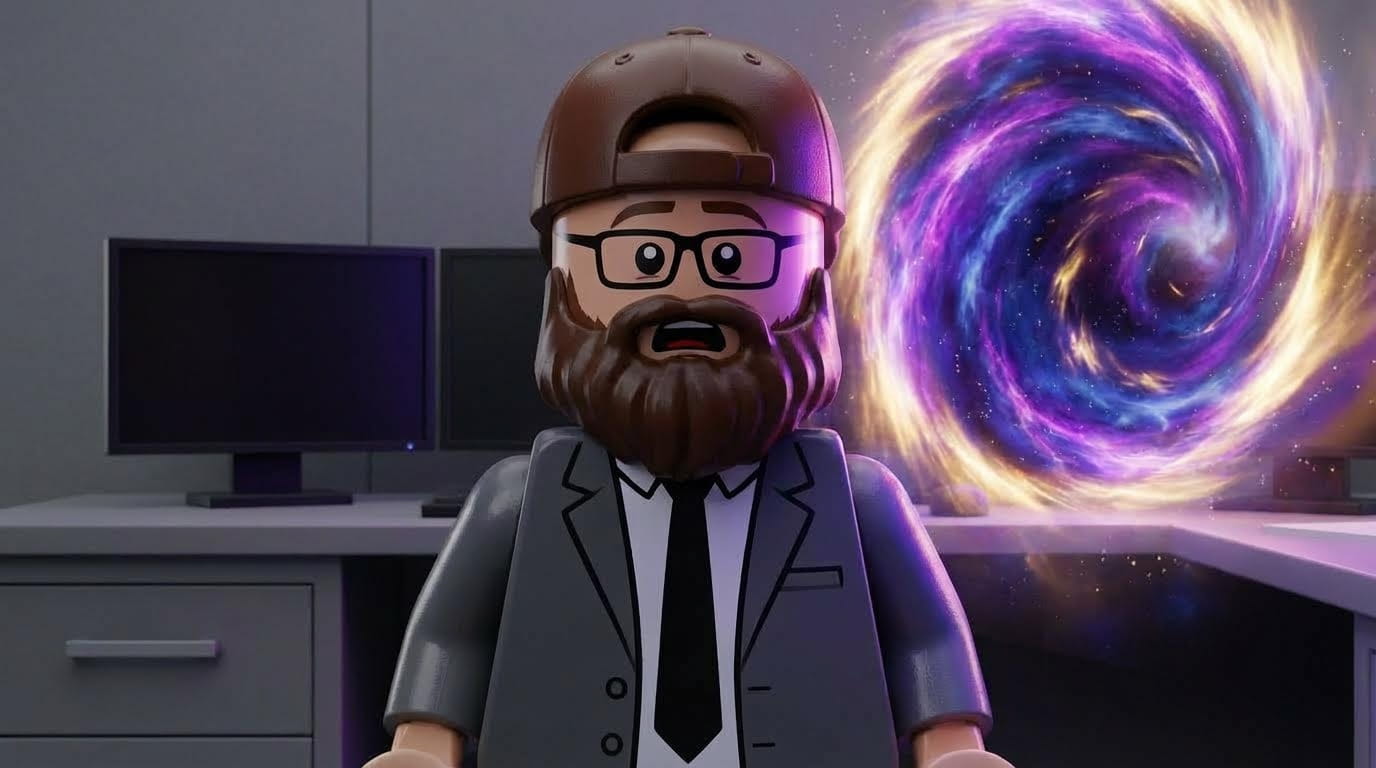
Portal = Generative AI as gateway to imagination
Why LEGO style?
Simplified character design (easier consistency)
Nostalgic, universally loved aesthetic
Clear visual metaphor (building/creating)
Distinct from live-action ads
Appeals to broad demographics
Final Edit:
Runtime: 30 seconds
Shots: 12+ different scenes
Production time: 6 hours
Budget: Atlabs subscription only
Start Creating CGI Ads on Atlabs AI
The 5-Step CGI Workflow
Step 1: Concept & Scripting with ChatGPT
While AI tools assist production, the creative spark must come from you.
The mindset shift: AI doesn't replace creativity, it amplifies it.
Use Atlabs Script Writer to write a detailed script:
Your Input:
I want to create a 30-second LEGO-style CGI ad about discovering creative freedom through AI. The character starts in a gray, sterile office and discovers a portal to colorful fantasy worlds. Help me create a detailed shot list with camera angles, movements, and transitions.
You can also use other LLM's to generate the script like ChatGPT or Gemini.
Output Includes:
Shot-by-shot breakdown (12+ suggested shots)
Camera angles (wide, close-up, drone, overhead)
Lens choices (24mm wide for establishing, 50mm for medium, 85mm for close-ups)
Camera movements (dolly, crane, orbit)
Transition suggestions (cut, dissolve, match cut)
Timing recommendations (3-5 seconds per shot)
Narrative arc structure
Example Shot Ideas:
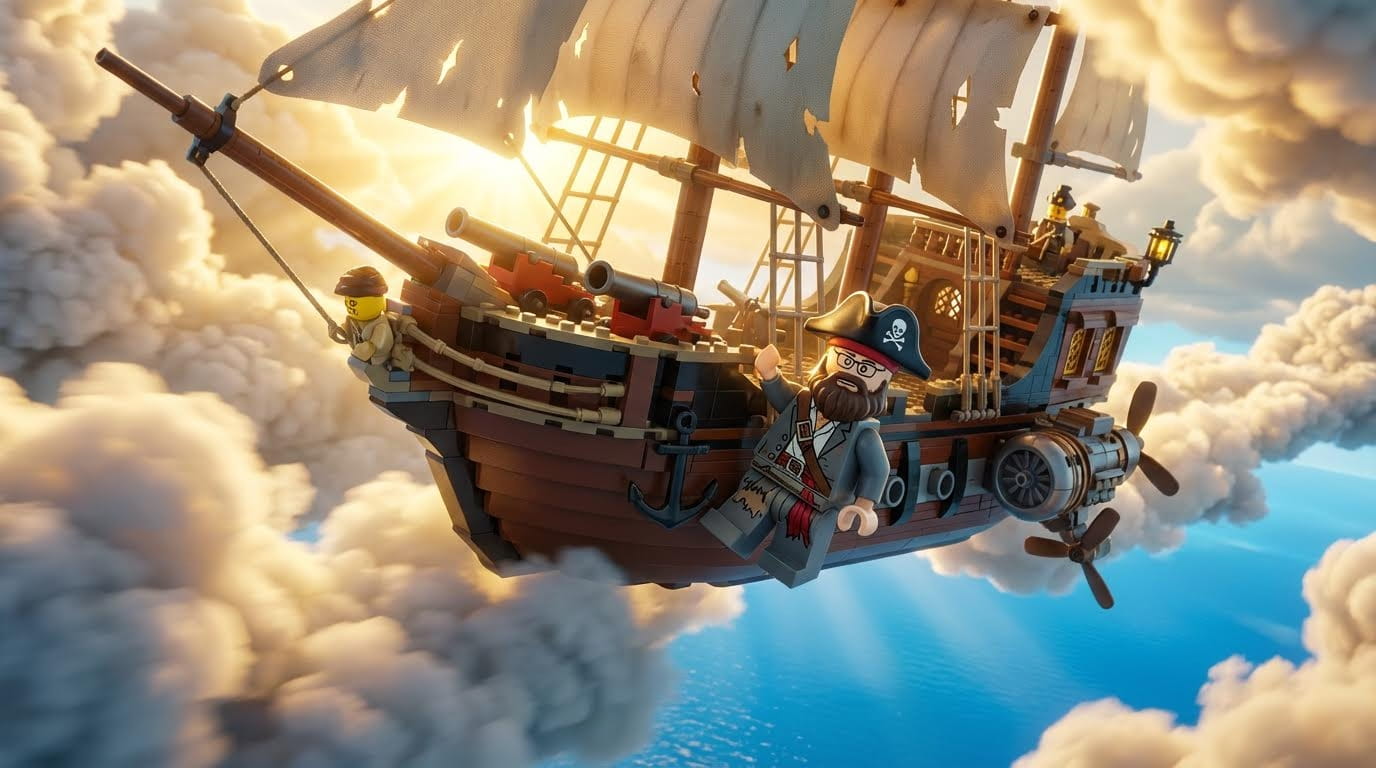
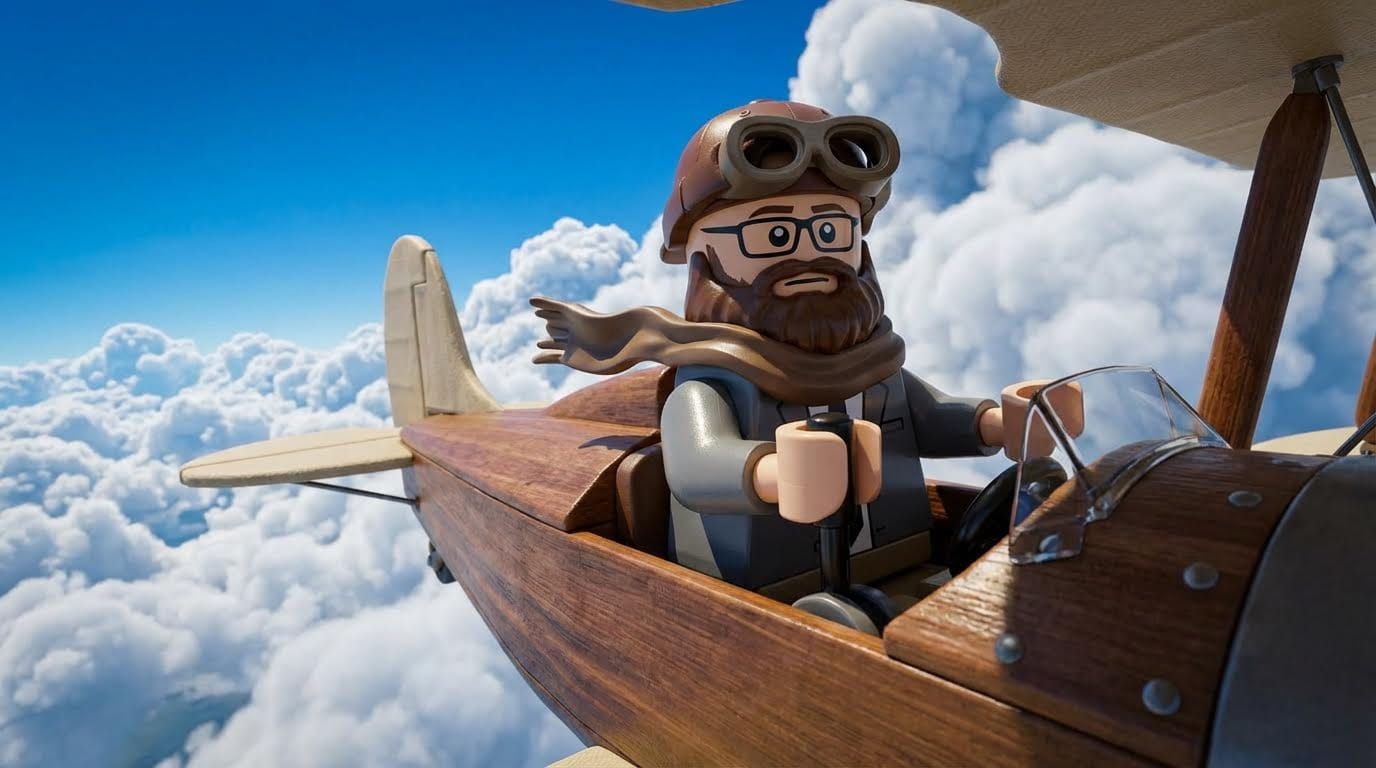
"Bearded LEGO man as sky pirate riding on pirate ship flying through clouds"
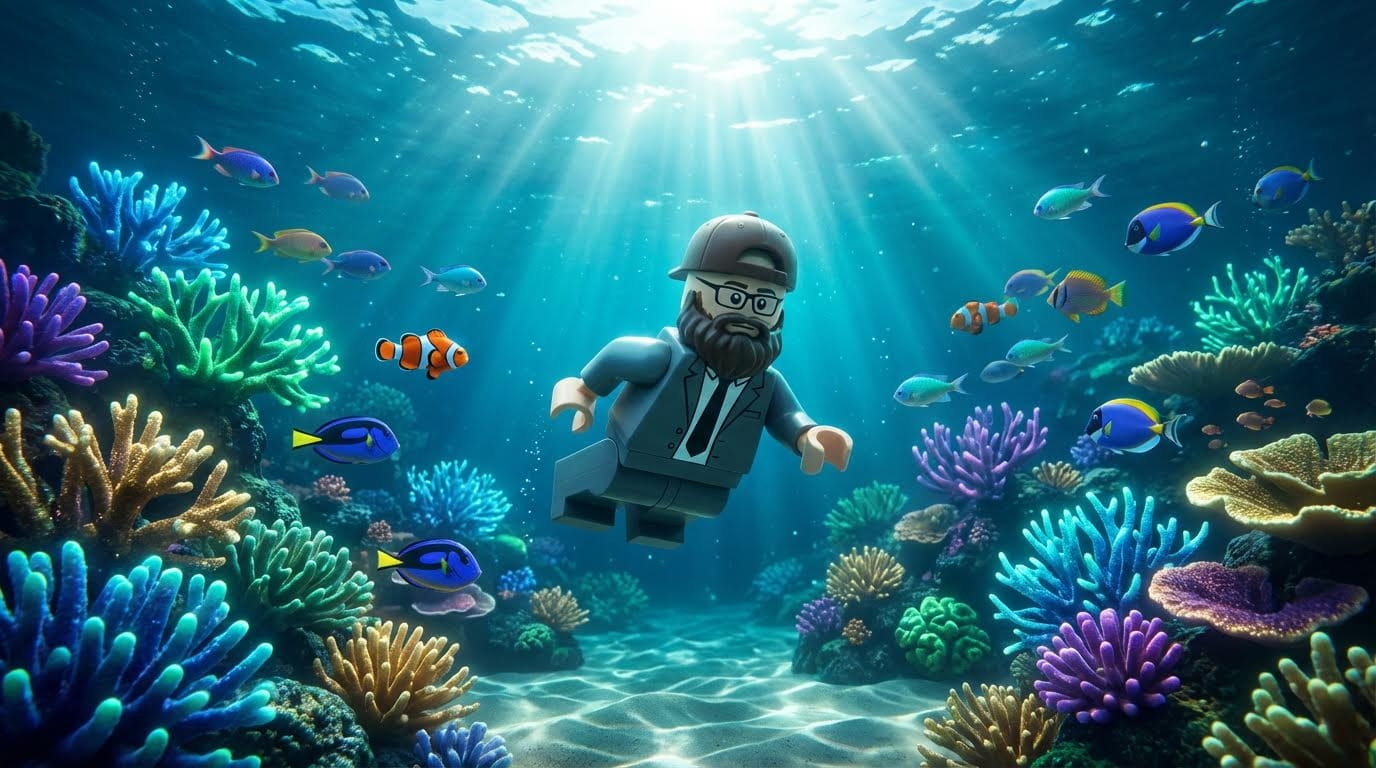
"LEGO man swimming through incredible underwater environment with glowing coral"
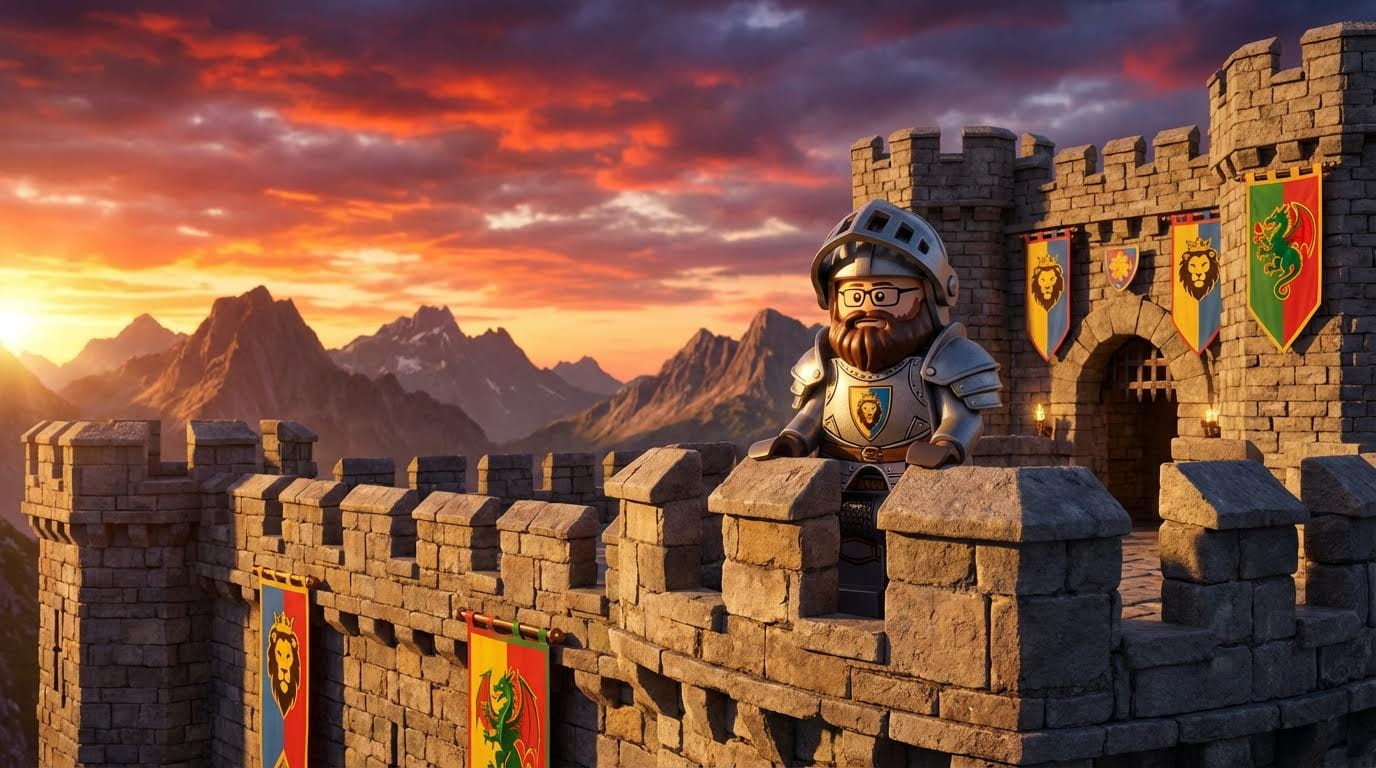
"LEGO knight in medieval castle with vibrant sunset"
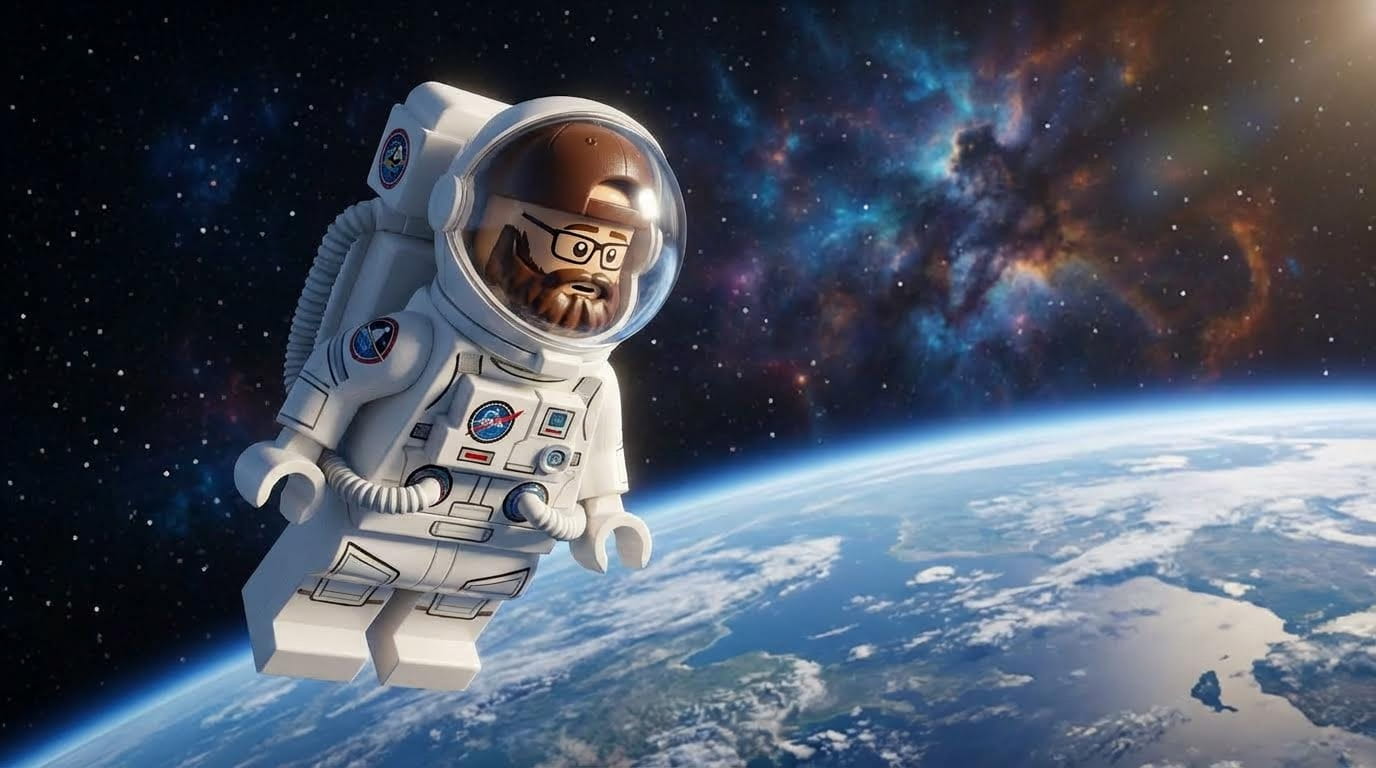
"LEGO astronaut floating in space surrounded by stars"
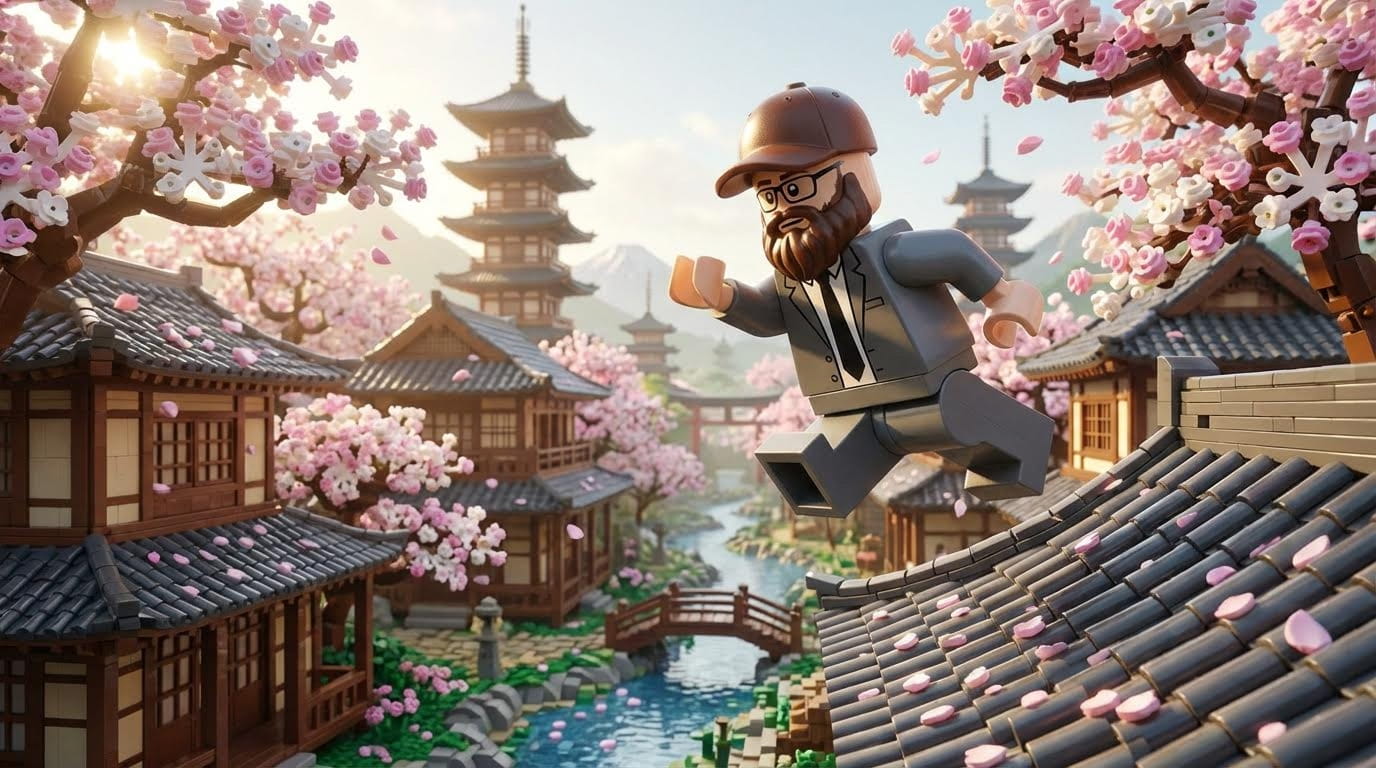
"LEGO ninja running across rooftops in ancient Japan"
Pro Tip: Save all suggestions. You'll iterate through these as you generate scenes.
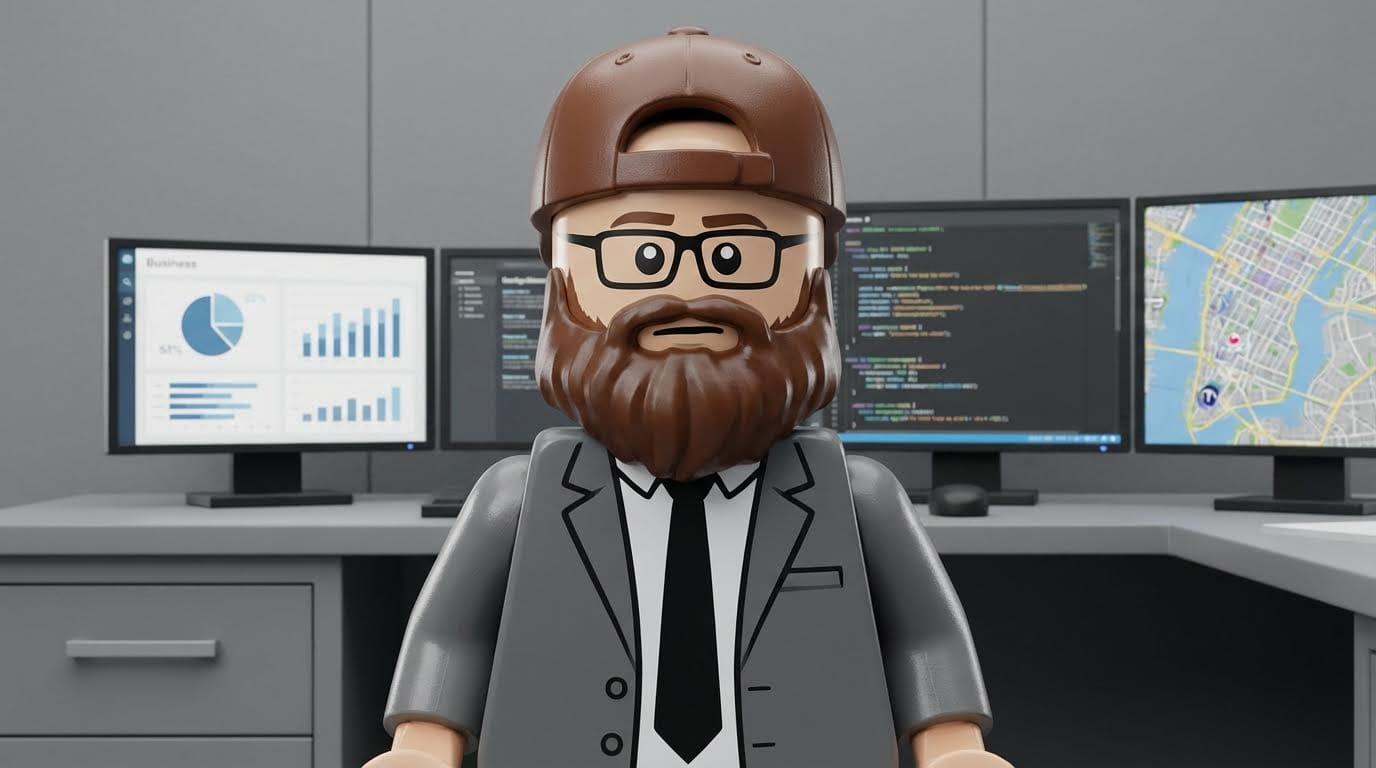
Step 2: Create the Master Character with Nano Banana Pro
The golden rule of AI filmmaking: Create a "Master Image" or "Look Bible."
This single image becomes your character reference for the entire project.
Navigate to: Atlabs AI → Image → Nano Banana Pro
Generate the Base Character
Copy This Exact Prompt:
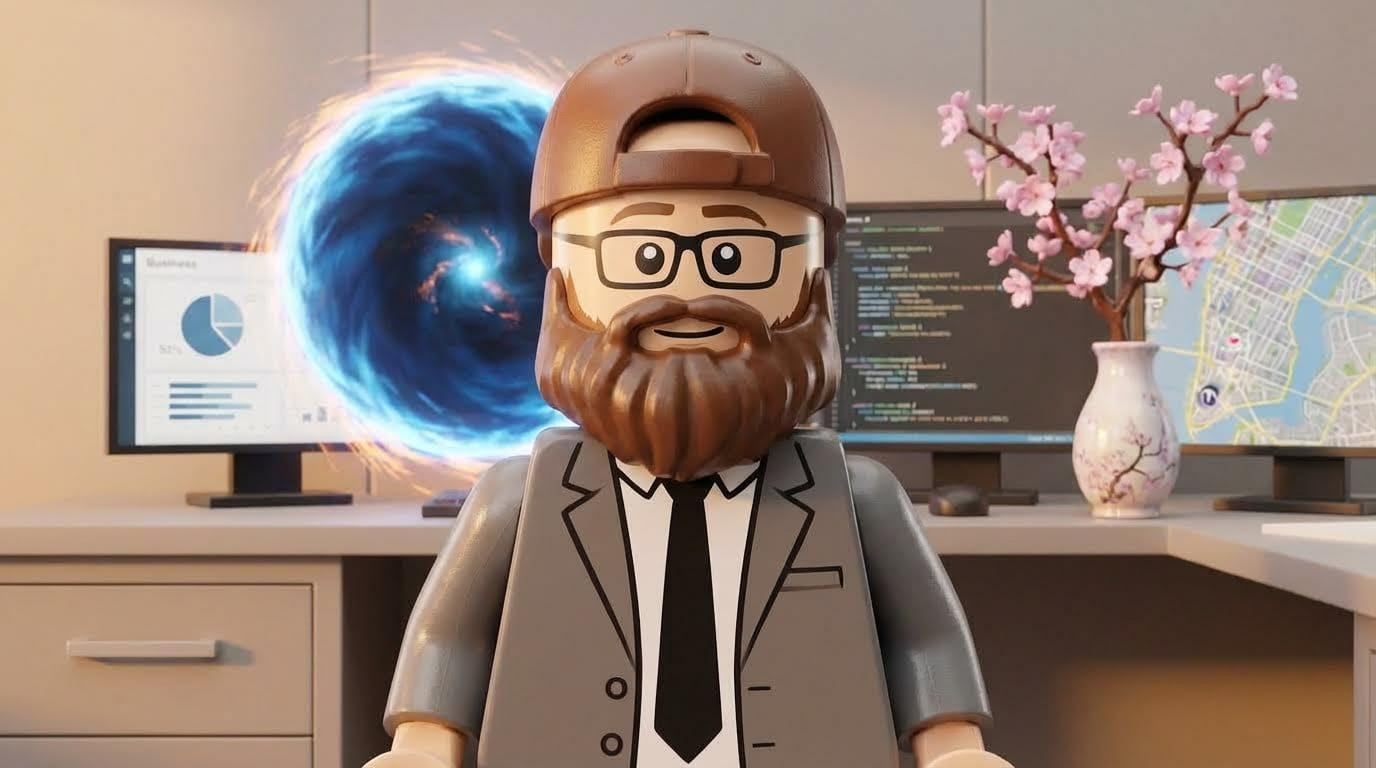
A LEGO minifigure man with a full brown beard, wearing a gray business suit jacket, white shirt, and black tie. Baseball cap facing backwards (brim at the back of the head). Black rectangular-framed glasses. Neutral expression. Standing in a minimalist gray office environment with computer screens visible in background. Screens are turned ON showing content. Photorealistic CGI rendering, 3D render quality, Pixar-level detail, crisp textures, studio lighting. 16:9 aspect ratio.
Critical details in the prompt:
"Baseball cap facing backwards" (specific orientation prevents errors)
"Black rectangular-framed glasses" (specific shape)
"Screens are turned ON" (learned from iteration—blank screens look wrong)
"Photorealistic CGI rendering" (targets the right aesthetic)
Why Nano Banana Pro excels at CGI:
Exceptional texture rendering (LEGO plastic looks perfect)
Best-in-class editing capabilities (iterate feature)
Maintains style consistency across generations
Handles 3D render aesthetics naturally
Understands "Pixar-level" quality cues
The Iterate Feature: Nano Banana Pro's Secret Weapon
This is where Nano Banana Pro truly shines over other models.
If first result isn't perfect, click Iterate (not regenerate, this preserves your base).
Common iterations needed:
Problem: Baseball cap facing forward
Solution: "Turn the baseball cap around so the brim is at the back of the head"
Problem: Glasses wrong shape
Solution: "Change glasses to black rectangular frames, not round"
Problem: Suit too light
Solution: "Make the suit jacket darker gray, almost charcoal"
Problem: Computer screens blank
Solution: "Turn on the computer screens showing work content"
Problem: Hat orientation keeps reverting
Solution: Be more specific: "Baseball cap worn backwards with MLB logo facing forward"
Keep iterating until every detail is perfect. This saves hours later.
Upscale for Maximum Quality
Once you have the perfect Master Character:
Select your final image
Wait 60-90 seconds
Download as "Master_Character_Final.png"
This becomes your character bible. Every single scene will reference this.
Create Your Master Character on Atlabs AI
Step 3: Build Complete Storyboard with Atlabs
Critical workflow principle: Never jump straight to video.
Build a complete visual storyboard first. This lets you see the full narrative before spending time on animation.
Navigate to: Atlabs AI → Script to Video → Storyboard
Using the Storyboard Feature
Step 1: Create blank storyboard
Step 2: For each shot, generate image in Nano Banana Pro using Master Character as reference
Step 3: Apply generated images to storyboard slots
Result: Visual representation of entire ad before animating anything.
Why this workflow is essential:
See the complete visual narrative
Spot pacing problems early
Ensure visual consistency across all shots
Make structural changes before expensive video generation
Share with clients/stakeholders for approval
Scene Generation Strategy
For every scene, upload Master Character, then customize prompt:
Scene 1: Office Exterior
Scene 2: At the Desk (Close-Up)
Scene 3: Portal Discovery
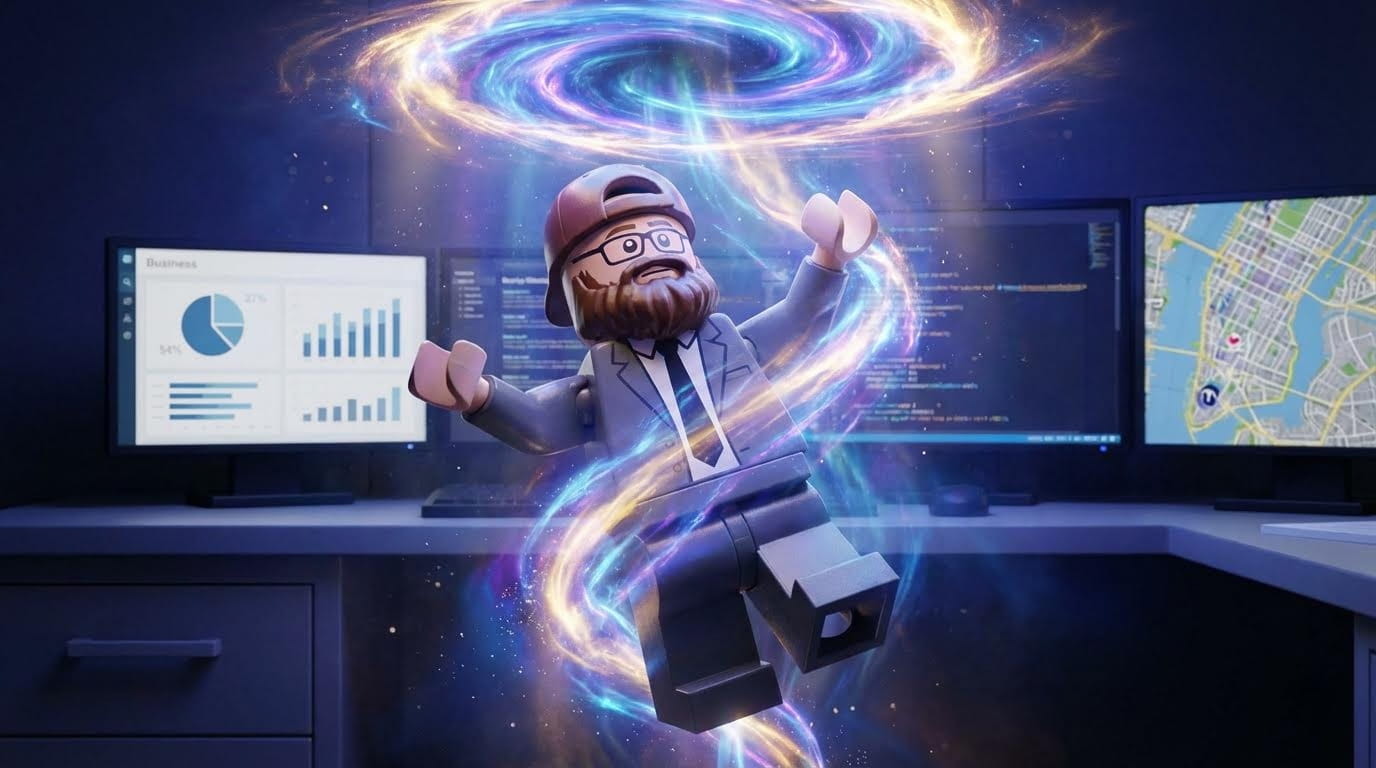
Scene 4: Levitation Moment
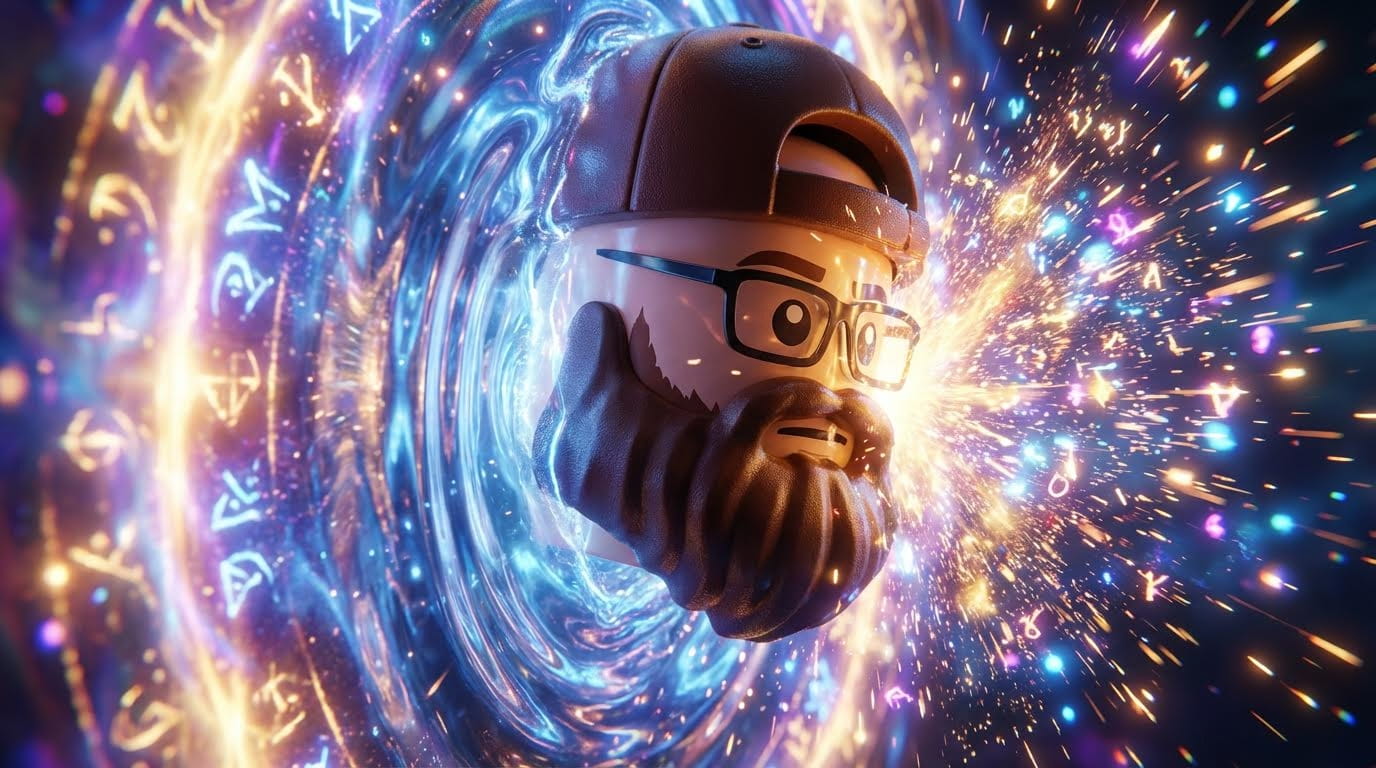
Scene 5: Head Contact with Portal
Scene 6: Pirate Ship Fantasy
Scene 7: Underwater World
Scene 8: Medieval Knight
Scene 9: Space Astronaut
Scene 10: Flying Plane
Scene 11: Ancient Japan Ninja
Scene 12: Portal Return
The Consistency Challenge: Baseball Cap Problem
Real production issue encountered: The baseball cap kept appearing facing the wrong direction in fantasy scenes.
Why this happens: When prompting "dressed as pirate" or "dressed as ninja," the model interprets costume changes and may alter character elements.
The solution:
Don't prompt costume changes that cover defining features
Instead: "The bearded man running across rooftops in ancient Japan" (no ninja costume)
Keep Master Character's signature elements visible (beard, glasses, backwards cap)
If something reverts, iterate that specific image: "Turn baseball cap backwards"
Lesson learned: Be specific about what stays consistent vs. what changes.
Build Your Storyboard on Atlabs AI
Step 4: Animate with Veo 3.1
Static storyboard complete. Time to bring scenes to life.
Navigate to: Atlabs AI → Video → Veo 3.1
Critical choice: Use Image-to-Video (Frames to Video), NOT Text-to-Video.
Why Image-to-Video is Superior for Commercial Work
Feature | Image-to-Video | Text-to-Video |
|---|---|---|
Character consistency | Perfect (locked to reference) | Inconsistent |
Style control | Exact (matches your image) | Unpredictable |
Professional standard | Industry workflow | Experimental |
Client approval | Easy (show storyboard first) | Difficult (unknown result) |
Cost efficiency | Lower (no wasted generations) | Higher (many iterations) |
The Veo 3.1 Animation Workflow
Step 1: Select Start Frame (Required)
Select the storyboard image from the Story created
Step 2: Optional - Add End Frame for Transitions
Select a second image to create a transition between two scenes
Example: Close-up shot → Wide establishing shot
Veo 3.1 creates smooth camera movement between them
Step 3: Write Movement Prompt
Veo 3.1 Prompt Examples
For Pirate Ship Scene:
The pirate ship soars majestically through the clouds. Dramatic and cinematic scene. Camera slowly pulls back to reveal epic scale of ship and sky.
For Underwater Scene:
The bearded man swims through the incredible underwater environment. Camera follows smoothly. Fish swim past. Coral glows. Gentle, magical movement.
For Portal Discovery:
Camera slowly pushes in toward the LEGO man's shocked face as the portal swirls behind him. Portal light flickers dramatically across his face. Cinematic reveal moment.
For Levitation:
The LEGO man is lifted slowly off the ground by invisible force, floating upward toward portal. Dramatic, magical atmosphere. Slow, smooth motion.
For Head Contact:
Camera zooms in as head makes contact with portal surface. Explosion of sparks and magical particles at contact point. Portal ripples. High-energy moment.
For Space Float:
The astronaut floats gently in zero gravity, rotating slowly. Earth visible in background. Stars twinkling. Peaceful, weightless motion.
Simple Prompts Work Best:
Focus on one main action
Describe camera movement if needed
Let Veo 3.1 handle physics
Pro Tip: Veo 3.1 responds better to "Camera moves..." than "Subject moves..."
Animate Your Storyboard with Veo 3.1 on Atlabs AI
Step 5: The "Director's Cut" (Professional Editing)
The reality: AI video generation requires curation.
Think like a film director: Not every take is perfect. You select the best moments.
Exporting from Atlabs AI
Navigate to: Story→ Export → Premier Pro
What you get:
All video clips organized
All still images
XML file for Premiere Pro or DaVinci Resolve
Packaged project assets
This integration saves hours of file management.
What Separates Professional from "AI Slop"
❌ AI Slop Approach:
Use entire generation because you paid for it
Include glitches and errors
Accept whatever AI gives you
✅ Professional AI Filmmaking:
Be highly selective
Cut around physics errors
Use only best seconds of each clip
Maintain creative control
The mindset: You're the director. Not every take from even great actors is usable. Same applies to AI generations.
Post-Processing: The Film Grain Secret
The problem: AI video can look "glossy" or "too perfect."
The solution: Add film grain using adjustment layer.
In Premiere Pro:
Create Adjustment Layer above all clips
Effects → Video Effects → Noise & Grain → Noise
Set Amount: 3-5%
Check "Use Color Noise"
Opacity: 40-60%
In DaVinci Resolve:
Add Film Grain from Effects Library
Intensity: 15-25%
Size: Medium
Color: Subtle
Why this works:
Adds organic texture
Reduces "CGI sheen"
Mimics real film stock
Professional post-production technique used in VFX industry
The Letterbox Technique (Creative Device)
What it is: Black bars at top and bottom of frame (cinematic aspect ratio)
How to use creatively:
Normal scenes: Standard letterbox (crop 2.35:1 look)
Levitation moment: Letterbox expands (less crop, more visible frame)
Why this works:
Visual metaphor for restriction vs. freedom
Character feels "boxed in" → breaks free
Subtle but powerful storytelling device
How to create in editing:
Add Adjustment Layer with Crop effect
Keyframe crop values
Office scene: Crop top/bottom 10% (narrow)
Levitation: Crop top/bottom 5% (wider)
Fantasy scenes: Crop top/bottom 8% (medium)
Color Grading for Visual Contrast
The story is told through color:
Office World:
Desaturate by 30-40%
Cool blue/teal tint
Lower overall brightness (-10%)
Crush blacks (make shadows darker)
Flat, lifeless look
Fantasy Worlds:
Boost saturation by 20-30%
Warm golden/orange tint
Increase contrast (+15%)
Vibrant, punchy colors
Cinematic, alive look
The transition: Maximum visual contrast = maximum emotional impact
The Final 30-Second Edit Structure
Pacing strategy: Quick cuts during fantasy montage (2 seconds each) creates energy and excitement.
Common Production Challenges & Solutions
Challenge 1: Character Consistency Breaks
Problem: Fantasy scene shows character with wrong hat orientation or missing glasses
Solution:
Iterate the specific image before animating
Reference Master Character more explicitly in prompt
Add: "Maintaining exact appearance from reference including backwards baseball cap and rectangular glasses"
Challenge 2: Physics Glitches in Video
Problem: Character body splits, explodes, or morphs unnaturally
Solution:
Don't force it, cut around the glitch
Use only clean seconds
Generate 2 variations, pick better physics
Challenge 3: Blank Computer Screens
Problem: Generated office scenes have screens turned off (looks wrong)
Solution:
Add to prompt: "Computer screens turned ON showing work content"
Iterate Master Image to fix, then regenerate office scenes
Challenge 4: Wrong Costume Interpretation
Problem: "Ninja costume" covers character's defining features
Solution:
Don't prompt costume if it hides character
Instead: "Running across rooftops" (let character stay recognizable)
Keep signature elements visible
Challenge 5: Portal Doesn't Look Magical
Problem: Portal looks flat or unconvincing
Solution:
Add specific details: "Swirling energy, particle effects, glowing purple and blue, rippling surface like water"
Reference style: "Like Doctor Strange portal" or "Like Stargate portal"
Pro Tips from a VFX Professional
Tip 1: Think Like a Director, Not an AI User
The mindset shift:
You're not "using AI" you're directing AI
Not every take is perfect, even from great actors
Be selective, maintain creative control
Have taste, have an eye for detail
Tip 2: Master Character is Everything
Spend 30-60 minutes perfecting it. This investment saves 3-4 hours later maintaining consistency.
Tip 3: Storyboard Before Animating
Always. No exceptions. Seeing the full narrative prevents costly video generation mistakes.
Tip 4: Cut on Musical Beats
Sync every transition to music. Viewers feel this subconsciously even if they don't notice it.
Tip 5: Film Grain Isn't Optional
Add it to everything. It's the difference between "AI video" and "professional commercial."
Tip 6: Audio is 50% of Impact
Never settle for default AI audio. Layer custom sounds. This is where amateurs fail and professionals shine.
Tip 7: Export XML for Editing Software
Use Atlabs AI's export feature. Getting organised project files with XML saves hours of manual import.
Frequently Asked Questions
Can I make a CGI ad without 3D software?
Yes. Atlabs AI with Nano Banana Pro and Veo 3.1 generates 3D-style imagery from text prompts, eliminating need for Blender or Maya. Zero 3D expertise required.
How do you keep characters consistent?
Image-to-Video workflow is the key:
Create perfect Master Image in Nano Banana Pro
Use Iterate feature until every detail is right
Upload Master Image as reference for every new scene
Use Image-to-Video in Veo 3.1, never Text-to-Video
What's the best AI tool for CGI filmmaking?
Atlabs AI because it:
Aggregates top models (Nano Banana Pro + Veo 3.1)
Provides timeline-based workflow
Includes storyboard feature
Exports XML for professional editing software
One platform for entire production
How long does rendering take?
Nano Banana Pro: 30-60 seconds per image
Veo 3.1: 3-5 minutes per video clip
Total project: 4-6 hours including editing
Can I use this for client work?
Yes. Output is broadcast-quality. Ensure contracts clarify AI-generated content usage and verify you own commercial rights to all outputs.
What if a generation doesn't work?
Be selective. Think like a director:
Cut around glitches (use only good seconds)
Generate 2 variations, pick best
Don't force bad takes just because you paid for them
Professional filmmaking requires curation
Do I need expensive editing software?
Not required but recommended:
DaVinci Resolve (FREE, professional-grade)
Premiere Pro (paid, $20.99/month)
For basic edits, free tools work fine. For professional finishing (film grain, color grading), paid tools are worth it.
Ready to Build Your CGI World?
The power of generative AI allows you to escape reality and execute ideas that were previously impossible due to budget constraints.
By mastering Atlabs AI, Nano Banana Pro, and Veo 3.1, you transform from dreamer into director.
What You Get with Atlabs AI
✓ Nano Banana Pro for photorealistic character creation with industry-best iteration
✓ Veo 3.1 for cinematic animation with professional physics
✓ Storyboard feature for planning complete narratives visually
✓ Timeline editor for professional post-production
✓ XML export for seamless integration with Premiere Pro/DaVinci Resolve
✓ All-in-one workflow from concept to final commercial
Zero 3D software. Zero crew. Zero limits. Just imagination.