TL;DR
Stop wasting credits on random AI video generation. Master these 6 director-level skills:
Image-to-Video over Text-to-Video for control and cost efficiency
Short Prompt Formula (Subject + Action + Location) instead of paragraphs
Anchor Keywords & Character Sheets for world consistency
Cinematic Presets (camera sliders & motion controls) instead of typing specs
Signature Look Development by deconstructing genres, not copying IP
Cinematic Storytelling with intentional angles and movements
Start Creating on Atlabs AI
The Problem: The "Slot Machine" Effect
I've spent three years creating AI images and videos every single day. Here's the hard truth:
The best AI videos aren't made with complicated, paragraph-long prompts.
If you rely on random generation, you're essentially pulling a slot machine lever, wasting credits, time, and money hoping for a lucky result. The output often feels disjointed:
Characters change faces between clips
Lighting doesn't match
Style shifts randomly
Motion feels unnatural
Stop Wasting Credits – Start Creating on Atlabs AI
The Solution: The Director's Workflow
The solution is shifting from a "prompter" mindset to a "director's" mindset. By using simple, intentional techniques, you gain control over your output.
With Atlabs AI, you can turn trial-and-error into a repeatable workflow you can trust.
Here are the 6 essential skills you need to master cinematic AI video generation in 2026.
Skill #1: Choosing the Right AI Video Approach
The first step is understanding that not all generation methods are equal. There are two distinct ways to create video inside Atlabs AI.
Method 1: Text-to-Video (Speed)
This method is perfect for quick social videos a 10-second clip where you plan to add your logo and branding later.
The Workflow:
Inside Atlabs AI Text to Video , select the Kling 2.6 video model
Use "Text to Video" option
Input a simple cinematic promo prompt
Select duration (e.g., 10s)
Hit generate
The Result: A usable clip generated fast.
The Downside: You have less control over specific details, meaning you might run multiple generations and spend more money to get the shot you want.
Method 2: Image-to-Video (Control) ✓ Recommended
When consistency matters, this is the non-negotiable professional standard. You split the job into two steps:
Step 1: Create the Image
Perfect your visual composition first using models like Nano Banana Pro.
Step 2: Animate the Image
Use that image as the input for video generation.
Why This Works:
Images are significantly cheaper to generate than video
You can tweak lighting, character, and style until perfect before spending video credits
Once you input this into Kling 2.6 inside Atlabs, you only prompt for movement (e.g., "The camera zooms into the woman's face... she simply relaxes out of the stance")
This ensures your character's face doesn't morph and the style remains consistent
Pro Tip: Images cost 10x less than video. Perfect your frame first, then animate once.
Try Image-to-Video on Atlabs AI
Skill #2: Picking the Right Image Prompt Method
To get that perfect input image, you need the right prompting strategy.
Method 1: LLM Assistance (Not Recommended)
If you use ChatGPT or Gemini to write prompts, you get long, bloated prompts that are annoying to edit. LLMs often output 300+ word prompts filled with unnecessary fluff.
The Catch: Long prompts are inconsistent and hard to iterate.
Method 2: Short Prompt Structure ✓ Recommended
For faster workflows and more control, use a modular structure composed of four simple components.
The Formula:
Example:
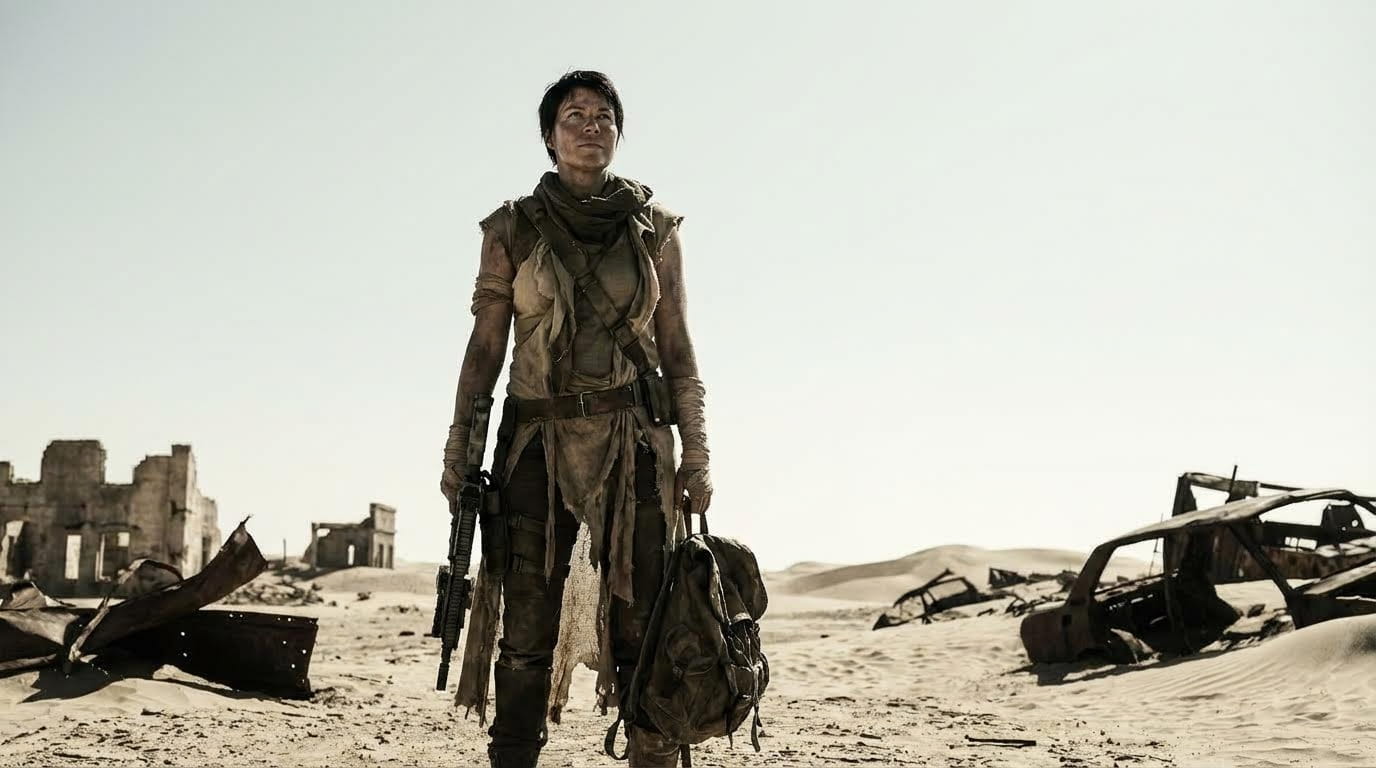
Subject: A Jedi woman
Composition: Full body shot
Action: In a focused stance holding an ignited cyan lightsaber
Location: In a rocky vast desert
Style: Lit by low angle golden sunlight with long cinematic shadows and dust glowing in the air
Final Prompt:
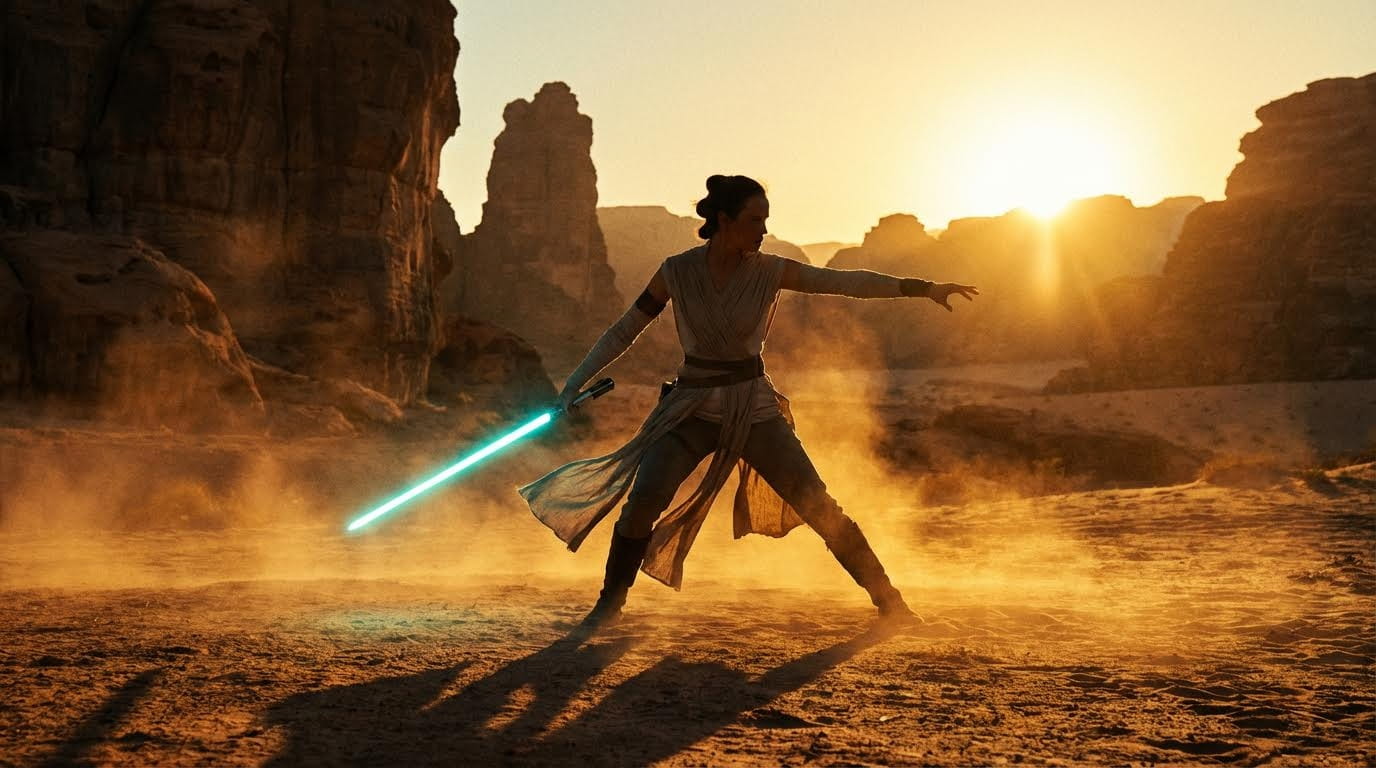
Clean. Specific. Easy to edit.
This gives you granular control over every element of the image without wasted tokens.
Create Your First Cinematic Image on Atlabs
Skill #3: Character and World Consistency
A movie isn't a movie if the main character looks different in every scene. You need to build a consistent world inside Atlabs AI.
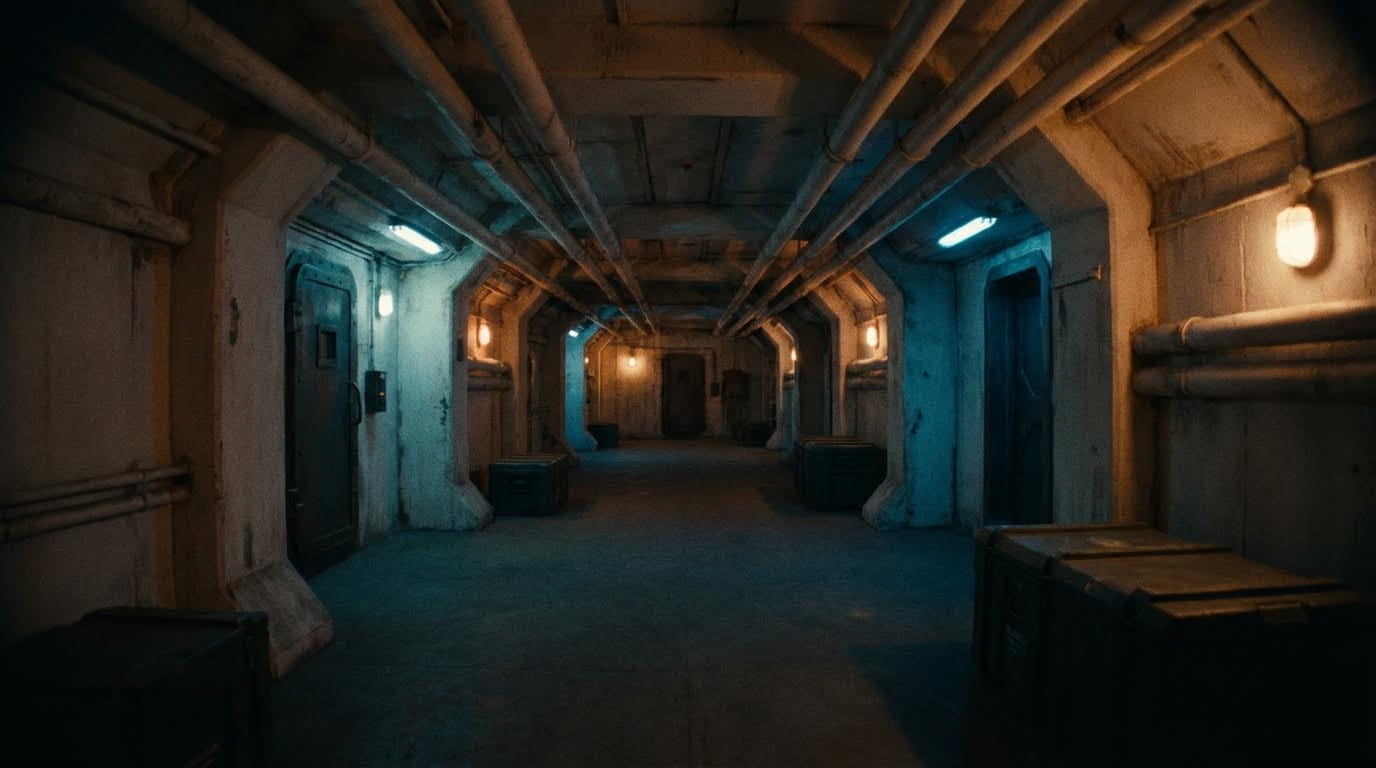
Pillar 1: Scenery & Anchor Keywords
Don't just upload a reference image, that might copy unwanted data (like a sunset look) into a night scene.
Instead, use Anchor Keywords, fixed descriptors you use in every prompt for a specific sequence.
Example Anchor System:
Style Anchor: "Military Sci-Fi aesthetic"
Location Anchor: "White underground tunnel complex"
Mood Anchor: "Gloomy cinematic atmosphere"
Lighting Anchor: "Bi-color global illumination, dark orange and cerulean"
By keeping these keywords identical across prompts, you can change the action while the world remains stable.
Advanced Anchors:
Camera and lens: "Shot on Arri Alexa 65, 35mm wide-angle lens"
Film Stock: "Fuji Superia 100 film, natural grain"
Negative Keywords: -- people, vehicles, text, watermark, camera info and date stamp.
Prompt:
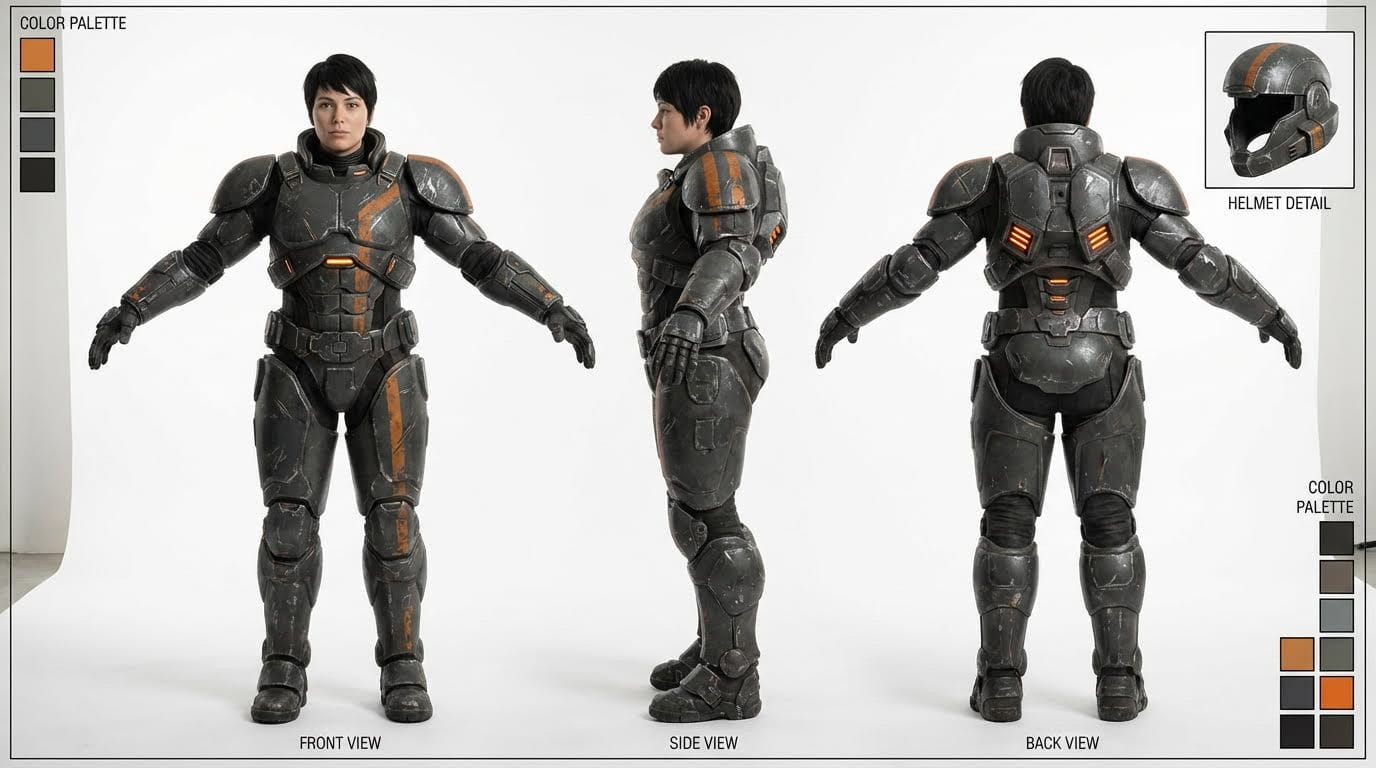
Pillar 2: Character Consistency
To keep your actor consistent:
Create a Character Sheet (a clean, full-body shot of your character on a neutral background)
Upload this to Atlabs AI as an image reference
Combine this reference with your Anchor Keywords in your text prompt
This allows you to place your specific actor into any location while maintaining a clear, consistent cinematic story.
Character Sheet Prompt:
Generate Character Sheets on Atlabs AI
Skill #4: Using Cinematic Consistency Presets
Utilise Cinematic Camera Presets in the Prompts. This is the shortcut to a Hollywood look.
Visual Presets
Inside the Atlabs interface, avoid heavy prompting. Instead, fix the following in your prompt:
Camera: Sony Venice, Arri Alexa, RED Komodo
Lens: Arri Signature Prime, Zeiss Supreme
Focal Length: 35mm (for wide shots) or 85mm (for portraits)
Aperture: f/1.4 (shallow depth of field)
By locking these settings in the prompt, every image you generate will share the same optical characteristics, making them feel connected.
Movement Presets
Once you move to the Image to Video tab in Atlabs:
Click the "Models" button
Select a models like Kling 2.6, Veo3 and others.
Set the duration (e.g., 5 seconds)
You can use Director Mode. This guarantees the camera moves exactly how you envision it, smooth and professional, without the AI hallucinating weird physics.
Use Cinematic Presets on Atlabs AI
Skill #5: Creating Your Unique Signature Look
Copying the visual style of famous IP (like Star Wars) is risky, it creates generic results and invites copyright issues.
To stand out in 2026, you need a unique signature look.
The Deconstruction Technique
Don't prompt for "Stormtrooper." Deconstruct the idea of a Stormtrooper and rebuild it.
Step 1: Visual Foundation
Ask an AI (like Gemini): "What is the core foundation of Star Wars?"
Answer: Space Opera
Step 2: Naming
Ask for copyright-safe alternative names.
Result: "Void-Guard" instead of "Stormtrooper"
Step 3: Visual Description
Ask for a description of the outfit without using the copyrighted name.
Result: "Glossy white composite armor, integrated respirator module"
The Final Prompt:
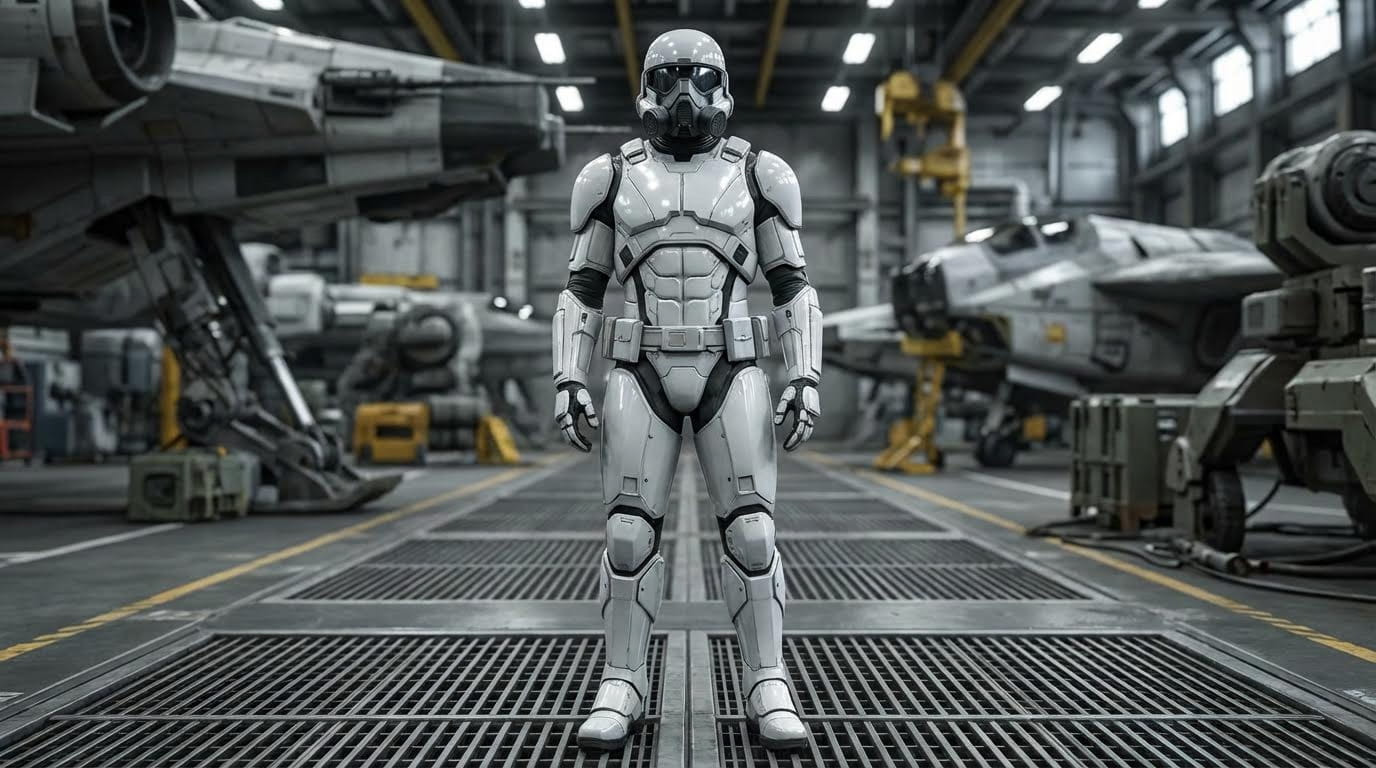
By feeding this deconstructed description into Atlabs AI, you get a character that captures the essence of the genre but is 100% original to your brand.
More Deconstruction Examples
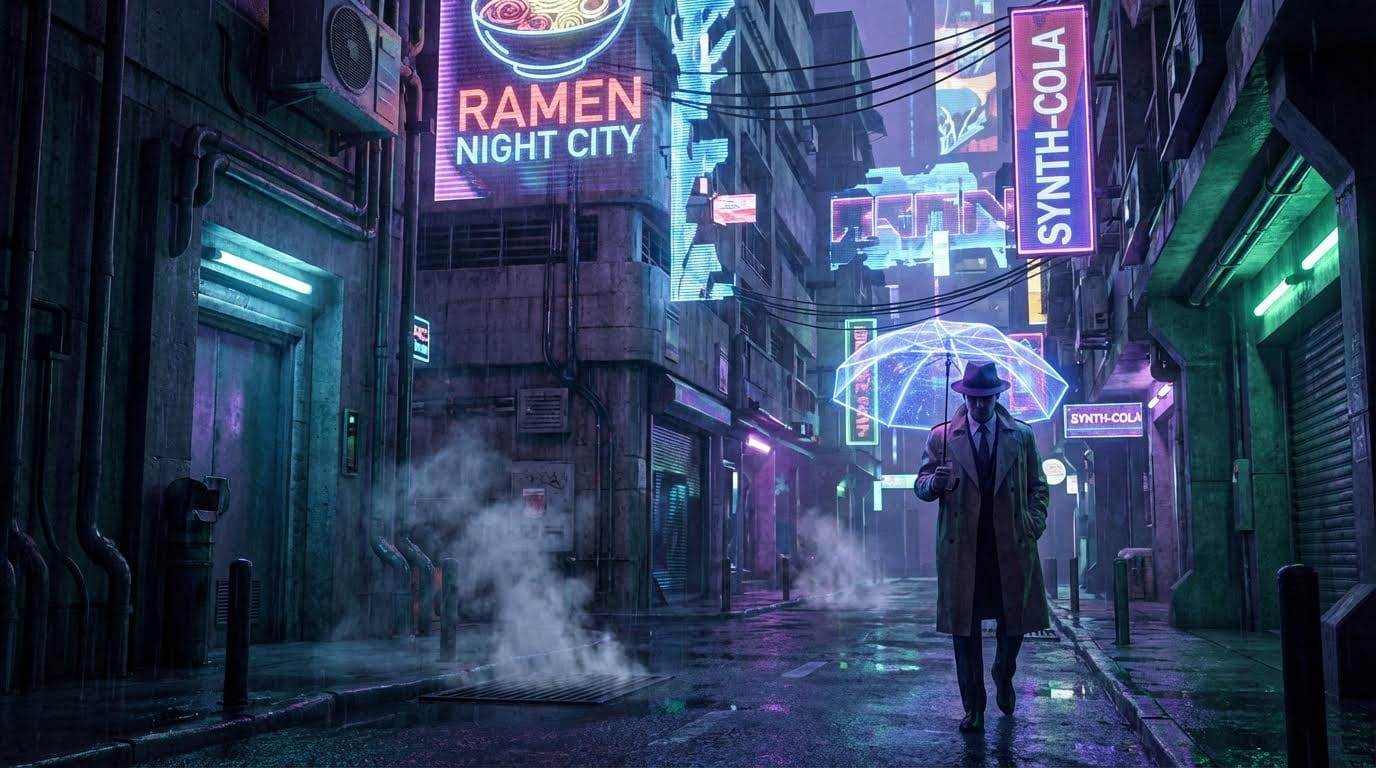
Blade Runner → Cyberpunk Neo-Noir:
Marvel Hero → Urban Vigilante:
Why This Works:
✓ Legally safe (no direct IP copying)
✓ Unique to your brand
✓ Captures the genre essence
✓ Consistent across shots
Build Your Signature Look on Atlabs AI
Skill #6: Cinematic Storytelling
The final skill turns a tech demo into a film. You must use your location, camera angles, and movement to tell the story subconsciously.
1. Location Sets the Stakes
The environment tells the audience what's important before dialogue even starts.
Crater Base: High-value target; implies something important is happening
Wide Desert: Exposed; implies vulnerability and "nowhere to hide"
Spaceship Hangar: Massive but filled with shadows; implies danger lurking
Underground Tunnel: Confined, claustrophobic; trapped with limited options
2. Angles & Movement = Emotion
Inside Atlabs AI, use specific movements to drive the narrative:
Off-Center + Pan
Creates instability. Panning into empty space creates anticipation—the viewer searches for the threat.
Close-Up + Slow Zoom
Strips away context. A slow push-in forces the viewer to connect with the character's internal fear or thought.
High Angle + Zoom Out
Makes the character look small and isolated against a massive world.
Low Angle
Makes the character look dominant, powerful, and in control.
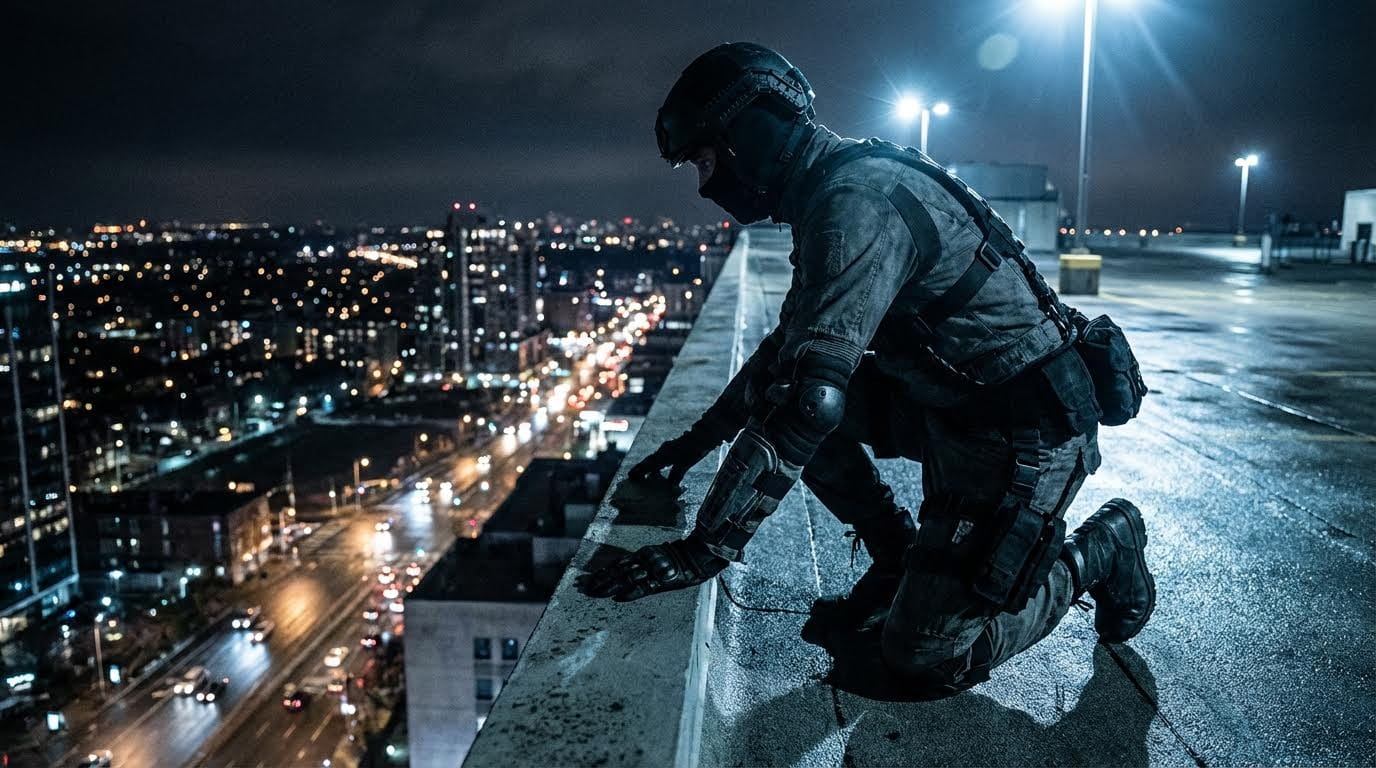
Tracking Shot
A low, handheld tracking shot makes the viewer feel like they are in the scene, crawling through the danger with the protagonist.
Cinematic Language Quick Reference
You Want to Convey | Use This Camera Move |
|---|---|
Power, Dominance | Low angle, static |
Vulnerability, Defeat | High angle, zoom out |
Tension, Anticipation | Off-center pan |
Internal Emotion | Close-up, slow zoom in |
Urgency, Chaos | Handheld tracking |
Scale, Grandeur | Wide shot, crane |
Master this language, and you're not generating AI video—you're directing cinema.
Putting It All Together: Complete Workflow Example
Let's create a 3-shot cinematic sequence using all 6 skills.
Scene: Lone Survivor in Desert (Isolation → Determination → Hope)
Shot 1: Establishing (Isolation)
Anchor Keywords:
Post-apocalyptic desert wasteland, harsh daylight, desaturated color palette, desolate atmosphere
Image Prompt:
Generate Image → Upload to Video
Motion Prompt: "Camera slowly zooms out revealing vast empty desert"
Movement Preset: Zoom Out, 6 seconds
Emotion Conveyed: Isolation, overwhelming odds
Shot 2: Close-Up (Determination)
Image Prompt:
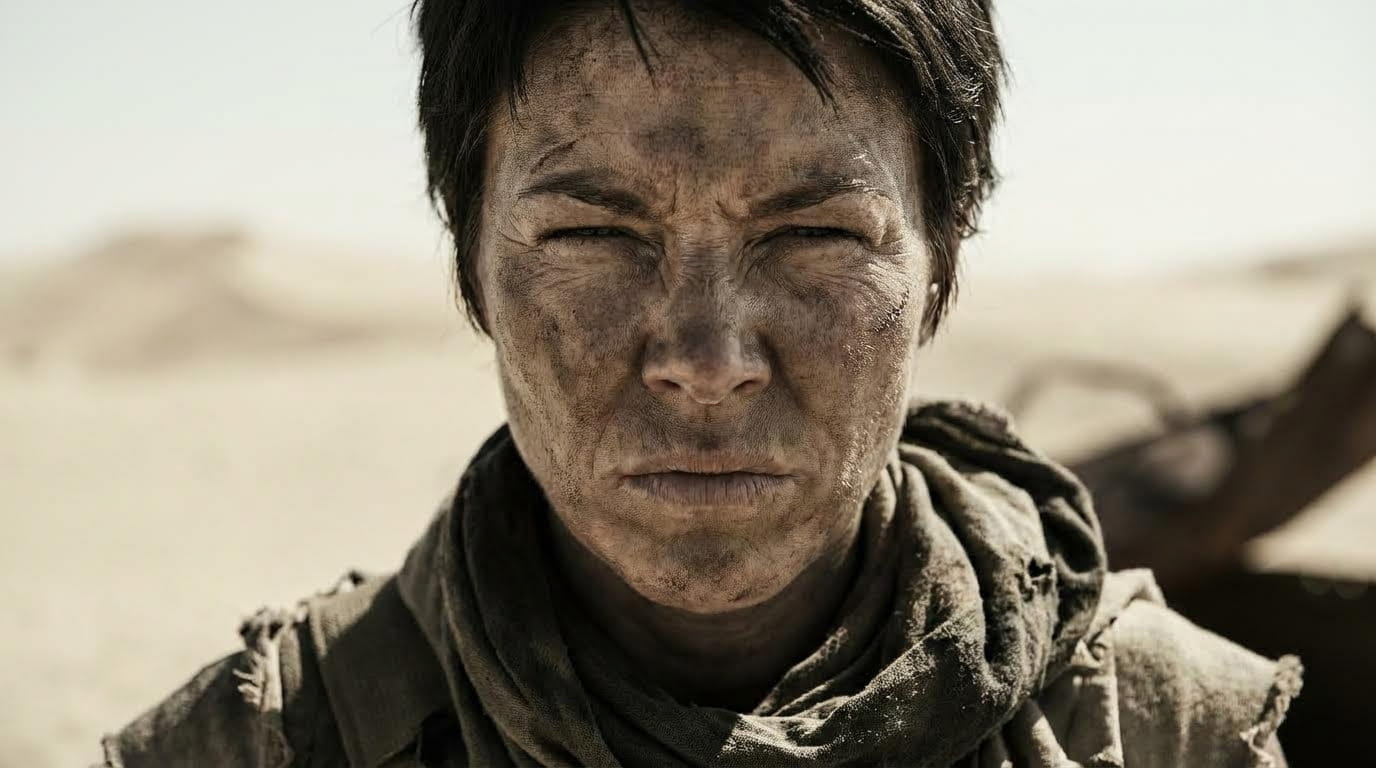
Motion Prompt: "Slow push in on face, wind blowing hair, eyes narrow with resolve"
Movement Preset: Zoom In (Slow), 4 seconds
Emotion Conveyed: Internal strength, won't give up
Shot 3: Low Angle (Hope)
Image Prompt:
Motion Prompt: "Camera tilts up from ground to survivor's face as they spot something on horizon"
Movement Preset: Tilt Up, 5 seconds
Emotion Conveyed: Hope, turning point
Result: A cohesive 15-second narrative sequence with consistent world, character, and emotional progression.
Total Cost: 3 image generations + 3 video generations = Fraction of text-to-video trial-and-error
Start Your Cinematic Sequence on Atlabs AI
Common Mistakes to Avoid
❌ Paragraph Prompts → ✅ Subject + Composition + Action + Location + Style
❌ Text-to-Video for Everything → ✅ Image-to-video for consistency
❌ No Anchor Keywords → ✅ Fixed keywords for style, location, lighting
❌ Random Camera Movements → ✅ Specific presets with purpose
❌ Copying IP Directly → ✅ Deconstructed original concepts
Ready to Start Directing?
Stop relying on luck and complicated prompts. Apply these 6 skills using Atlabs AI today to take full control of your creative vision and produce consistent, cinematic results.
Master Cinematic AI Video on Atlabs AI – Start Free Trial
Quick Reference Cheat Sheet
Short Prompt Formula:
Essential Anchor Types:
Style: Genre aesthetic
Location: Fixed environment
Lighting: Color and quality
Camera: Lens and settings
Movement = Emotion:
Power → Low angle
Vulnerability → High angle + zoom out
Tension → Off-center pan
Emotion → Close-up + slow zoom
Chaos → Handheld tracking
Related Guides
Tags: cinematic AI video, Atlabs AI tutorial, image to video, AI filmmaking 2026, consistent AI characters, camera movement presets, AI video generation, AI director workflow